Scheduler

Byteline provides an easy-to-use Scheduler node that helps you schedule tasks at regular intervals. You can run the node daily, weekly, hourly, or monthly as per your requirements. Using a Scheduler node in the flow, you can select the frequency at which you want to run your scheduler node.
In this step-by-step guide, you’ll understand how to configure the Scheduler node for running the flow at regular intervals.
Before we move ahead, we must understand why we need to configure the scheduler node in the flow.
Why is a Scheduler Node?
The Scheduler is a vital flow trigger to run the flows for performing various tasks at specific time intervals. After using the Scheduler as a trigger, you don’t have to execute the same task again and again manually.
Just configure the scheduler node once in your task flow, and then it will automatically execute the action at the pre-scheduled time.
So, let’s get started with its configuration.
Configuration
Follow the steps outlined below to configure the scheduler node to run the flow at specific time intervals.
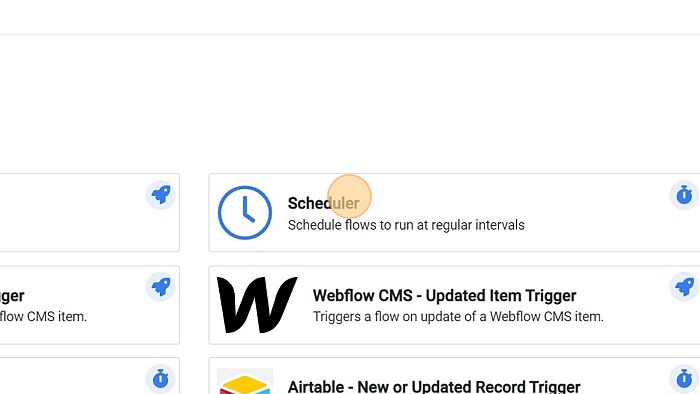
Step - 1. Select the Scheduler node from the Select Node window.
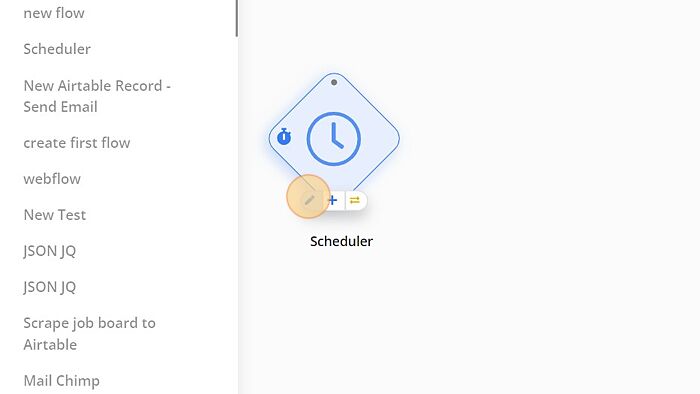
Step - 2. Click on the Edit button to launch the Scheduler node configuration window.
The Scheduler node configuration allows you to configure the scheduler node based on any of the below-listed intervals.
- Weekly
- Daily
- Monthly
- Hourly
- Minutes
If you set the interval to hourly or minutes, the Scheduler runs the flow at the specified interval. However, if you set the intervals to daily, monthly, or weekly, then the Scheduler runs the flow based on the specific day, month, or week.
Weekly
To run the flow on a specific day, you will need to configure your Scheduler node to run the flow weekly. It will allow the Scheduler to run the flow on particular days of the week as specified. So, let’s configure the above-listed scheduler configurations here.
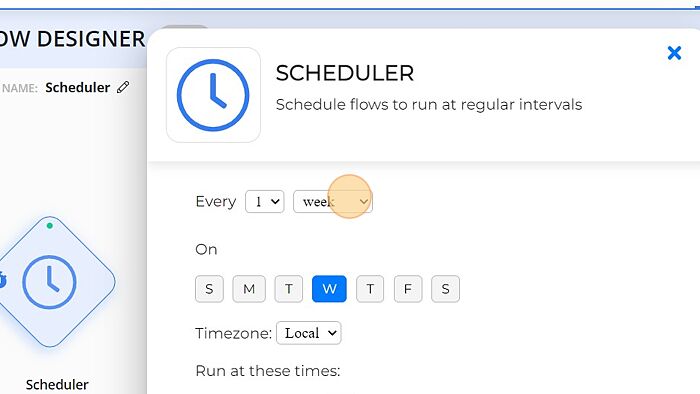
Step - 1. Select the Week from the dropdown.

Step - 2. Set whether the flow should run every week or every nth week. For example, you can configure the node to run after every 2 weeks.
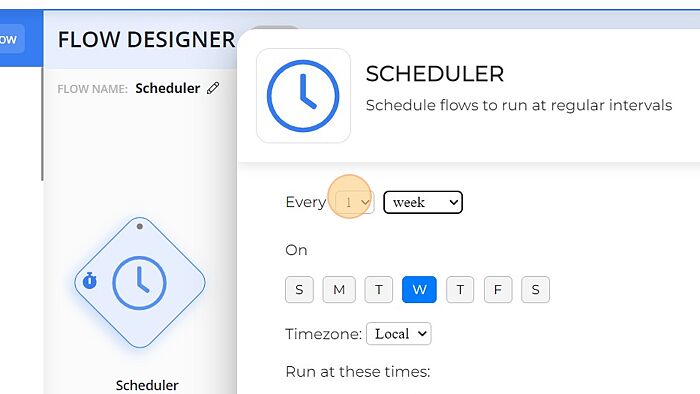
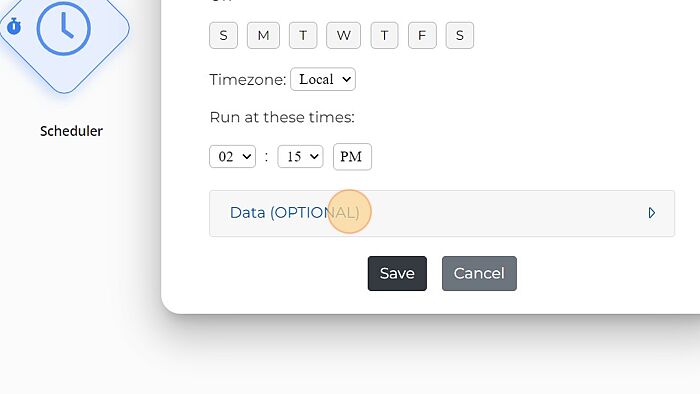
Step - 3. Select the days on which you want to run the flow. You can pick multiple days.
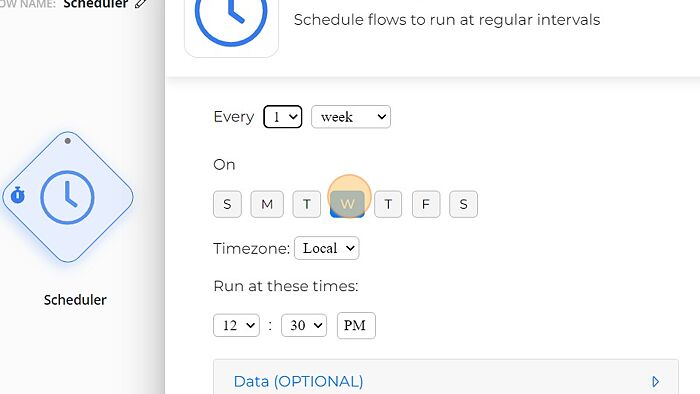
Step - 4. Select the Timezone for which you want to run the scheduler. Local: It is the user's local timezone. UTC: It is the GMT time zone.
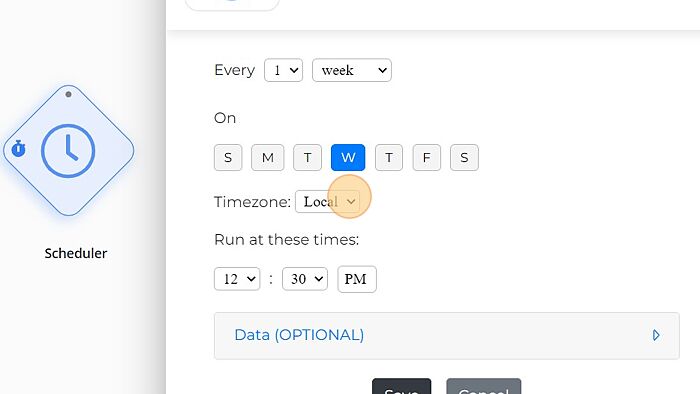
Step - 5. Set the time at which you want to run the flow.
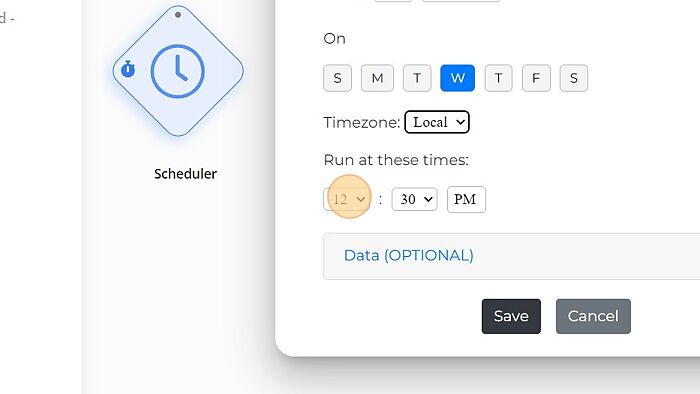
Step - 6. Double-click this dropdown to set the time.
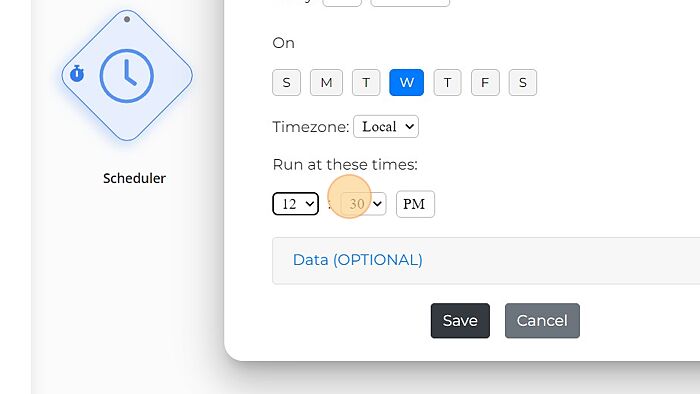
Step - 7. Click on the Save button to save the configuration.
Thus, you’ve configured the scheduler to run the flow on a weekly basis. After this configuration, you don’t have to set the time again after a week, Scheduler will automatically initiate every week at the specified time.
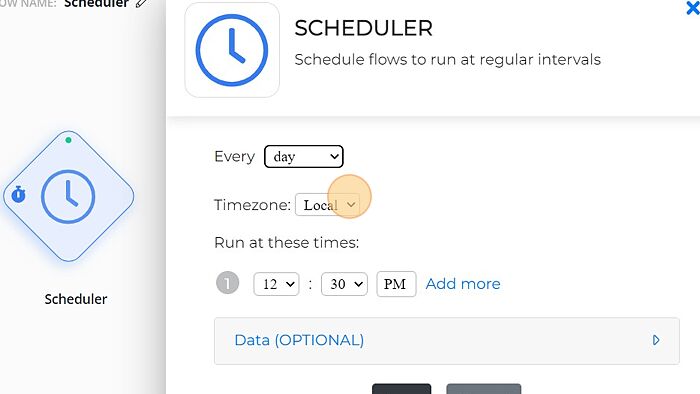
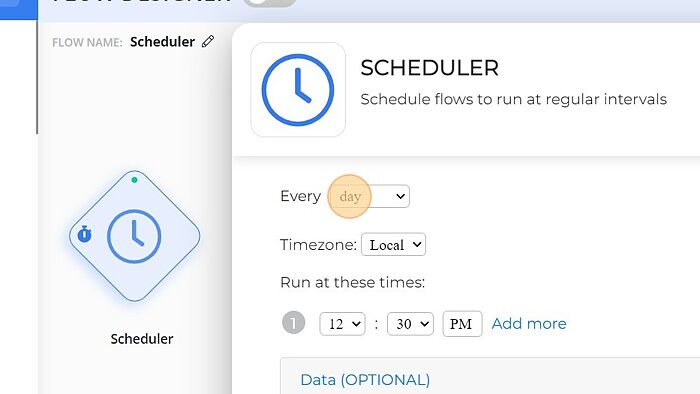
Daily
You can configure your scheduler node to run the flow on a daily basis.
Step - 1. Select the day from the dropdown.
Step - 2. Select the Time zone for which you want to run the scheduler. Local: It is the user's local time zone. UTC: It is the GMT time zone.
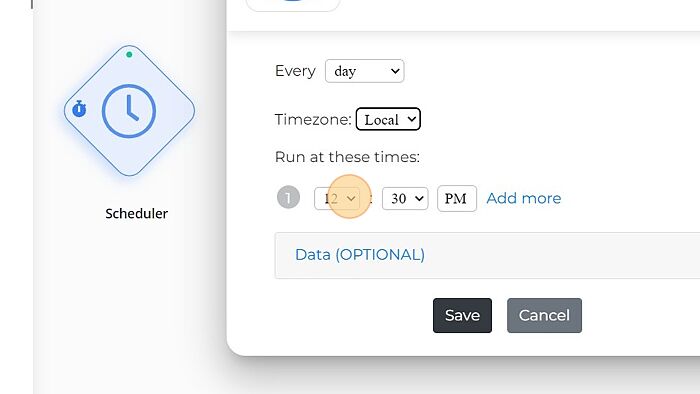
Step - 3. Set the time at which you want to run the flow.
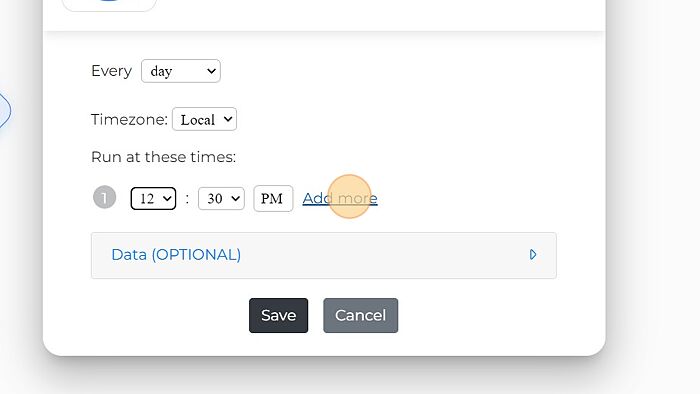
Step - 4. You can pick multiple times in a day by using "Add more" link.
Step - 5. You can delete multiple times in a day by clicking the "Bin" icon next to the "Add more" link.
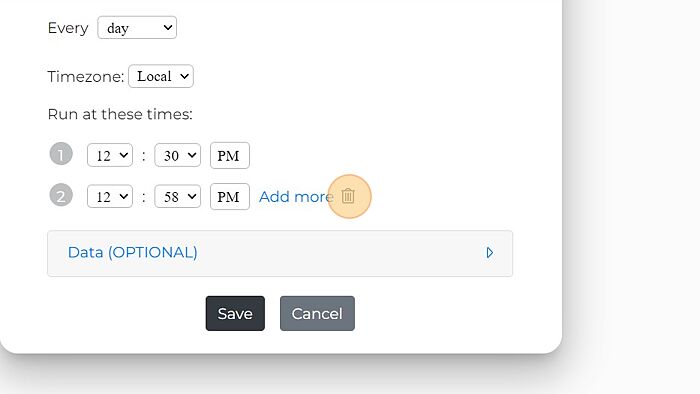
Step - 6. Click on the Save button to save the configuration.

Thus, you’ve configured the scheduler to run the flow on a daily basis.
Monthly
You can configure your Scheduler node to run the flow on a specific day of the month.
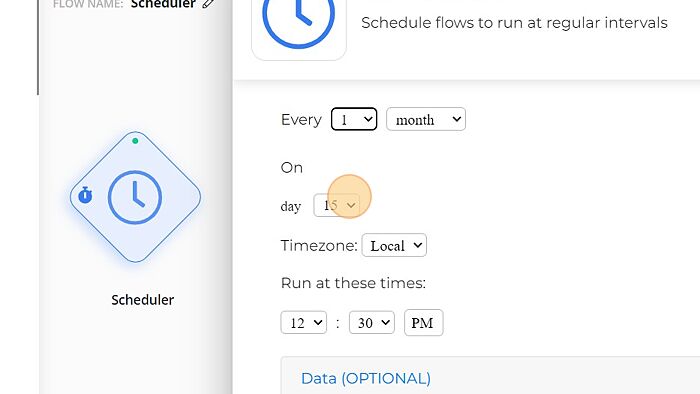
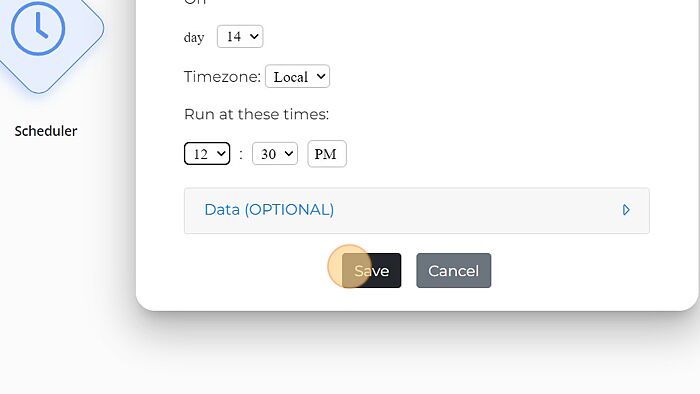
Step - 1. Select the month from the dropdown.
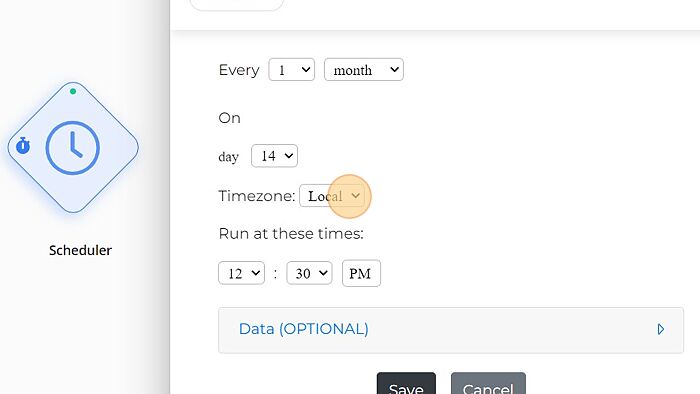
Step - 2. Click on the drop-down and select the day of the month on which you want to run the flow. For example, you can configure the node to run the flow on the 14th day of every month.
Step - 3. Select the Timezone for which you want to run the scheduler. Local: It is the user's local time zone. UTC: It is the GMT time zone.
Step - 4. Set the time at which you want to run the scheduler.
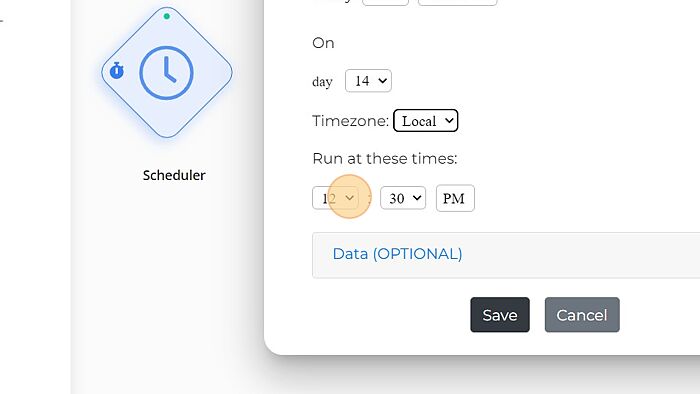
5. Click on the Save button to save the configuration.
Thus, you’ve configured the scheduler to run the flow on a monthly basis.
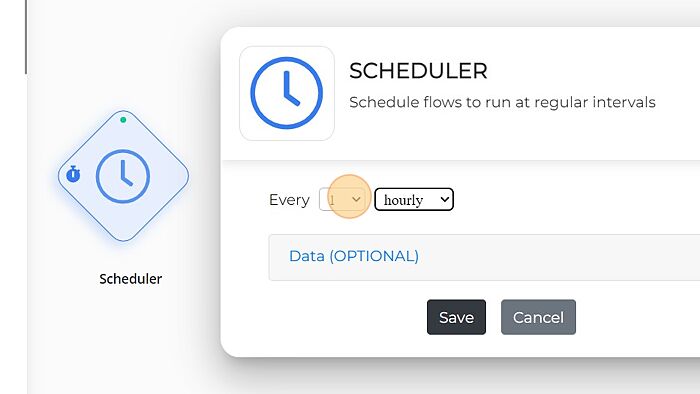
Hourly
You can configure the Scheduler node to run the flow on an hourly basis.
Step - 1. Select the hourly from the dropdown.

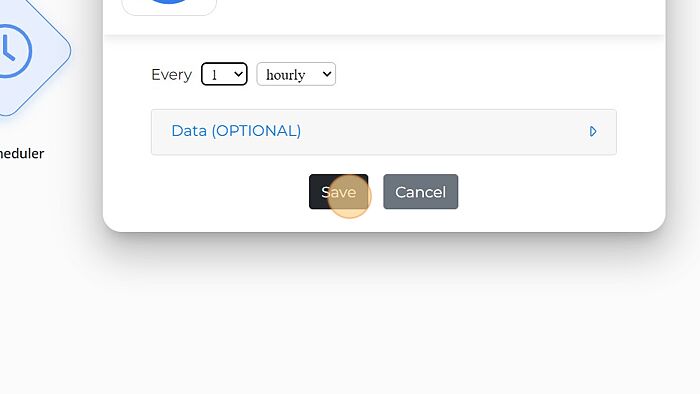
Step - 2. Click on the drop-down to select the hours you want to run the scheduler node. For example, you can configure the node to run the flow after every 1 hour.
Step - 3. Click on the Save button to save the configuration.
Data (Optional)
To run the flow once for each Google Sheets row, you can connect Google Spreadsheet with the scheduler node to fetch the specific data from the sheet. That will result in one flow run for each row in the Spreadsheet.
Here are the steps you need to perform to connect any Spreadsheet with a Scheduler trigger node.
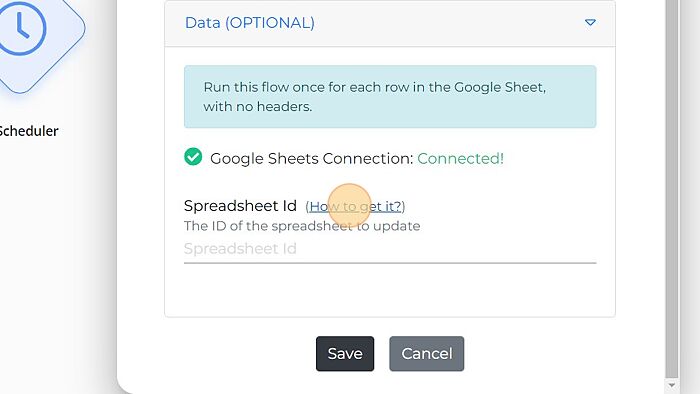
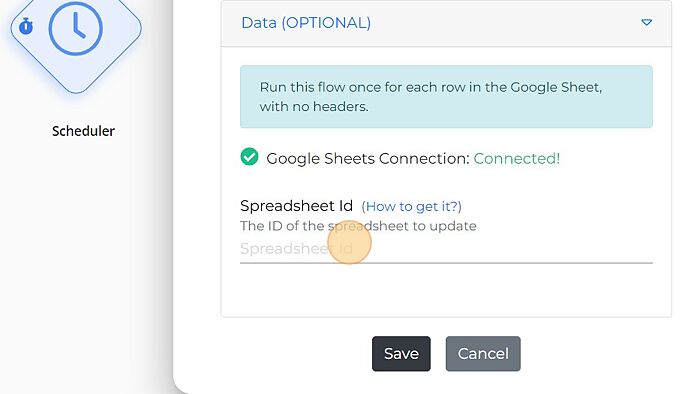
Step - 1. Click "Data (OPTIONAL)" to see the options.
Step - 2. After successfully integrating your Google sheet with the Byte line, click "How to get it?" to see how to get the Spreadsheet ID.
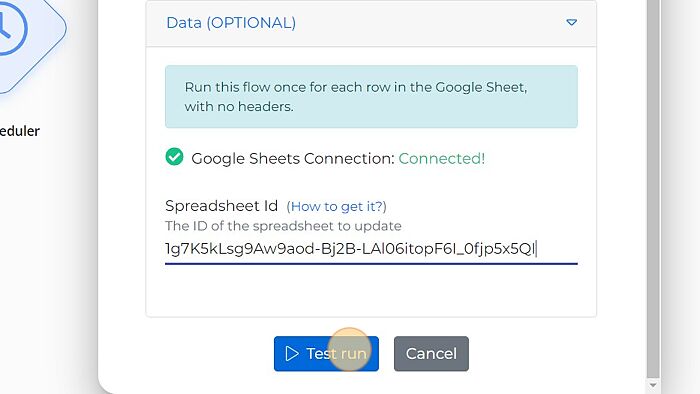
Step - 3. Enter the Spreadsheet Id (in the spreadsheet ID field) for which you want to integrate the scheduler to run the flow at a selected frequency (weekly/daily/monthly/hourly)
Step - 4. Click "Test run" to test the scheduler configuration.
Thus, your Scheduler node has been configured successfully. Feel free to connect us for any doubts.