How to Create your First Flow Design

How to Create your First Flow Design
In this guide, we will uncover the steps to create the first no-code backend flow design for your websites and apps. Byteline helps to build simple to complicated flows with the help of powerful nodes such as scheduler, web scraper, read-write to various SaaS applications such as Airtable, Webflow CMS, and much more.
Let's get started.
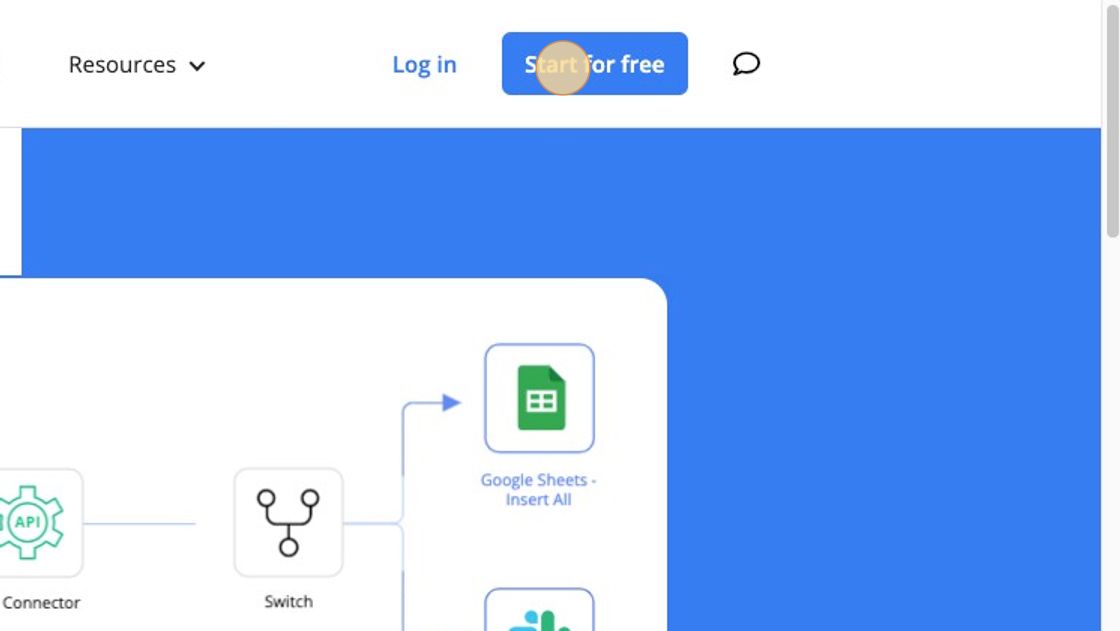
Step - 1. Click "Start for free"
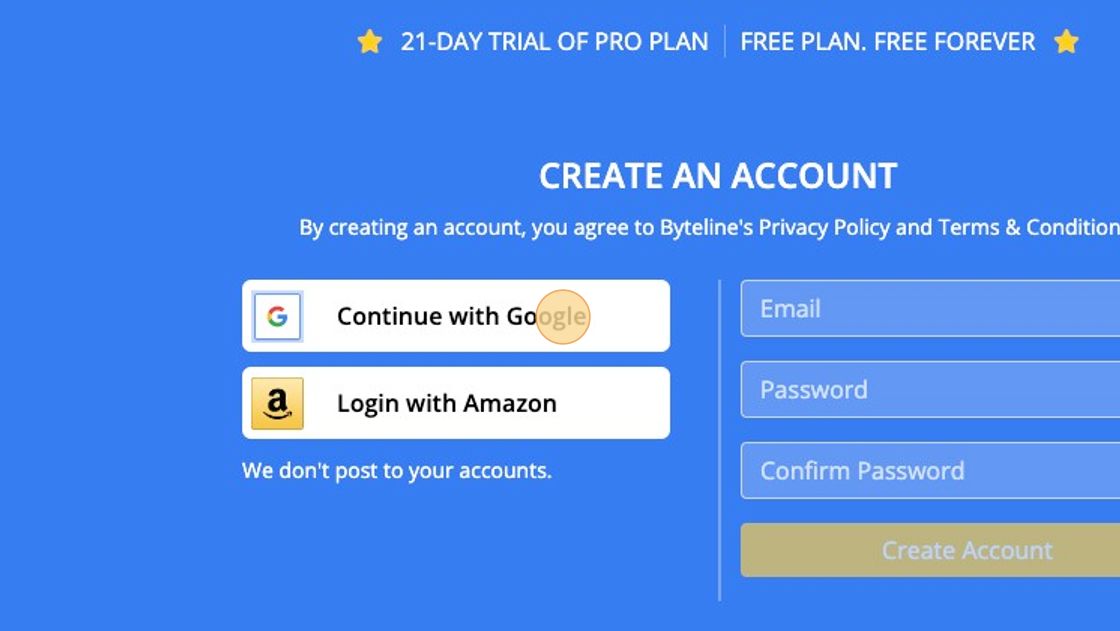
Step - 2. Create an account using SSO or manually.
Step - 3. Select relevant integrations.

Step - 4. Take the guided console tour.
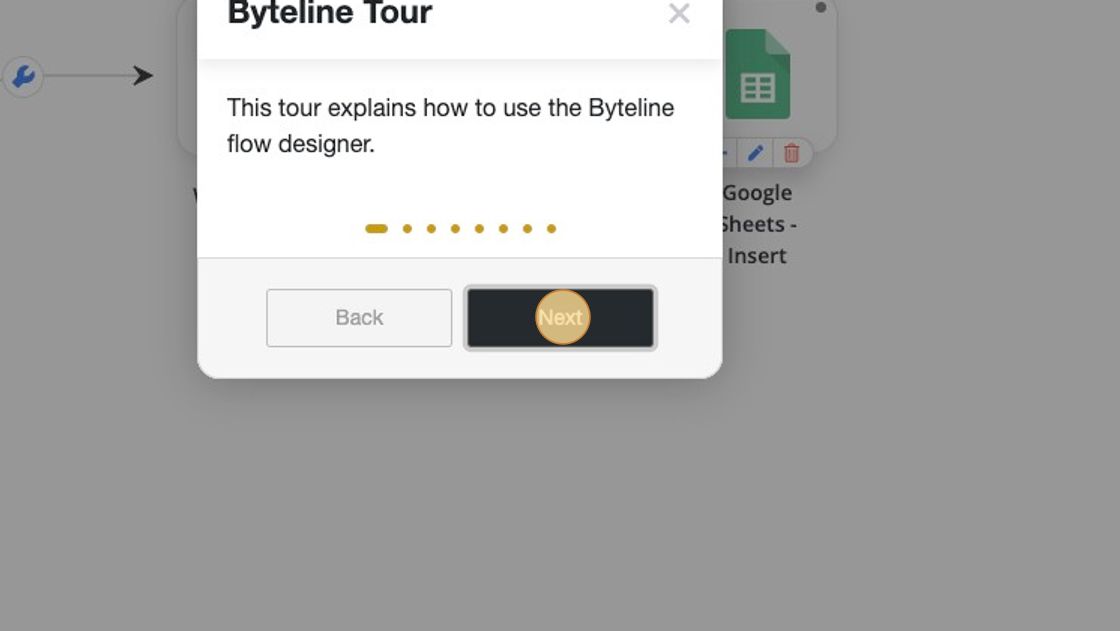
Step - 5. Click "Next " and then click "Done."

Create
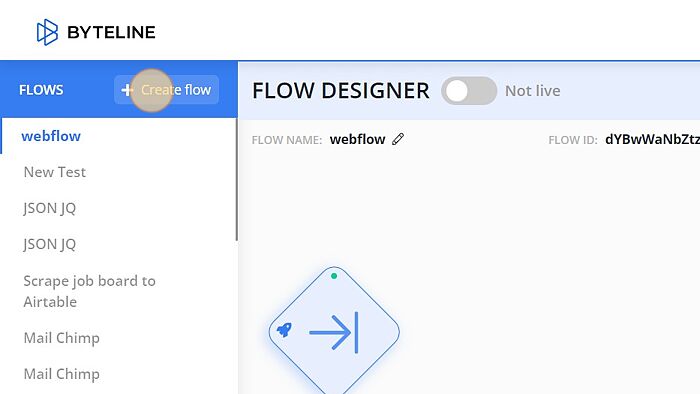
Step - 1. Once you have created your account, the Byteline console will launch. Click on the Go to Flow Designer button to create your flow.
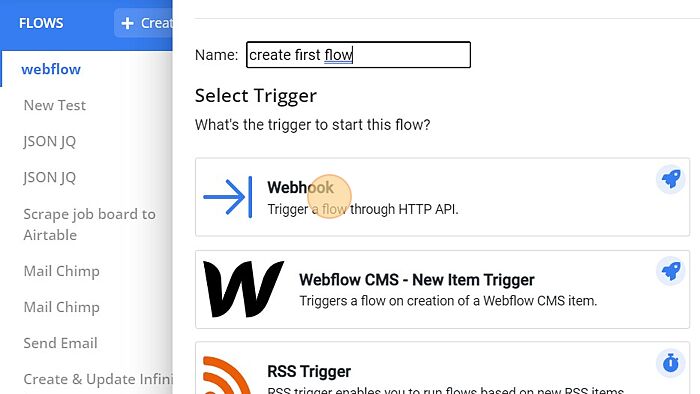
Step - 2. Create a flow dialog will appear on your screen. Enter the name to create your flow and select a trigger to start your flow design. For example: to create a flow that provides executes at real-time, you can select the Webhook Trigger.
Other options include -
Scheduler: It can be used to schedule a flow to run at a pre-determined schedule. You can configure the flow to run at hourly, weekly, or monthly schedule. Webhook: It can be used to invoke a flow through API calls or form submissions.
Application triggers such as Airtable: It can be used to trigger a flow whenever a new record is created or updated in the Airtable.
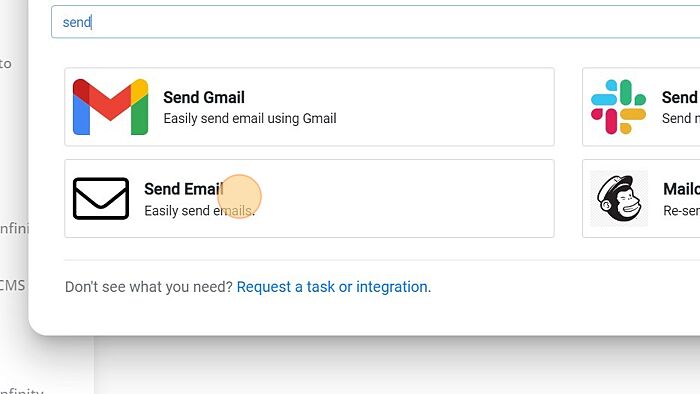
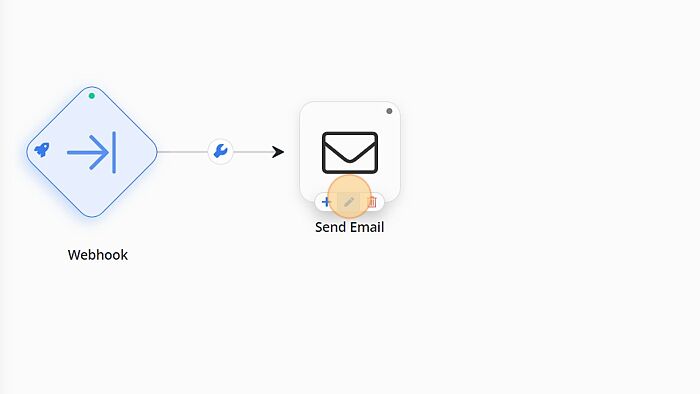
Step - 3. Click on the add button on the top-left corner of the node and select the next node from the table.
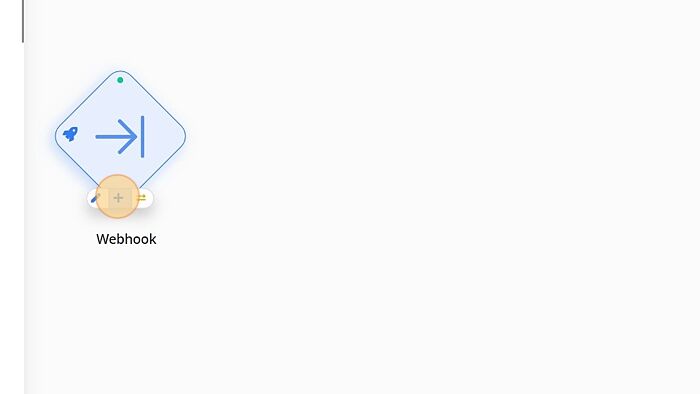
Step - 4. For this document, we are adding the Send Email node.
Edit
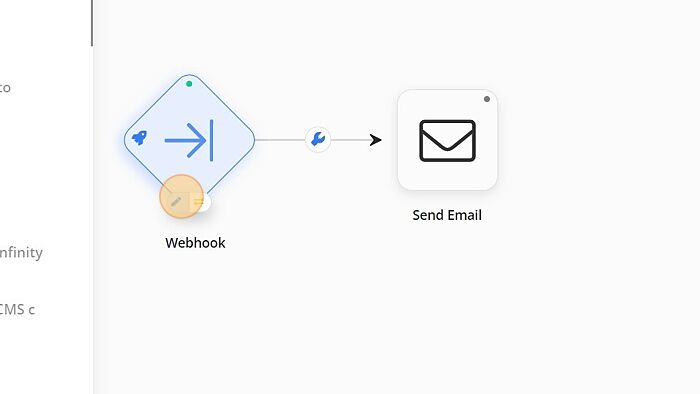
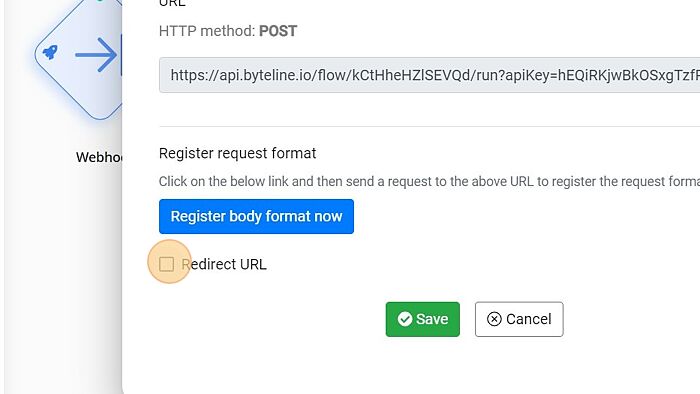
Step - 1. Once you have created the structure of your first flow, you will need to configure the details of each node in the flow. Byteline makes it easy by providing intuitive configuration screens for various nodes. You can click on the edit button on the top-left corner of the webhook node to view the URL.
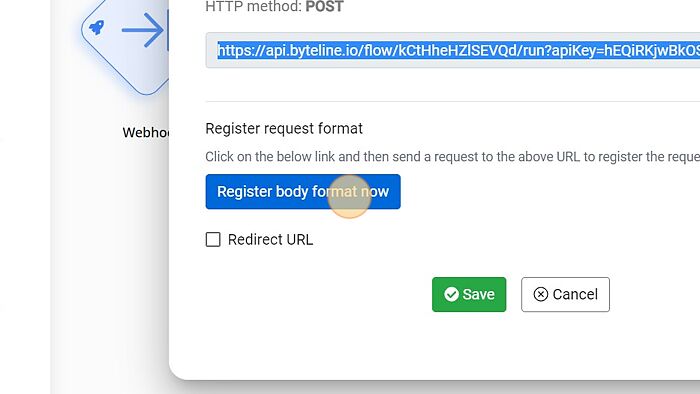
Step - 2. The Webhook node configuration window will appear on the screen where you will be able to view the webhook URL and API Call method used. Follow the steps as outlined below for Webhook node configuration. Click on- "Register body format now" and wait for a few seconds for the API call to come in.
Step - 2. Copy the Webhook URL from Byteline and paste it into the enter request URL field of Postman.
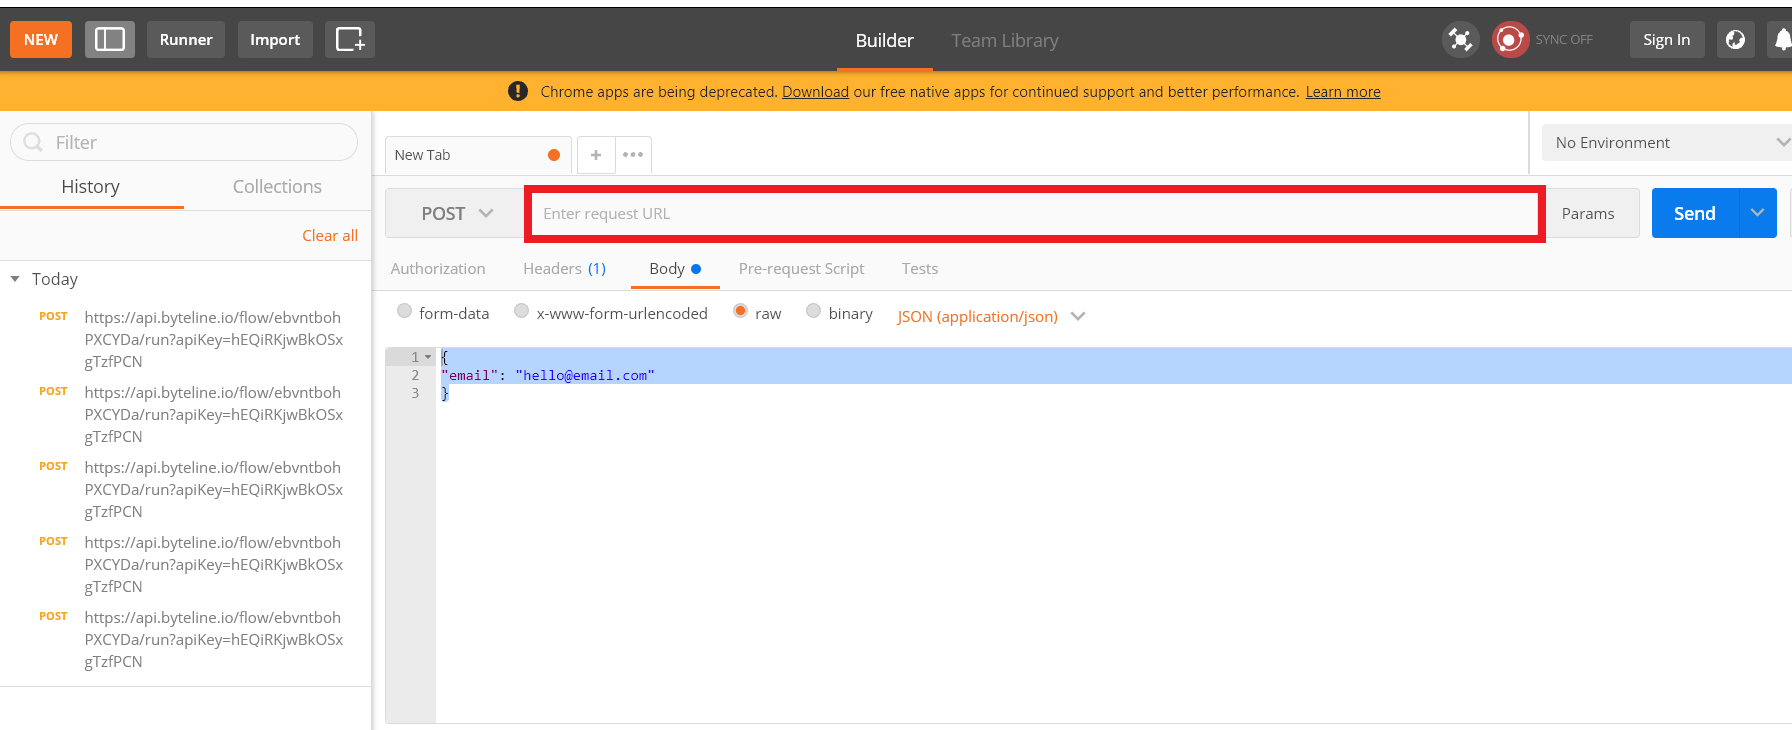
Step - 3. Select the Post method to call API for posting the data.

Step - 4. Enter the body you want to post for example:{"email": "hello@email.com"}
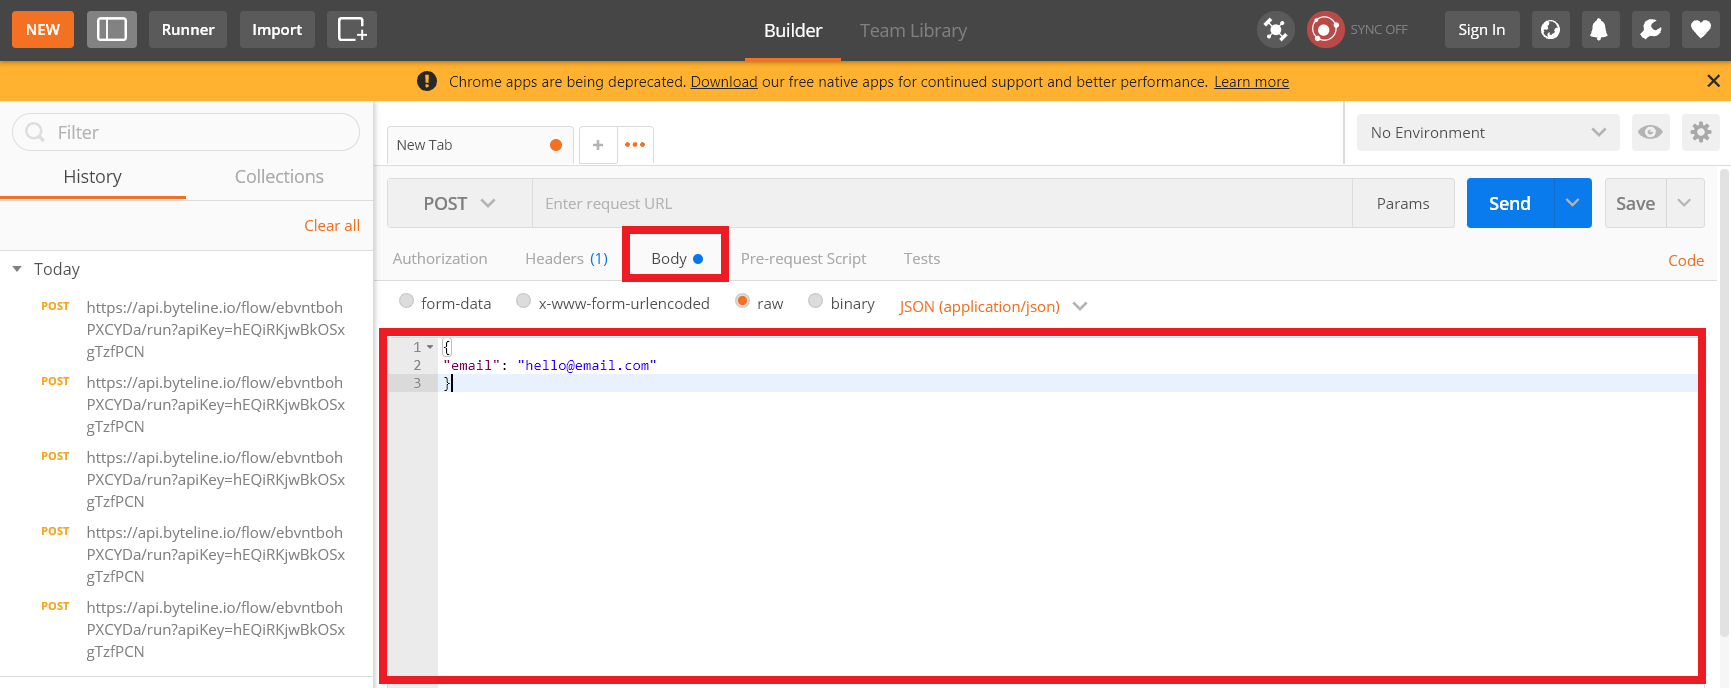
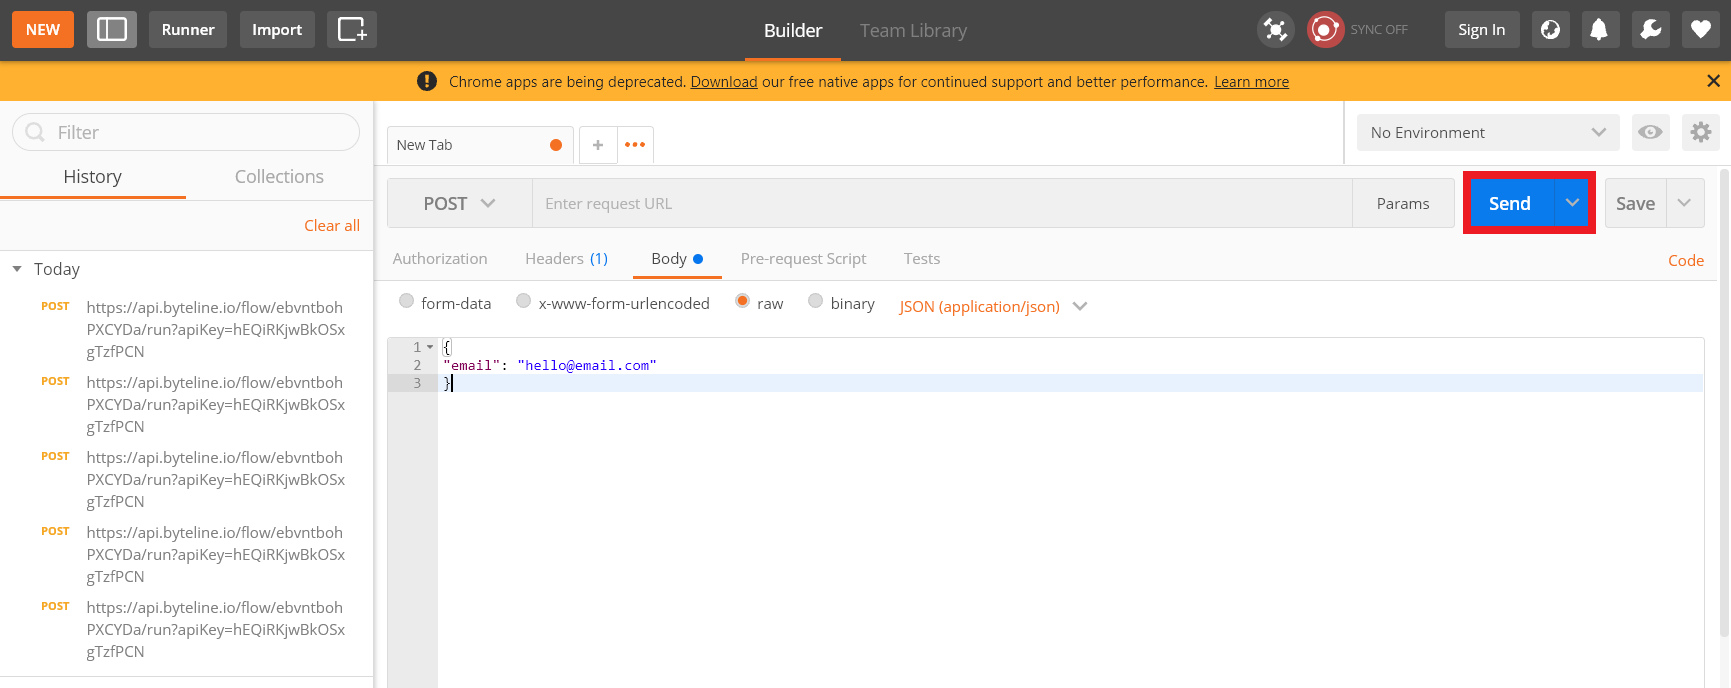
Step - 5. Click on the Send button to post the to that Webhook URL.
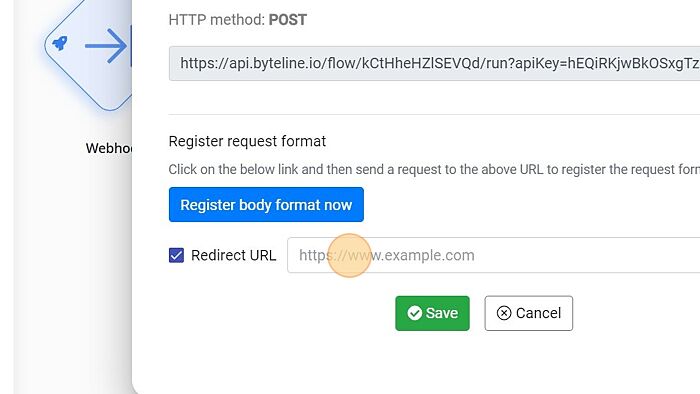
Step - 6. Redirect URL can be configured to send the user to a different page after successful submission. You can tick the redirect URL checkbox.
Step - 7. Enter the Redirect URL in the field for specifying the next page to be shown.
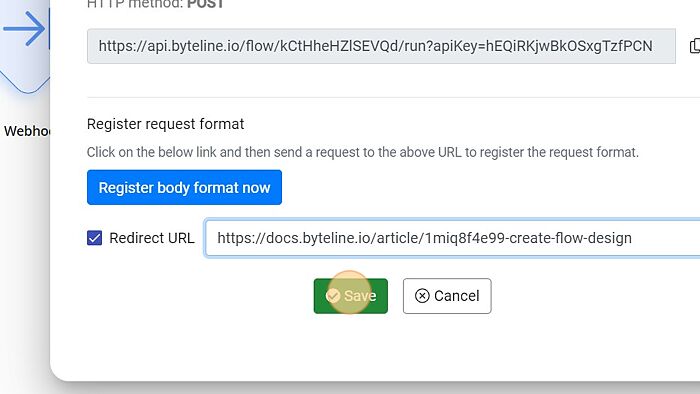
Step - 8. Click on the Save button to save the webhook node configuration.
Step - 6. Click on the Edit button to for the webhook node configuration.
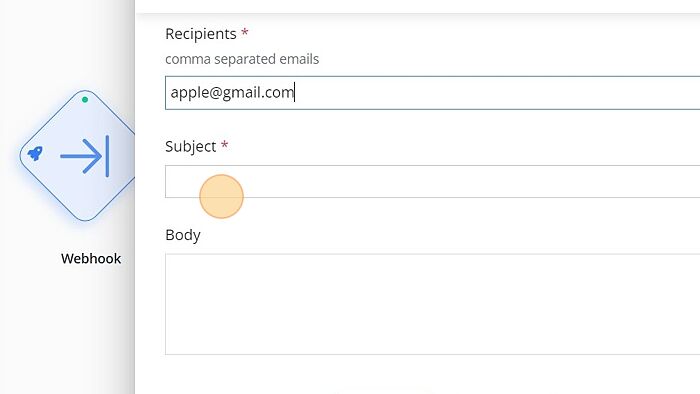
Step - 9. The Send Mail pop-up will appear on the screen.
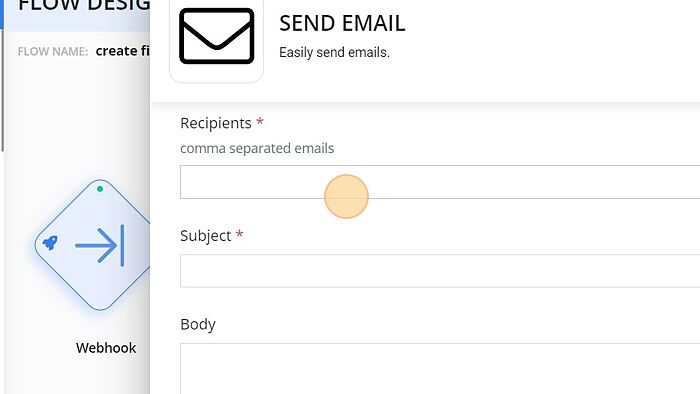
Step - 10. Enter the email id of the recipient and subject of the email.
Test Run
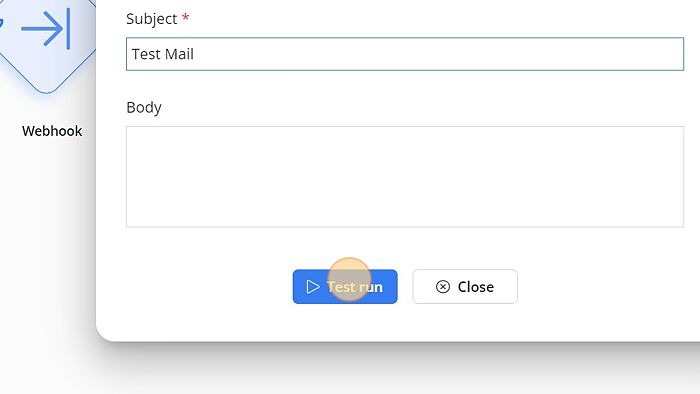
You can test the flow by clicking the Test Run button at the bottom of the pop-up window.
The flow design has been created and now you can check the success status. Once a flow has successfully run, it's ready to be used in the wild. You can now link this flow to any of your web forms.
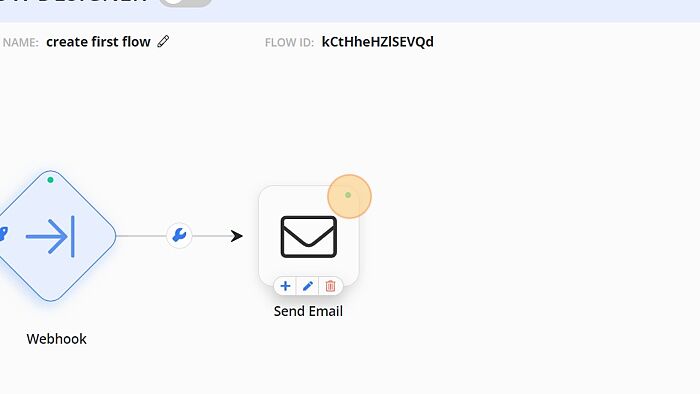
You have successfully created and deployed the first flow design with Byteline.
You are ready to get started with your next project. Feel free to connect us for any doubt.