Switch Node

Byteline provides you with a built-in Switch node that allows you to implement if/then branching to multiple paths. In simple words, it offers an option to build an if/else condition within the flows. In this documentation, we have explained the steps to implement Switch in a flow.
Let’s get started.
Configuring Switch
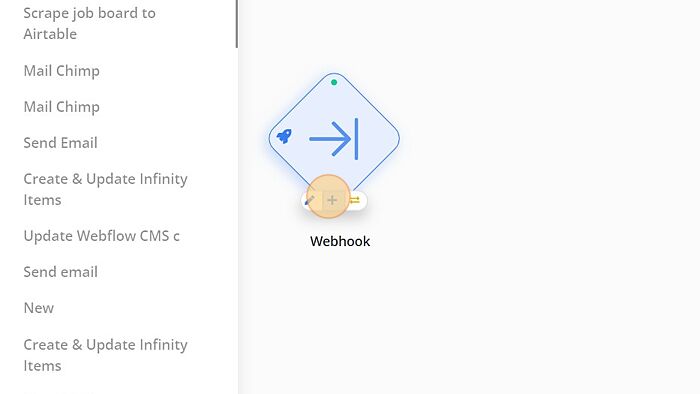
Step - 1. Hover the cursor over a flow node to add a new node. Once displayed, click on the add button to view the nodes in the select node window.
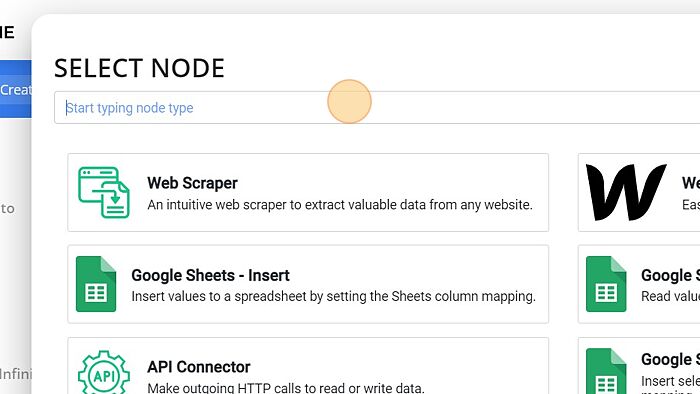
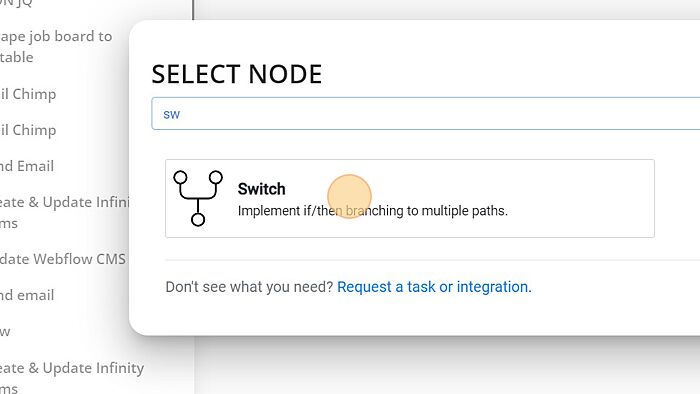
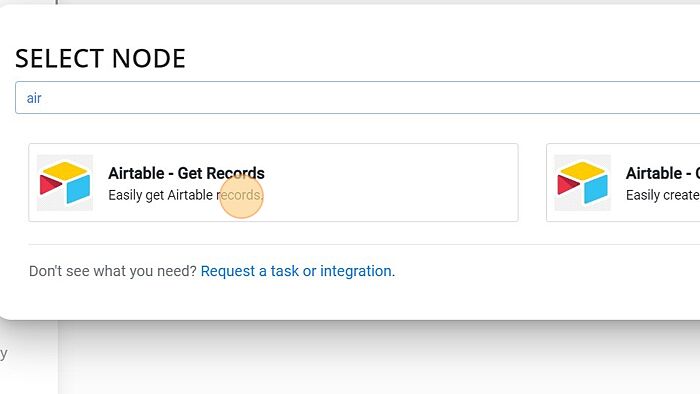
Step - 2. Select the Switch node to add it to your flow.
Step - 3. Click "Switch" to add the node.
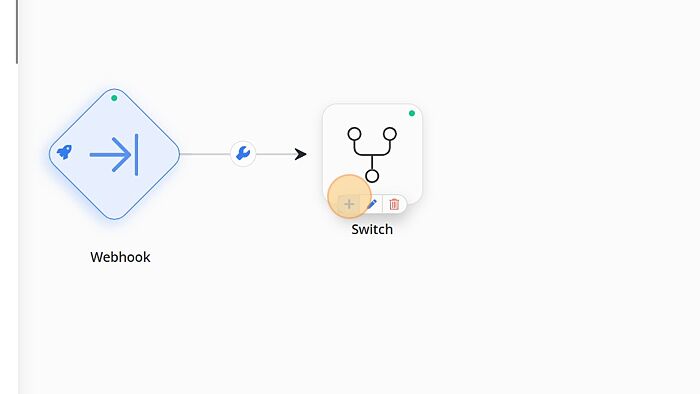
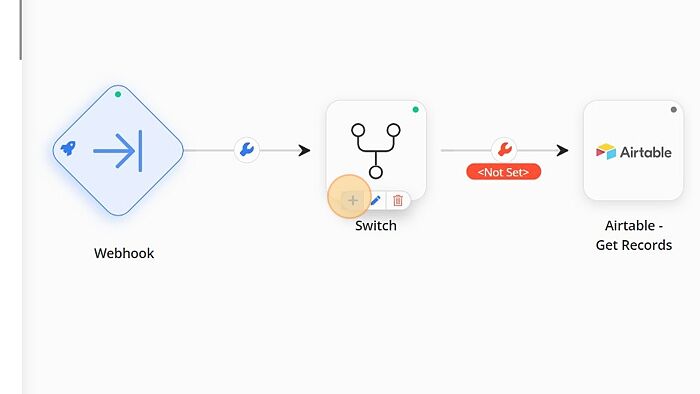
Step - 4. Hover the cursor over the Switch to display the options. Once displayed, click on the add button to view the nodes in the select node window.
Step - 5. Select the node to add after the Switch node. In this example, we are using Airtable - Get Records node.
Step - 6. Now let's add one more node after the Switch node. Hover the cursor over the Switch to display the options. Once displayed, click on the add button to view the nodes in the select node window. Select the node, Webflow - Get Items in this example, to add another condition.
Configuring Switch Conditions
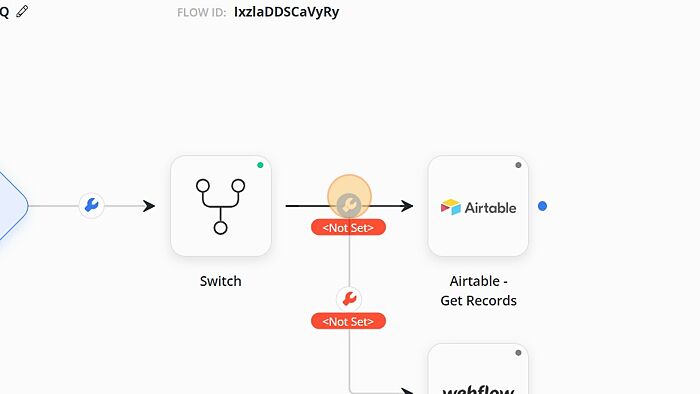
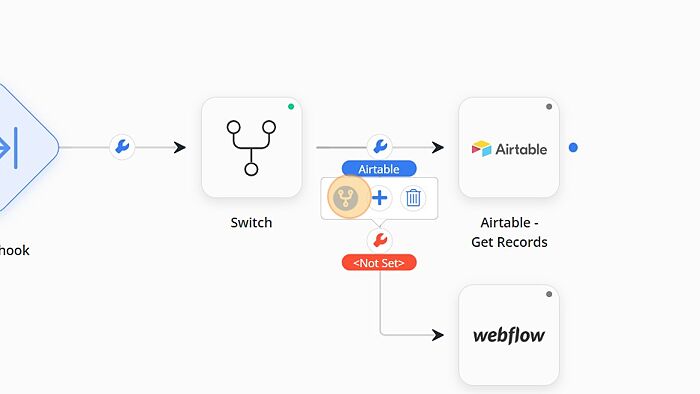
You configure the Switch condition by using the Settings icon from the connection. The connection label shows <Not Set> in red if the condition is not yet configured. In this example, we will use Airtable - Get Records as the default path, which means if no other condition matches, the flow executes the Airtable task. In addition, a condition will be set for the Webflow path so that it's called only when the input field has a specific value.
Step - 7. Click the settings icon on the connection between Switch and Airtable - Get Records to configure the transitioning.
Step - 8. Click the settings icon on the connection between Switch and Airtable - Get Records to configure the transitioning.
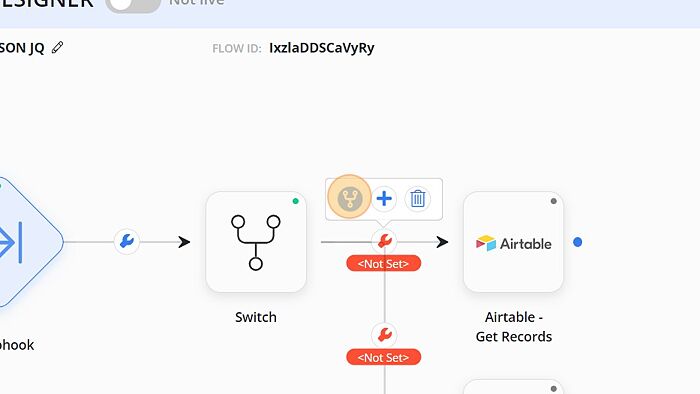
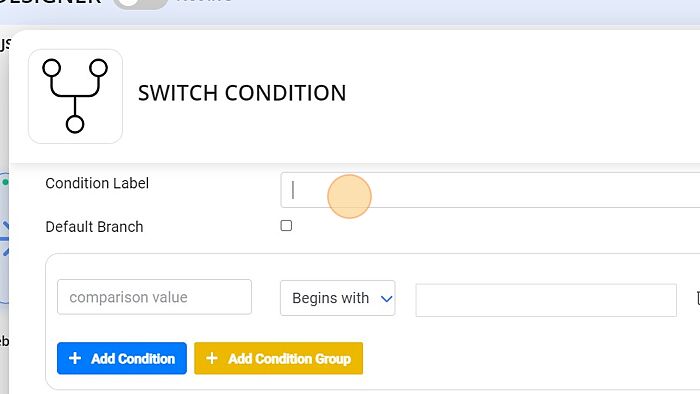
Step - 9. Click on the Switch icon to set the condition.
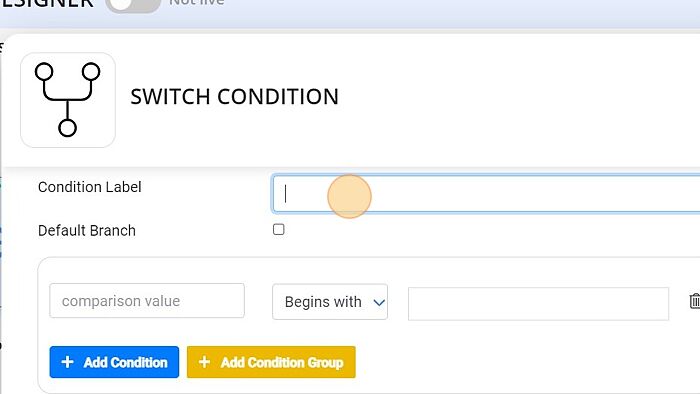
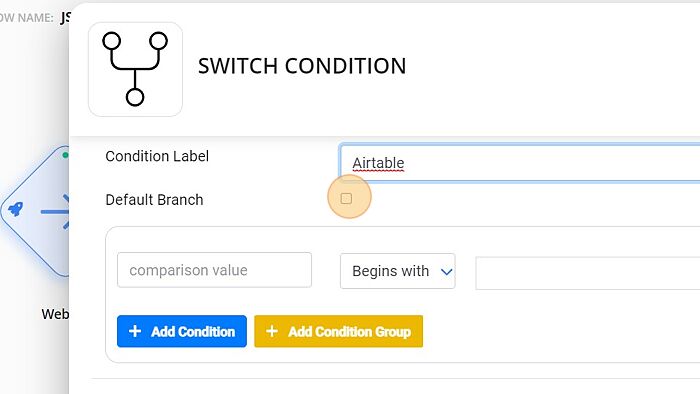
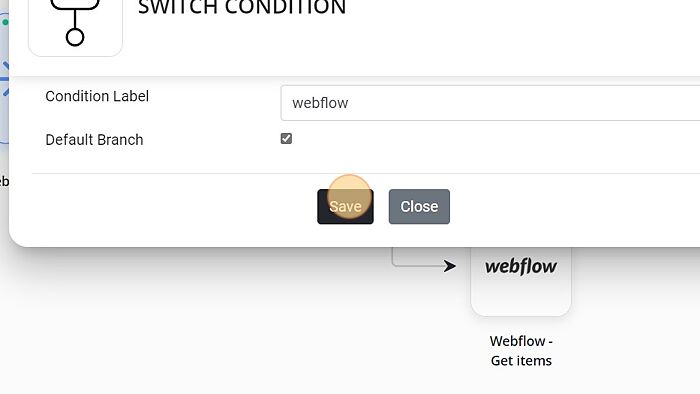
Step - 10. Fill in the Condition Label.
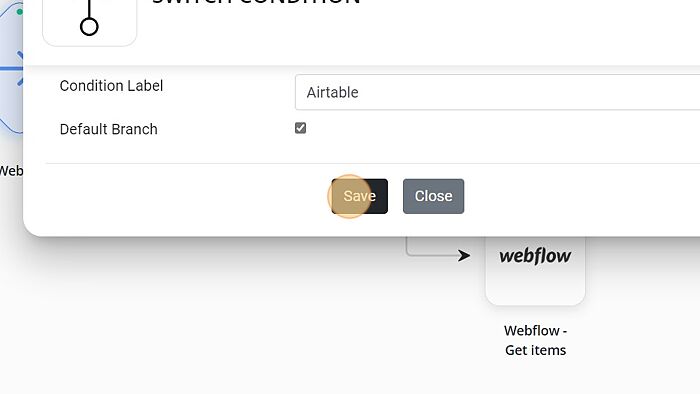
Step - 11. Click in the box next to Default Branch to set the branch as the default branch.
Step - 12. Click on the Save button to save the settings.
Note: Once the condition is configured, the color will change to blue.
Step - 13. Similarly, click the settings icon followed by the Switch icon on the connection between Switch and Webflow - Get items to configure the transitioning.
Step - 14. Fill in the Condition Label and leave the default branch unchecked as only one branch can be set as a default. Now fill in the condition as per your choice.
Step - 15. Once the condition is filled in successfully, click on the Save Button.
You have successfully implemented a Switch node in the flow.