Airtable Trigger

Introduction
Byteline provides an easy-to-integrate Airtable Trigger node to trigger a flow based on Airtable data changes. A simple and user-friendly interface allows you to easily build a custom flow that gets executed on Airtable data updates.
How it Works
Once you configure the Airtable Trigger node, it will autonomously trigger the flow for the records created and updated in the Airtable.
Configure
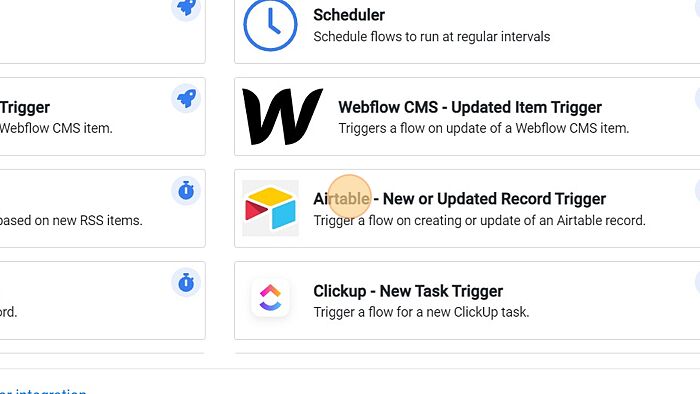
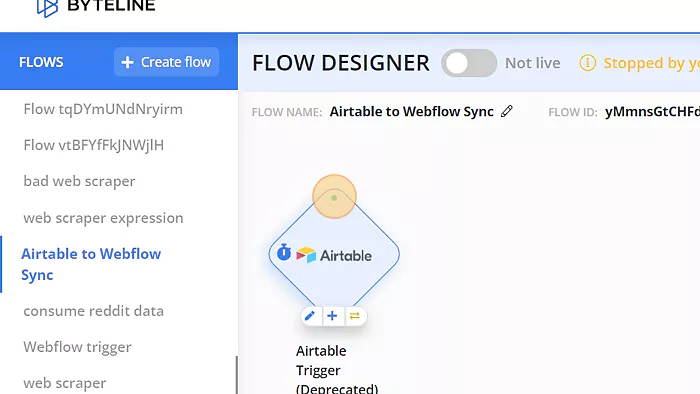
Step - 1. Enter the flow name in the name field and click on the Airtable Trigger node in the select node window to initiate a flow.
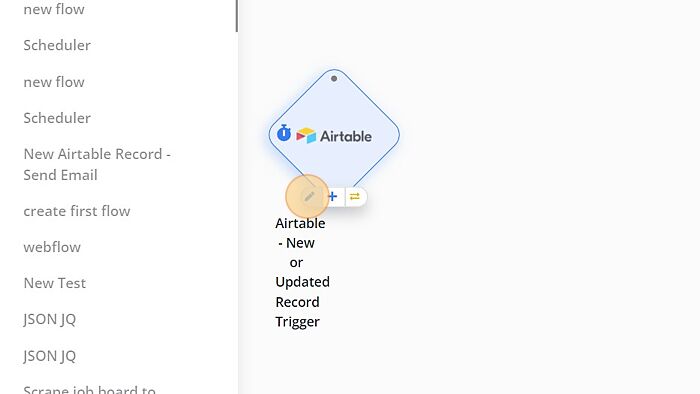
Step - 2. Click on the edit button to configure the Airtable Trigger node.
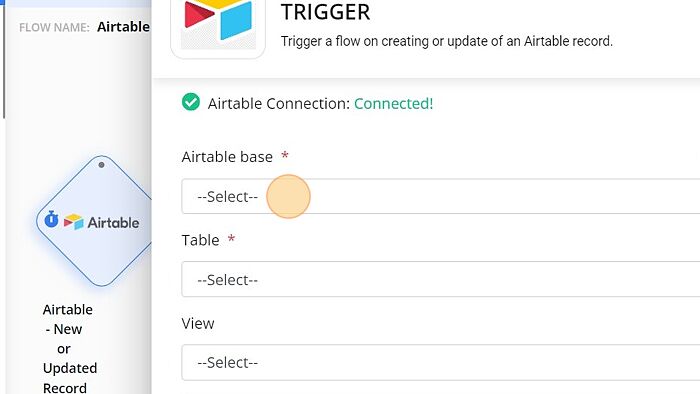
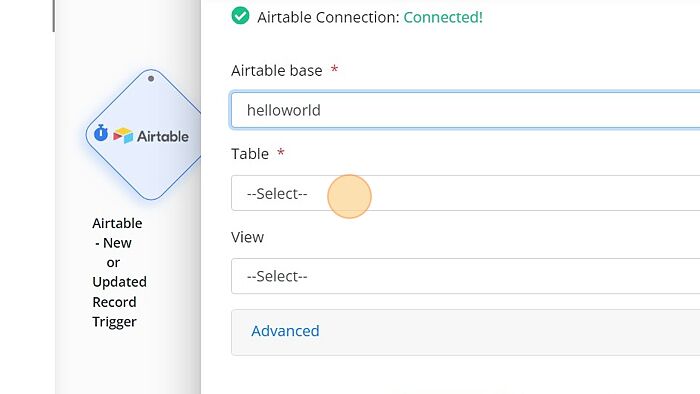
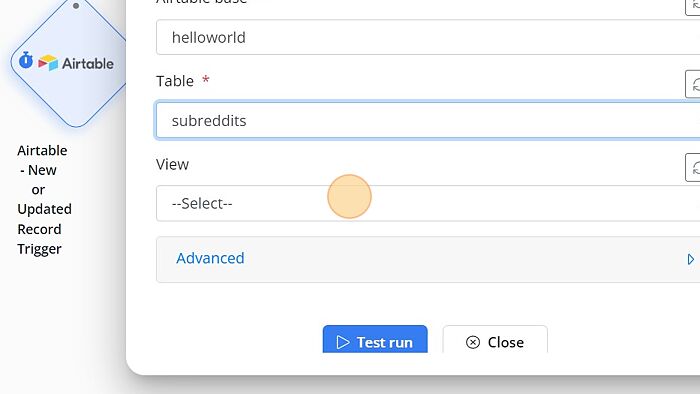
Step - 5. Select the Airtable Base in the Base name field of the configuration window. For this document, we have selected helloworld.
Step - 6. Select the table name in the table name field of the configuration window.
Only the data matching the view shall be returned if the Airtable view is specified. If it's not specified, then all the data from the table is returned.
You can find the View name below the Table field in the pop-up window.
Step - 7. Select the view name in the view field of the Airtable configuration window.
Step - 8. Click "Advanced" to select the Polling trigger.

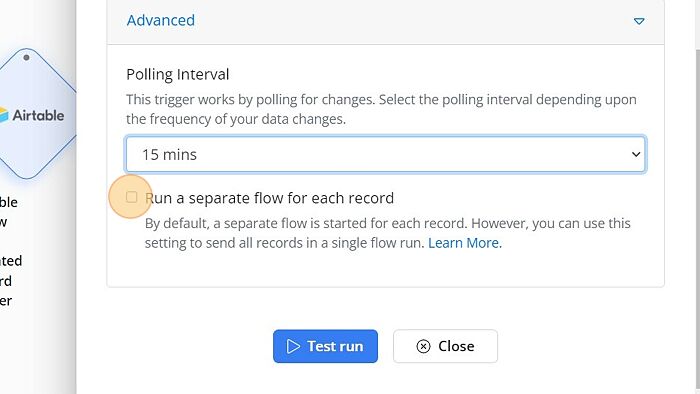
Step - 9. Select the poll period from the drop-down to trigger the flow in a regular time period. Choose the poll period according to the frequency of data changes in your Airtable.
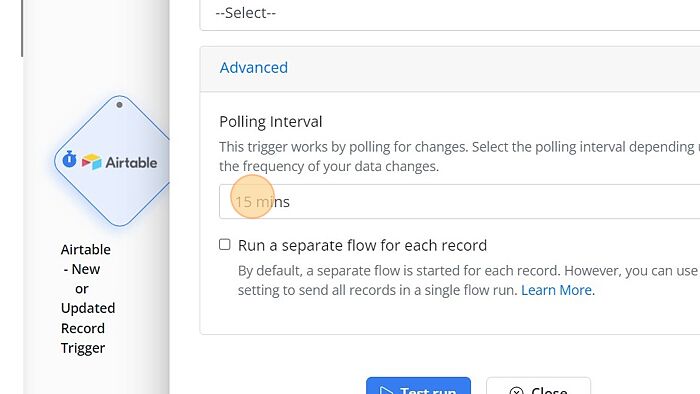
You can select the "Run a separate flow for each record" field by checking the box below Polling Interval field.
Step - 10. Click "Test run" to check whether the trigger has been successfully configured.
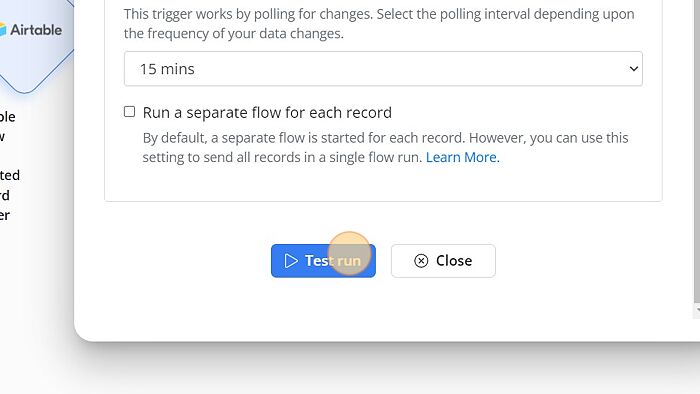
The green indicator shows that the Airtable Trigger node is successfully configured.
Your Airtable Trigger node has been configured successfully.