Running a flow

In this guide, we will discover how to run a Byteline flow.
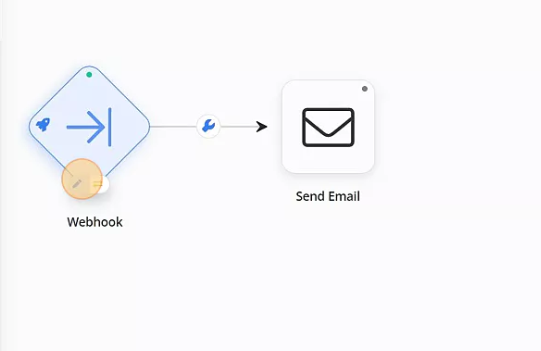
For this documentation, a simple Byteline flow is assumed that consists of a Webhook node and Send Email node. So basically, you're delivering real-time Webflow notifications via email.
We have assumed that you have created the structure of your flow successfully.
Please look into How to create your First Flow Design document to understand the steps required to create these flows.
Running flows
On this page, three methods of running a flow are explained.
Method 1 - Webhook
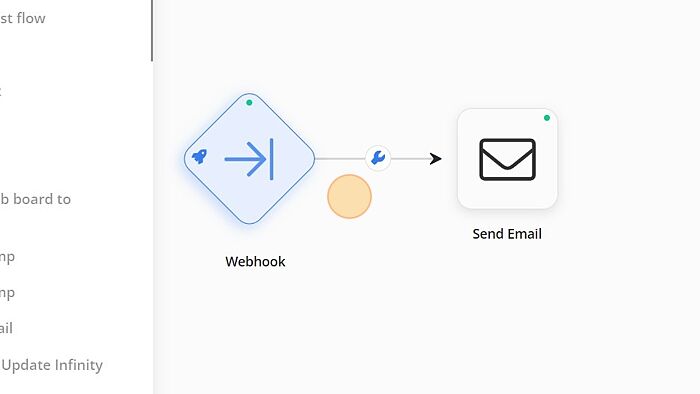
The webhook trigger node collects user data from the back-end via URL and sends real-time information to the Send Email node.
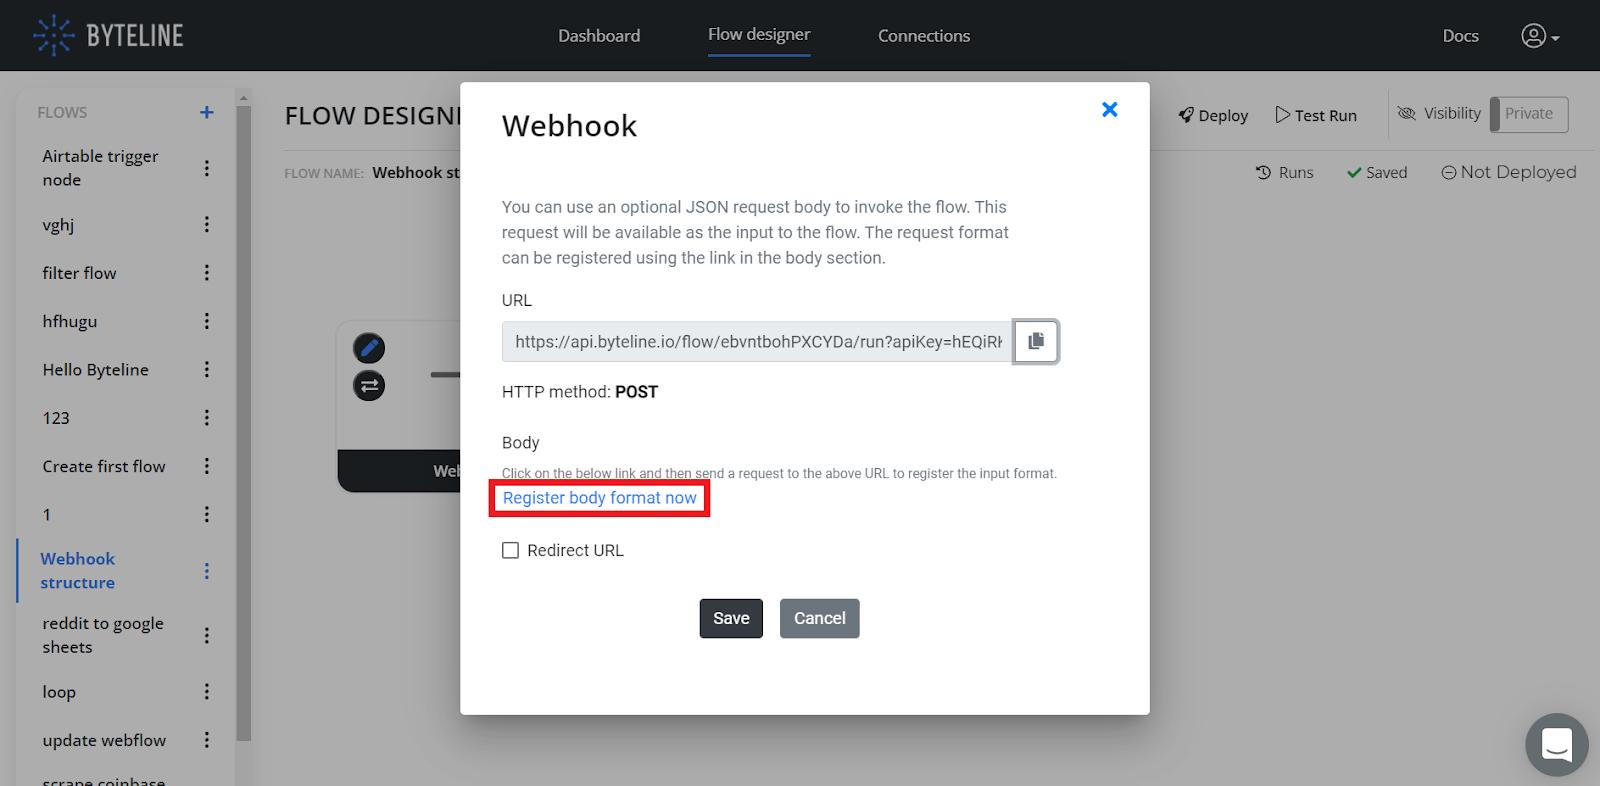
Click on the edit button to configure the webhook trigger node.
Step 1: Click on Register body format now to capture the request body from any tool such as Postman. You can also submit your forms to this URL to register the data structure.
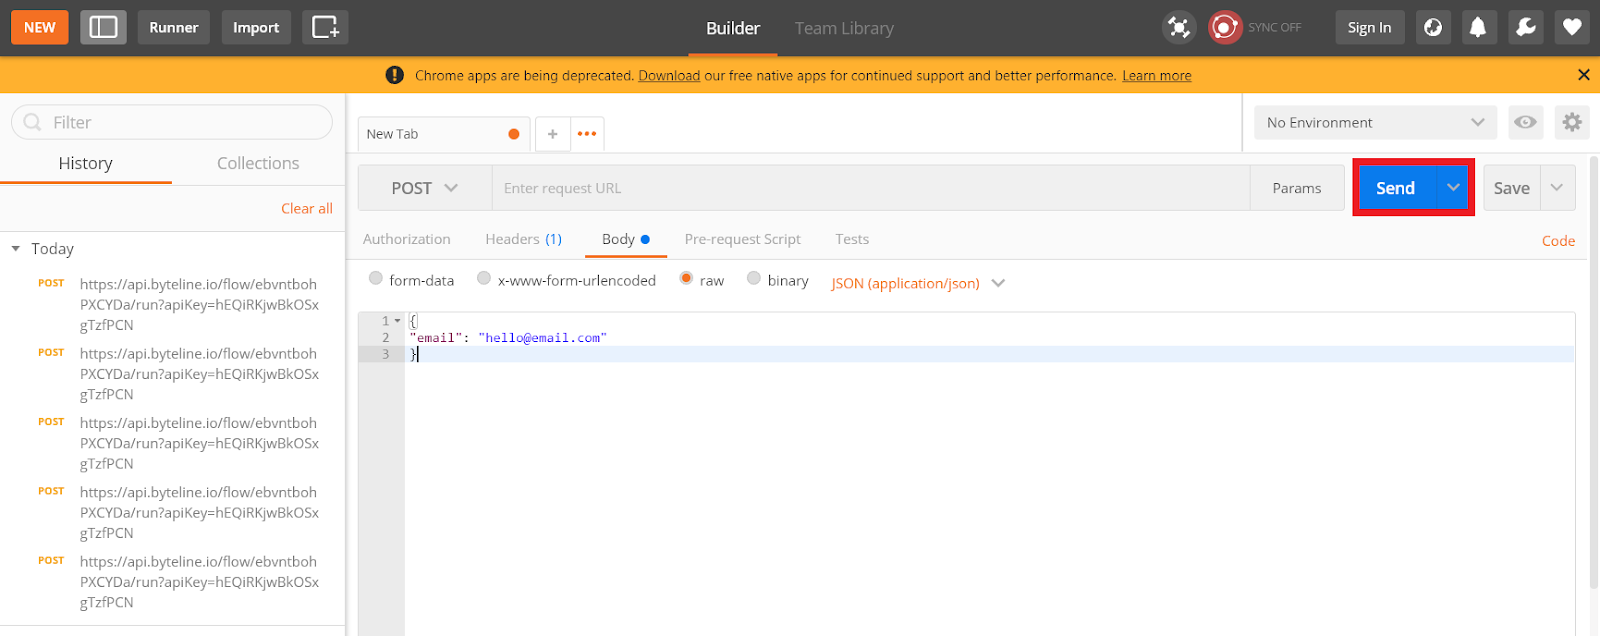
Step 2: Paste the webhook URL in the Postman enter request URL field.

Step 3: Select the Post method to call API for posting the data.

Step 4: Enter the body you want to post, for example:{" email": "hello@email.com"}

Step 5: Click on the Send button to post to that Webhook URL.
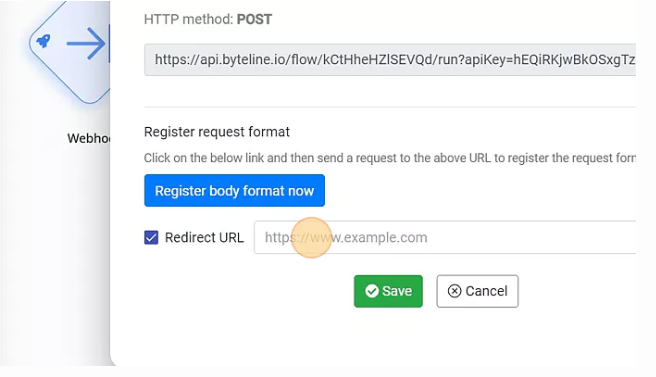
You can check the redirect URL checkbox, which redirects the browser to the provided URL. This is only used when calling the flow directly from a web page element.
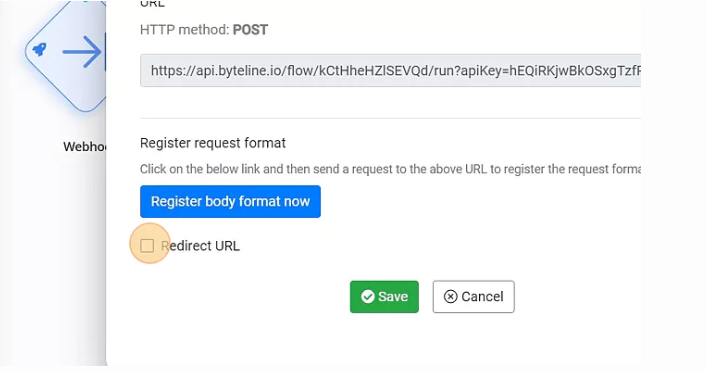
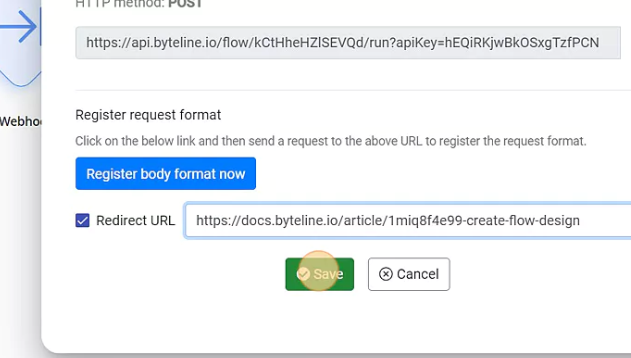
Enter the Redirect URL.
Step 6: Click the Save button to save the webhook node configuration.
Step 7: Make your flow live. Now your flow will run through the provided URL.

Method 2 - Applications Triggers (e.g., Airtable Trigger)
In this method, we assume the flow is initiated with an Airtable trigger node, but you can use any Application trigger e.g. RSS trigger, Webflow CMS - New Item trigger, and others.
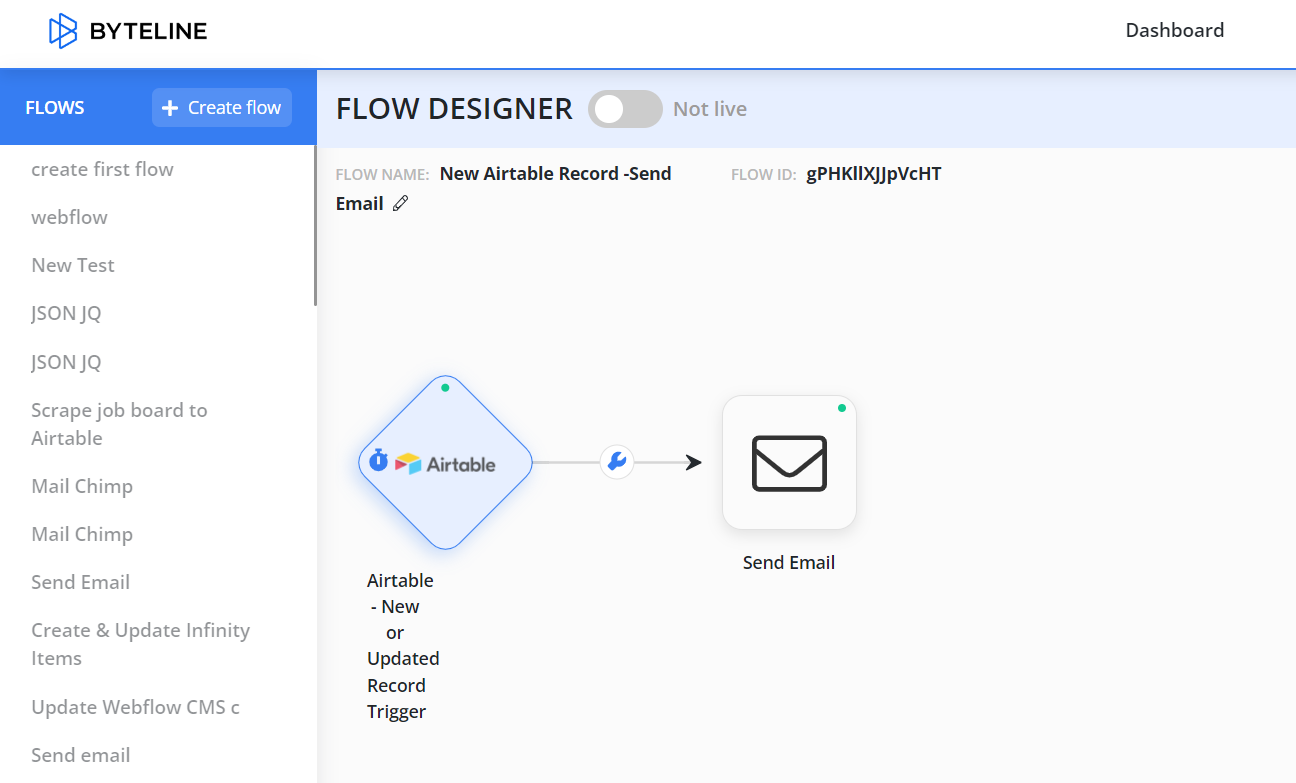
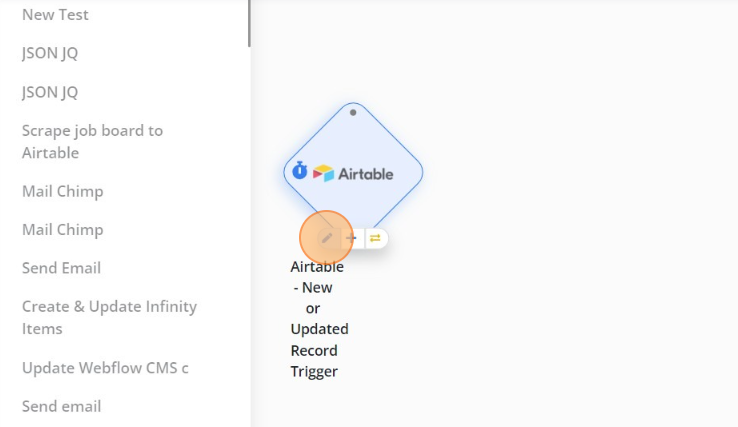
You can configure the Airtable trigger, which runs the flow whenever a new record is created or updated in the Airtable.
Step - 1. Click on the edit button to configure the Airtable trigger node.
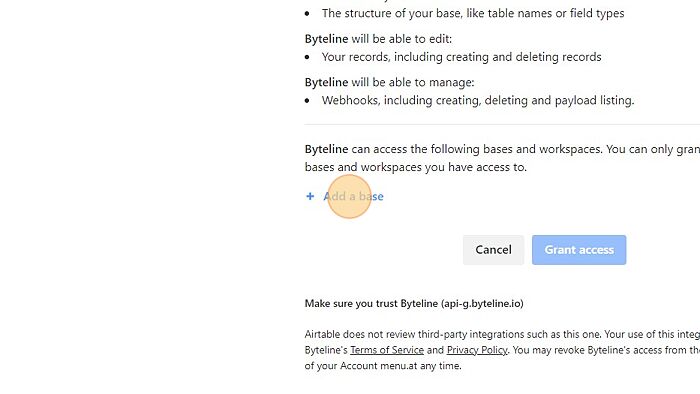
Step - 2. Clicking "Sign in to Airtable" you will be redirected to your Airtable Account to get your Airtable Base ID.

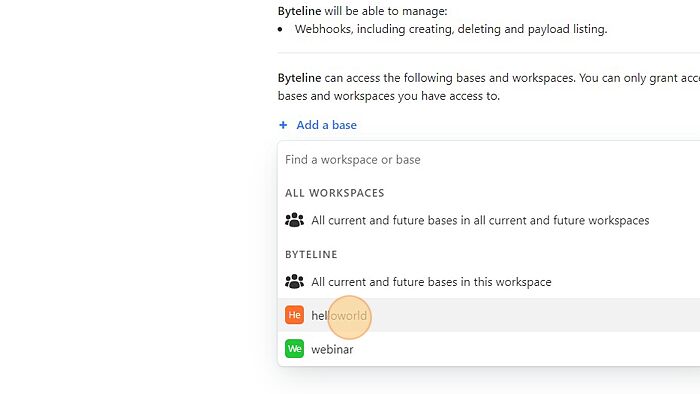
Step - 3. Log in to your Airtable account with your email and password. Select your base from the Add a base dropdown menu. These are the Airtable base IDs configured into your Byteline account.
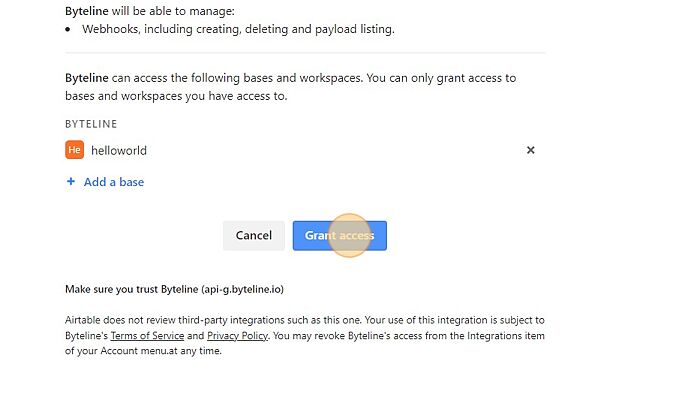
Step - 4. For example, in this documentation "helloworld" is the selected base in this workspace.
Step - 5. Click "Grant access" so that Byteline can access the base.
Step - 6. Execute the Test Run to make sure it's configured successfully.
Step - 7: Add and configure other task nodes to your flow.
Step - 8: Make the flow live

Method 3 - Scheduler
In this method, we are assuming; the flow is initiated with a Scheduler trigger node.
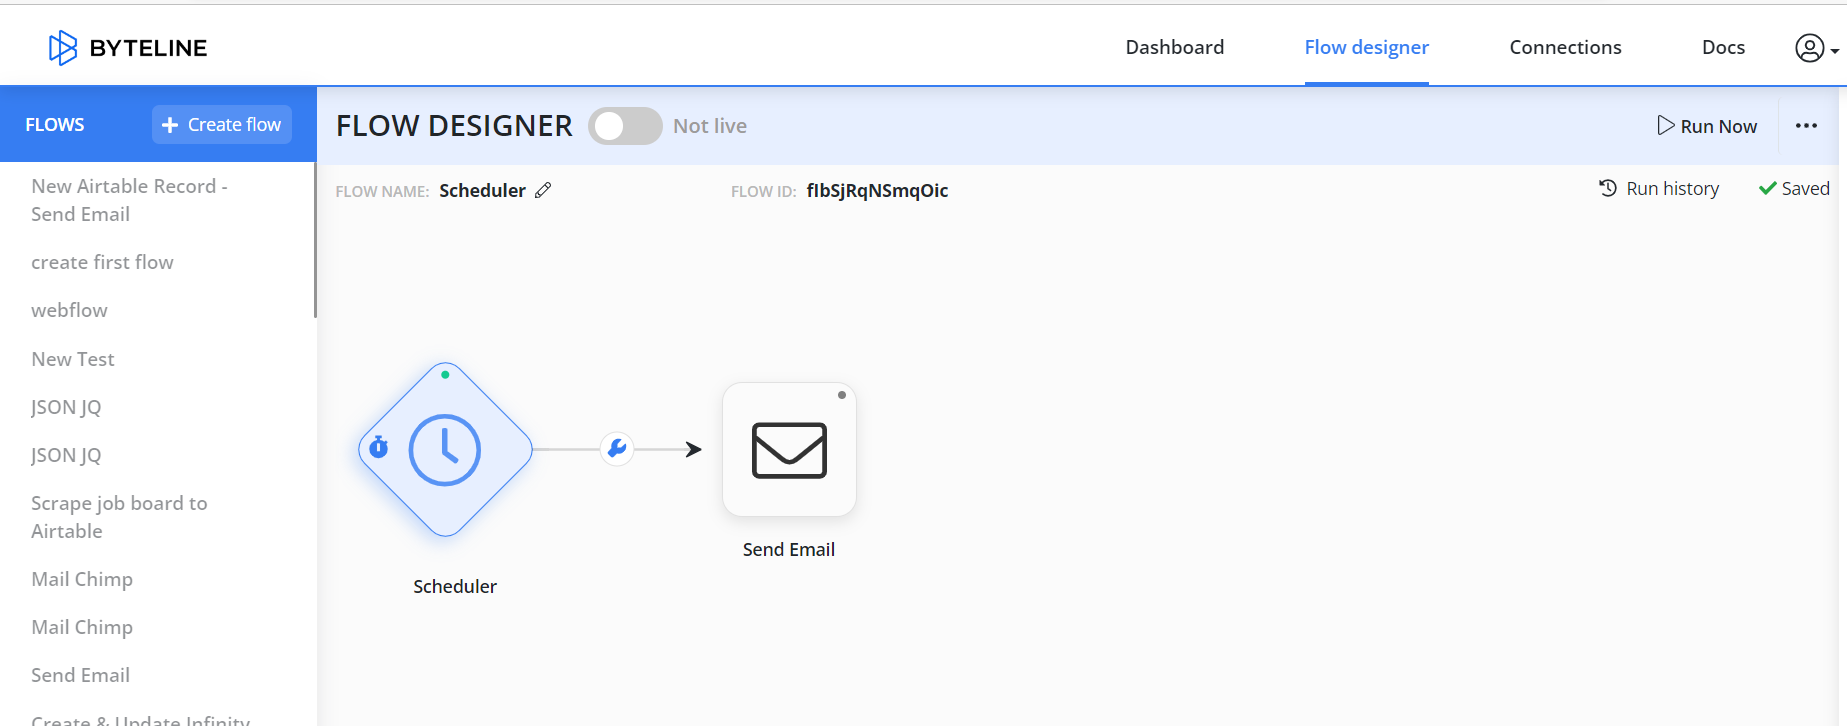
You can configure the scheduler to run the flow hourly, weekly, monthly, or daily.
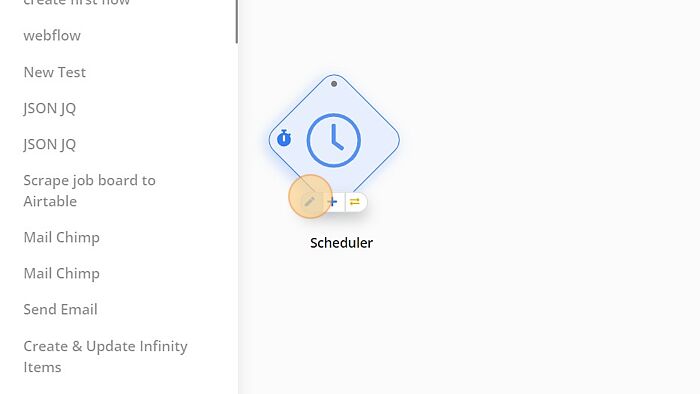
Click on the Edit button to configure the Scheduler trigger node.
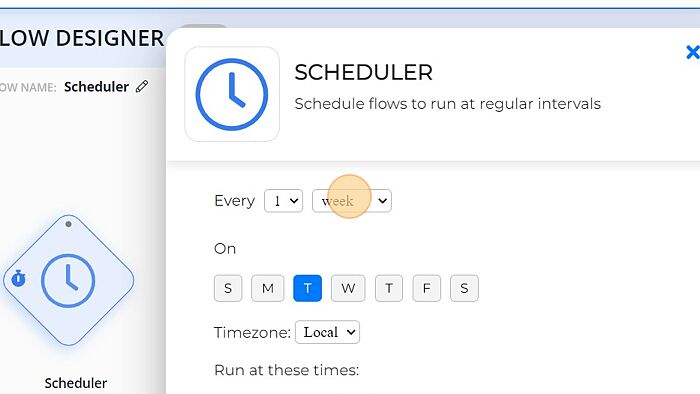
Step - 1. Select any of the following scheduling options from the scheduler dropdown menu:
Day: To schedule a day, you must select UTC or Local time zones from the dropdown menu and set the time to run the flow accordingly.
Hourly: To schedule hourly, you only need to select any options from the dropdown to run the flow after every 1 hour, 2 hours, or 3 hours. For example, if 2 hours is selected, the flow will run every 2 hours.
Weekly: To schedule your email weekly, select the multiple weekdays you want to send the email. Choose any of the options from the Every dropdown to determine the frequency of running the flow. Set the scheduled time as per the GMT timezone. For example, You went for the weekly option, selected Monday at 09:00 AM, and chose "2" to run the flow every two weeks.
Monthly: To schedule your email monthly, select the date you want to send the email. Choose any options from the Every dropdown to specify how often you want to run the flow. Set the scheduled time as per UTC or Local timezone and hit the save button. For example, you went for the weekly option, selected day 15 at 11:00 AM, and chose "1" to run the flow once a week.
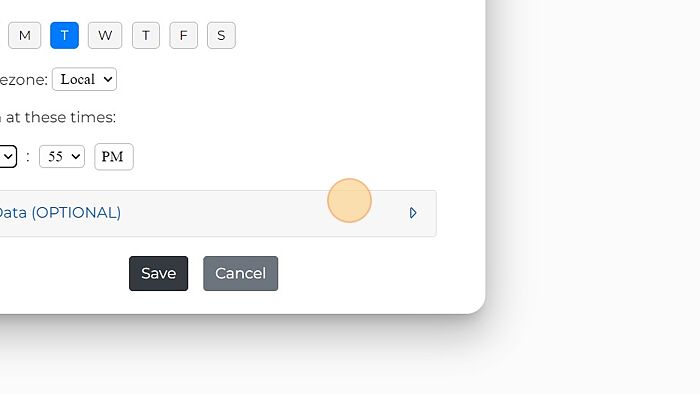
Step - 2. Select UTC or Local time zones from the dropdown menu in the configuration window.
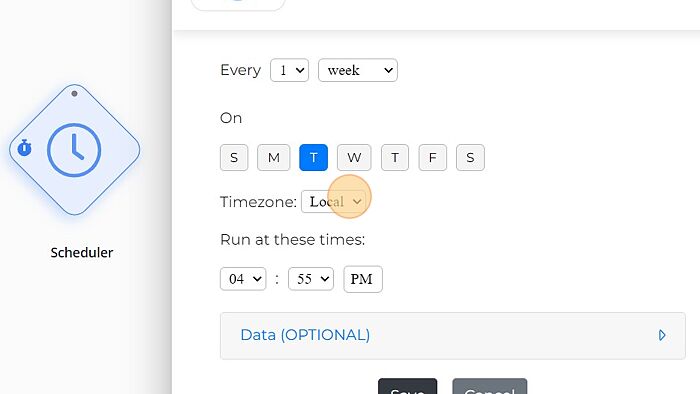
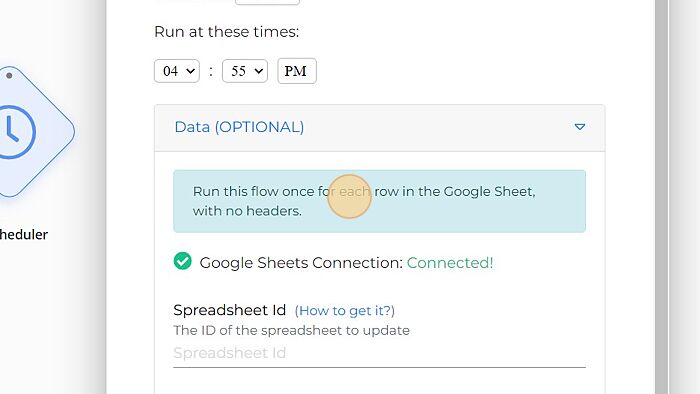
Step - 3. Click "Data (OPTIONAL)"
Step - 4. Enter the Spreadsheet Id in the field to post the spreadsheet data into the flow.
Once you have configured the Scheduler node, you will need to configure Send Email node to send emails to users at the pre-scheduled time.

Step - 7: Add and configure other task nodes to your flow.
Step - 8: Make the flow live
Feel free to connect us with any doubts.