Managing your flows

In this guide, you will understand how to manage the back-end flows for your websites and applications. It is easy to delete, edit, clone, and customize your flows on Byteline.
Let's get started.
Create Flow
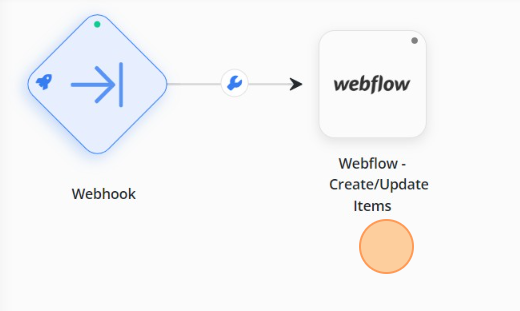
First, you will need to create your flow design by connecting the multiple nodes. To create your flow, you can check out the steps outlined in how to create your first flow guide.
Rename Flow
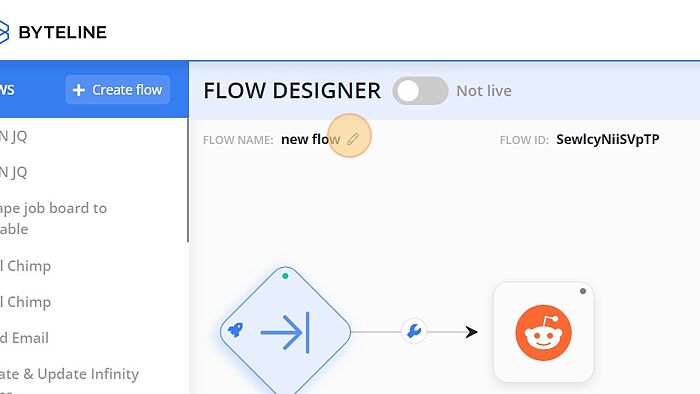
When you create your flow, you assign a name to it. However, if you want to change the name of the flow, then you can simply rename it. Follow the below-mentioned steps:
Step - 1. Select the Edit button next to the Flow Name.
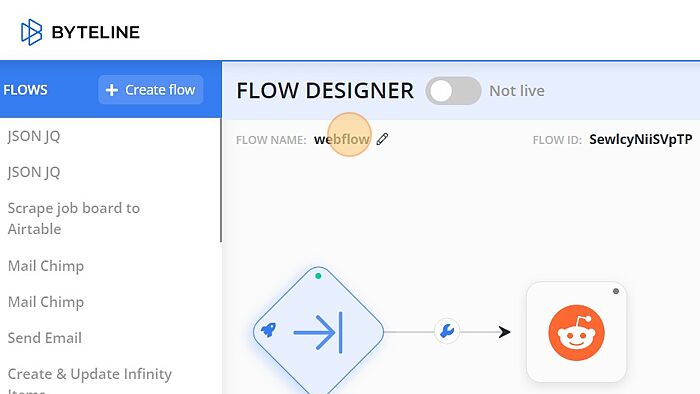
Step - 2. Rename the flow and click on the check button to save your changes.
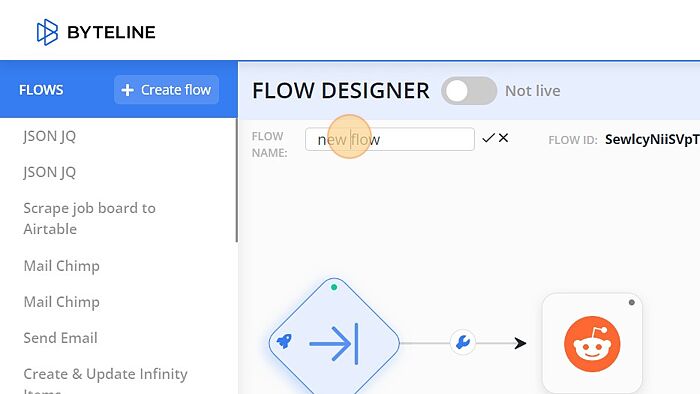
The flow will be renamed successfully.
Share Flow
To share your flow with anyone, you will need to switch flow access from private to public. As such, the URL of your flow will become public and shareable with others. With a public link, other users will be able to analyze the flow in the read-only mode.
Change Access
To change the access of the flow, follow the below-mentioned steps:
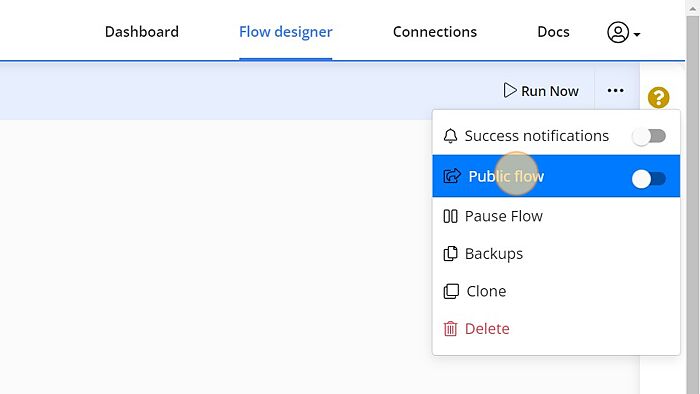
Step - 1. Click on the Vertical Ellipsis button on the top-right corner of the console and the public access window shall appear in the dropdown.

Step - 2. Click "Public flow"
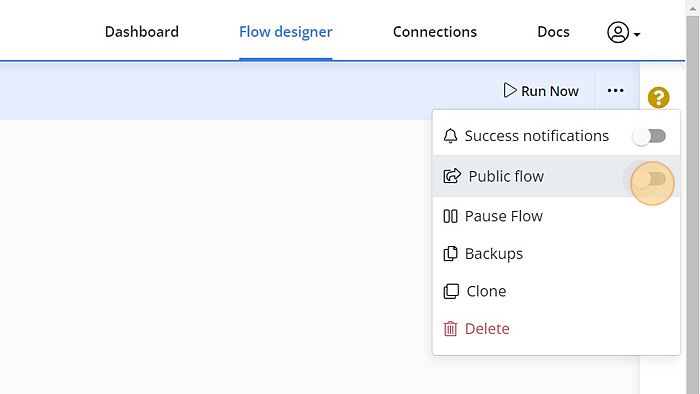
Step - 3. Click the Toggle button to change access.
Step - 4. In the public access window, you will need to enter a description of the flow in the description box (at least 80 characters).
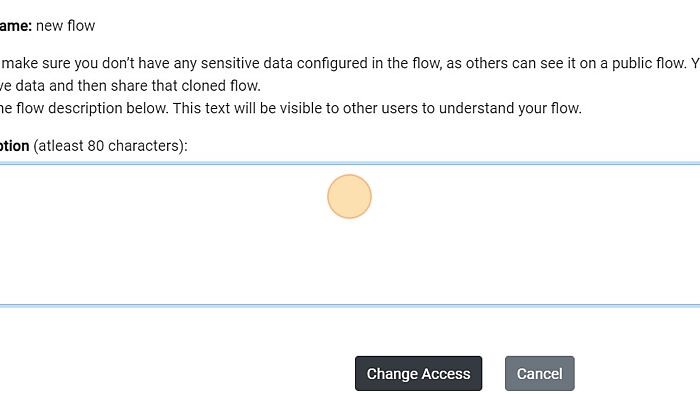
Step - 5. Click "Change Access" button to grant the flow public access.
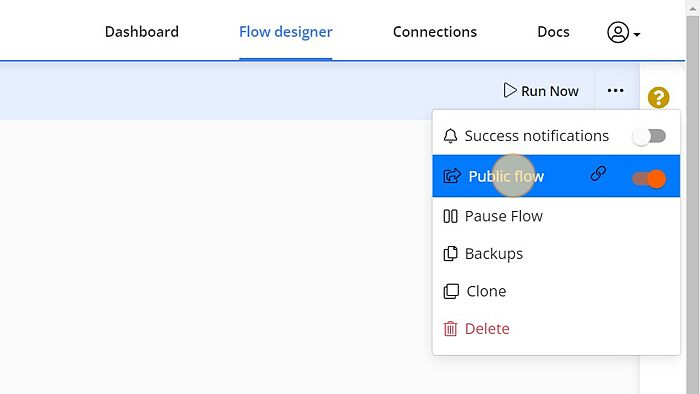
Now you have changed the access successfully.
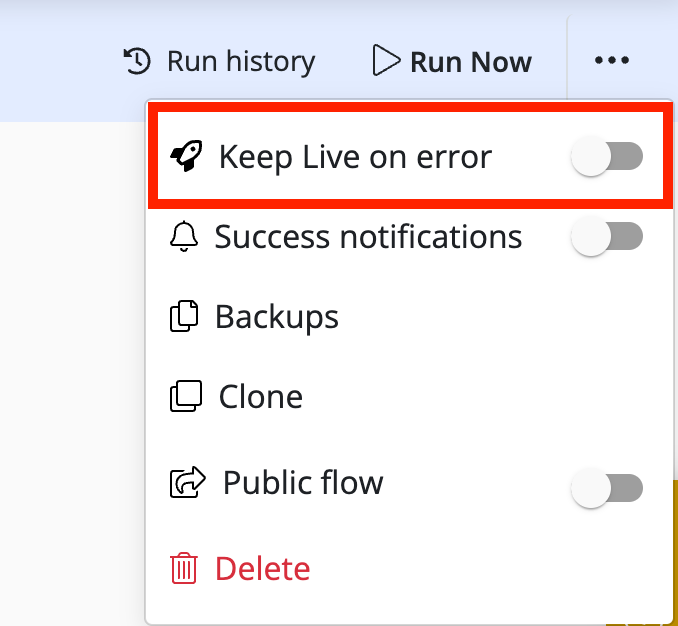
Keep Live on errors
A flow usually stops after getting errors in a row. However, this behavior can be turned off by clicking the ellipsis button on the top-right corner. Now toggle the "Keep Live on error" button.
Send Public Flow Link
To send the public flow link, follow the below-mentioned steps:
Step -1. Hit the Copy Link tab appearing at the top-right corner of the console to copy the public link of the flow.

The public link shall be copied to the clipboard and then you can send the flow to anyone.
Clone a public Flow
You can clone the public flow of any user to create an exact copy. The cloned flow will be independent of the original flow and can be customized for your settings.
To create a clone of a public flow, follow the below-mentioned steps:
Step -1: Click on the public flow link from another Byteline account.
Step -2: Enter the name of the new flow and this flow will appear in your account.
You have successfully cloned the flow with a public link.
Clone your flow
If you want to experiment with the settings of a working flow, you can clone a copy of the flow. It allows you to modify and update the clone copy while keeping the original copy intact.
To clone your flow, follow the below-mentioned steps:
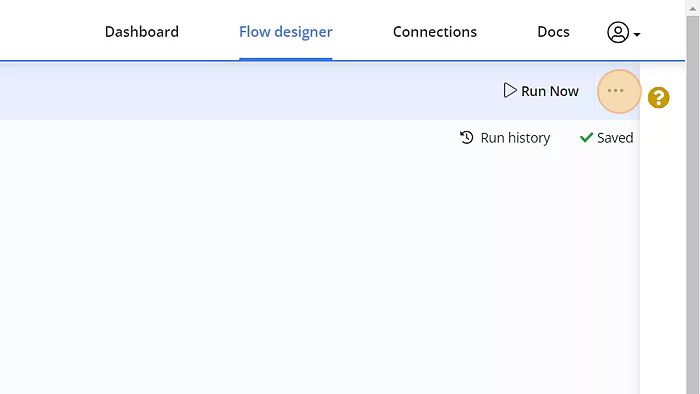
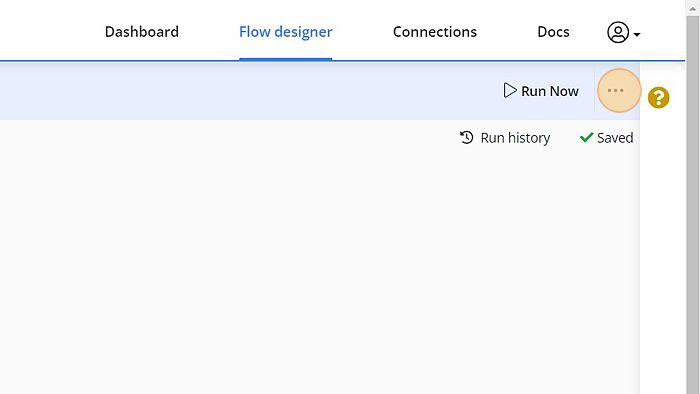
Step -1. Click on the ellipsis button on the right side of the Byteline console.
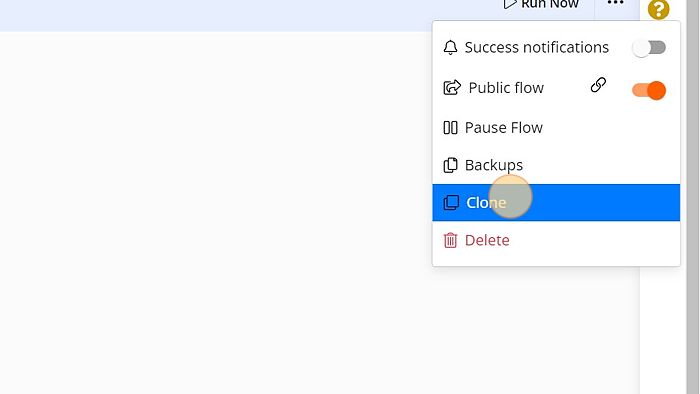
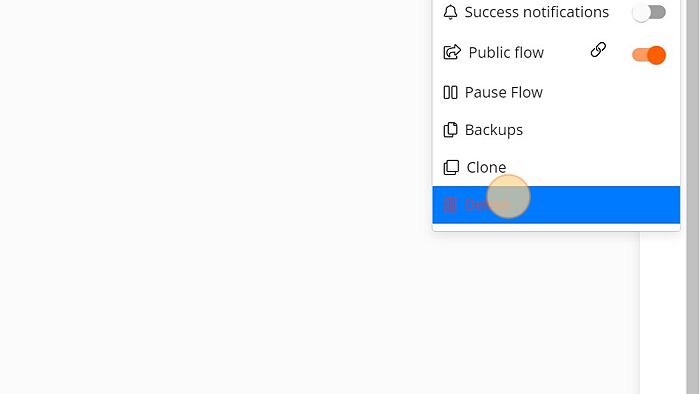
Step - 2. Select the Clone button in the menu to make a copy of the flow.
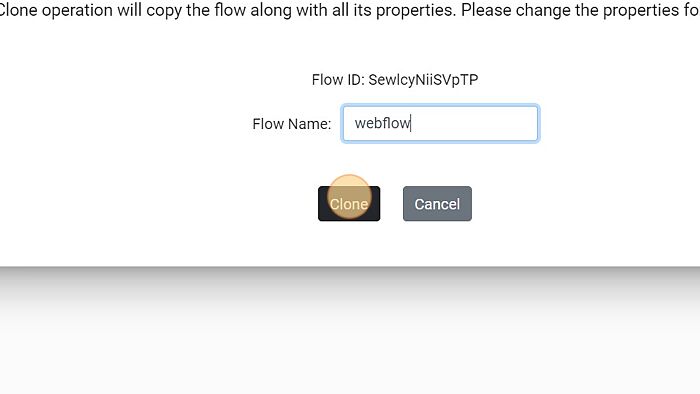
Step - 3. Clone a Flow pop-up window shall appear on the console. Enter the flow name for the clone copy.
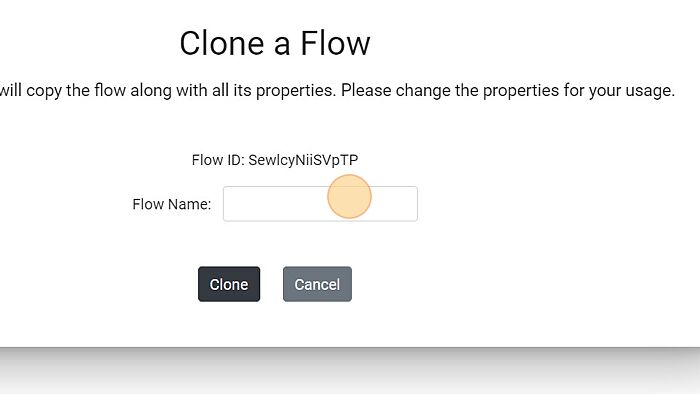
Step - 4. Click on the Clone button for confirmation.
Step - 5. The flow will be cloned successfully.
Delete Flow
To delete any of the flow, follow the below-mentioned steps.
Step - 1. Click on the ellipsis button on the right side of the Byteline console.
Step - 2. Select the Delete button in the dropdown to delete the flow.
Step - 3. Click "Delete" to confirm.
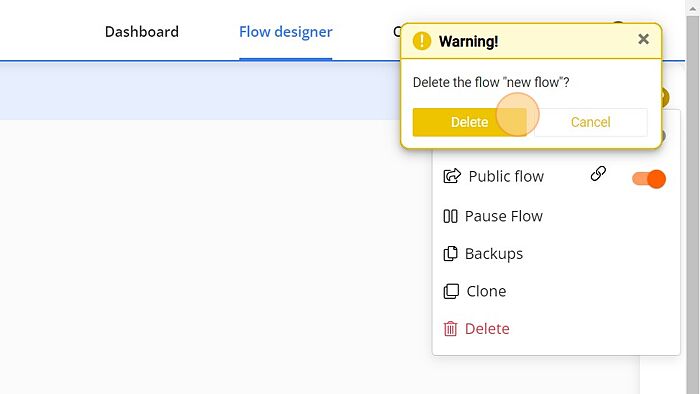
The flow will be deleted successfully.
Thus, Byteline allows users to create, delete, edit and clone features to manage flow design.