Code

In this step-by-step guide, you will understand how to configure a code node for your website or application. The Byteline console allows you to write down your logic in the JavaScript code only.
Let's get started.
Create Code node
Step-1: To create a flow design check the How to create your first flow design.
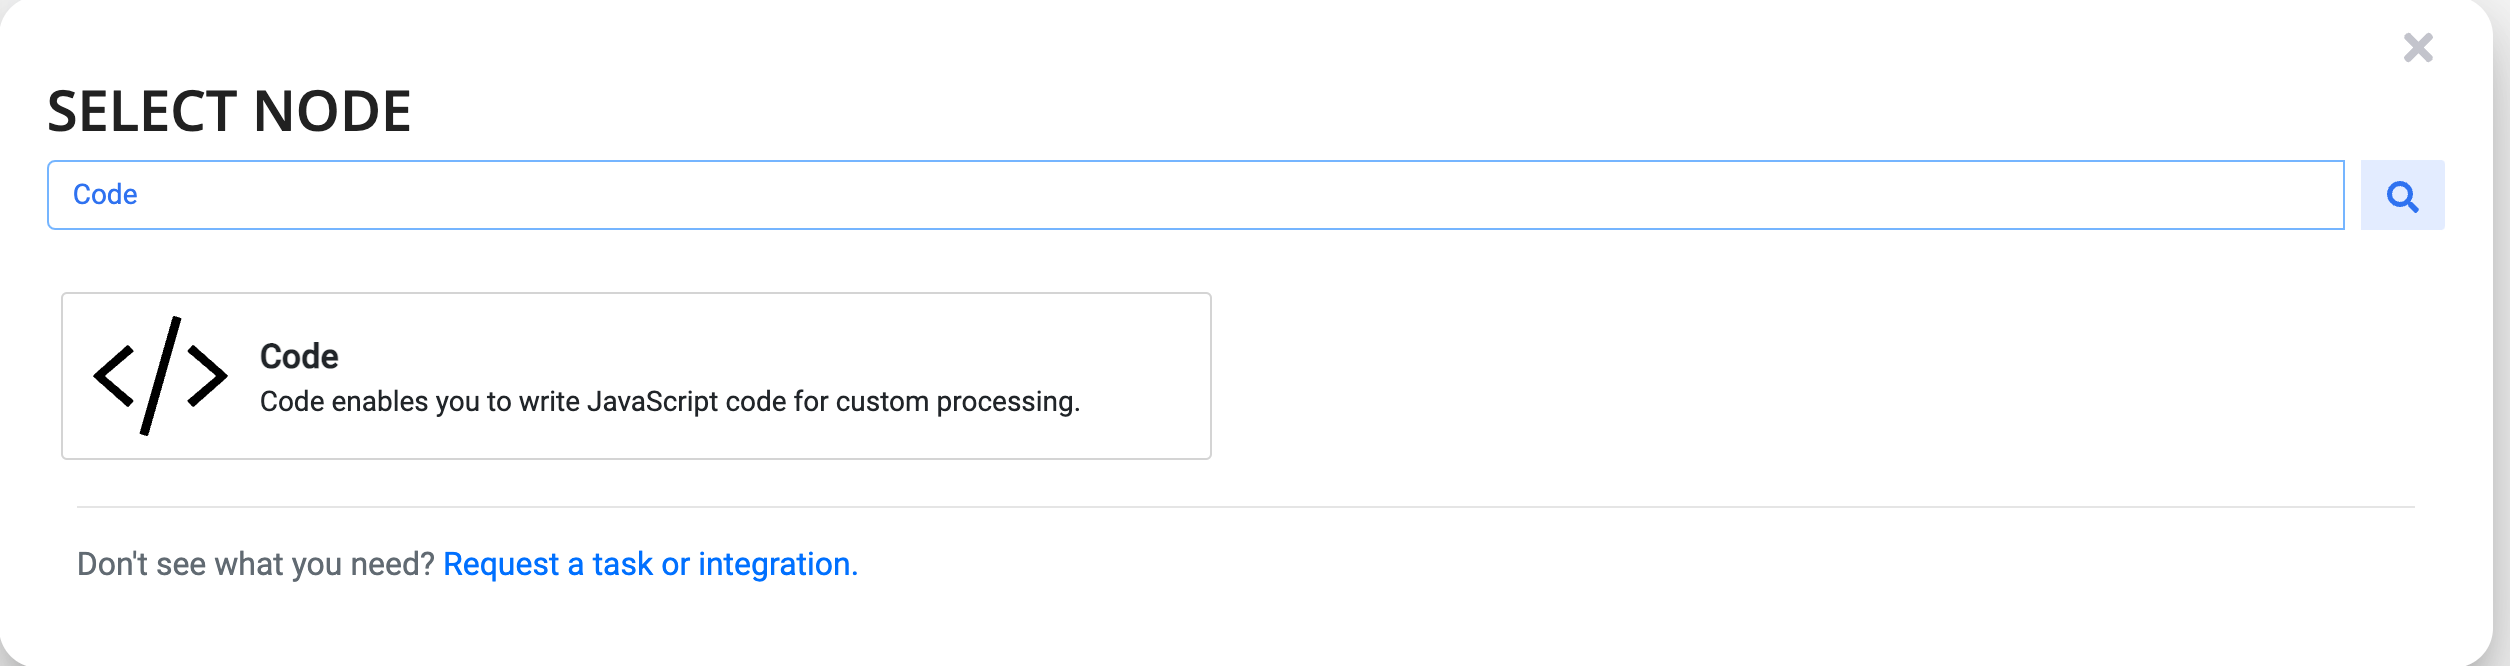
To add a node for the Code task, click on the add button in an existing node on the flow, and the below screen is opened.
Configure the node
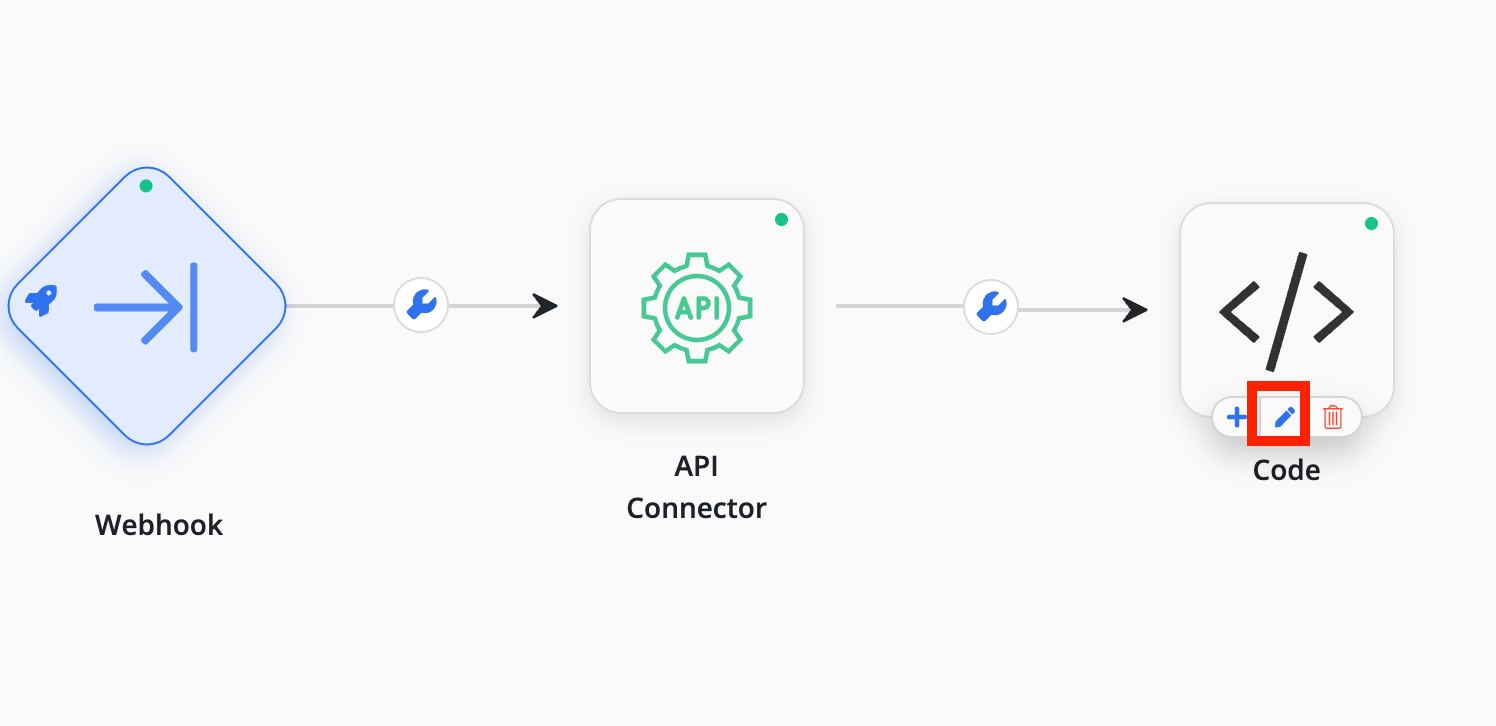
Step-2: To open the code configuration dialog, tap on the edit button of the code node.
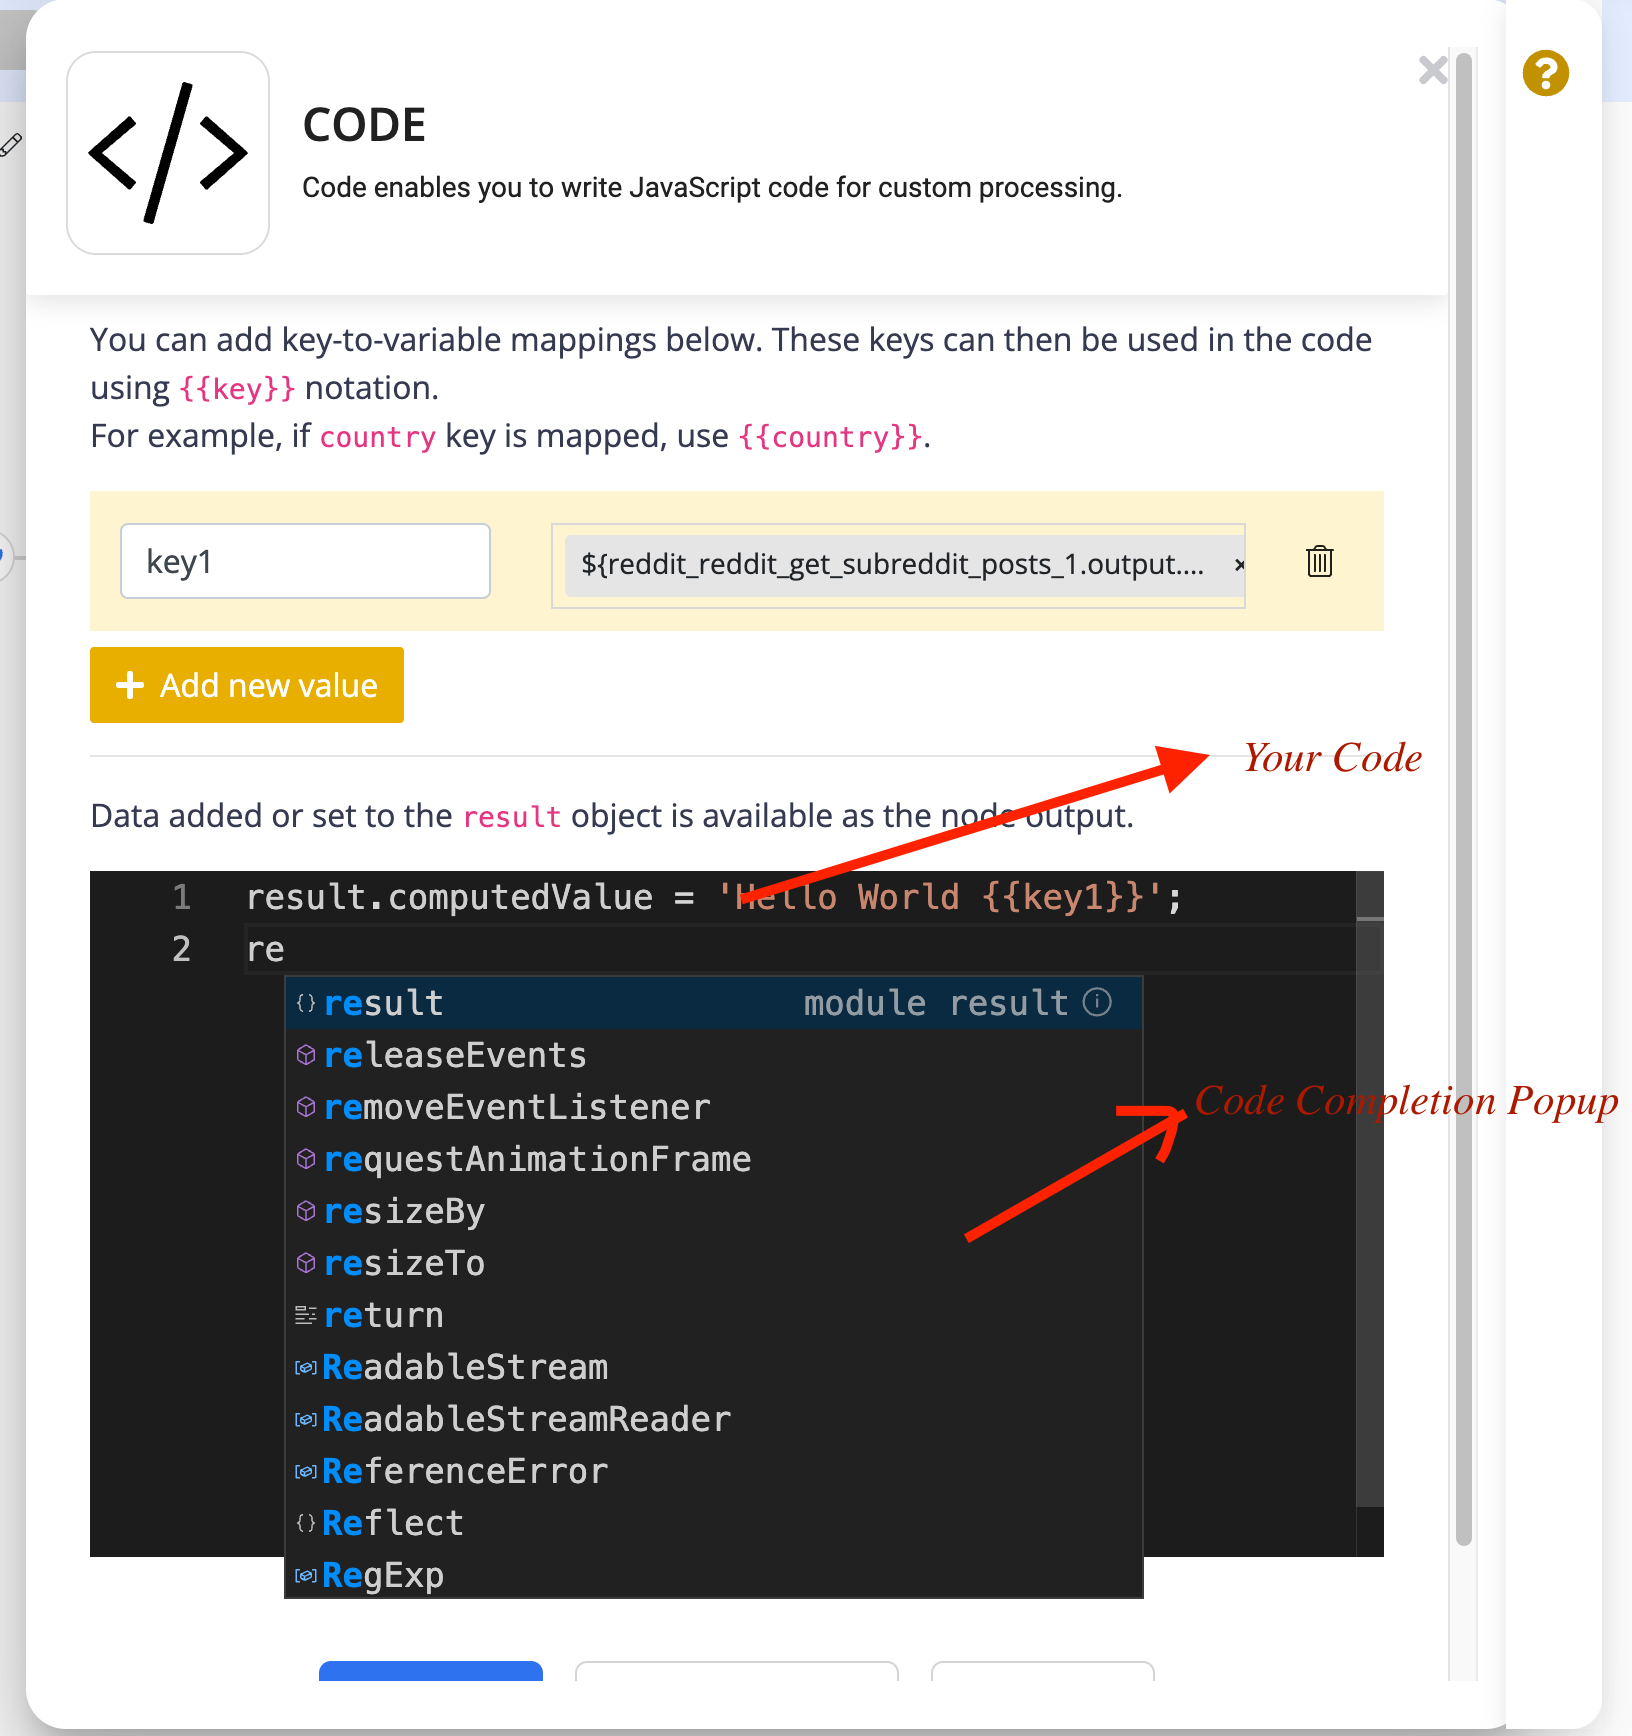
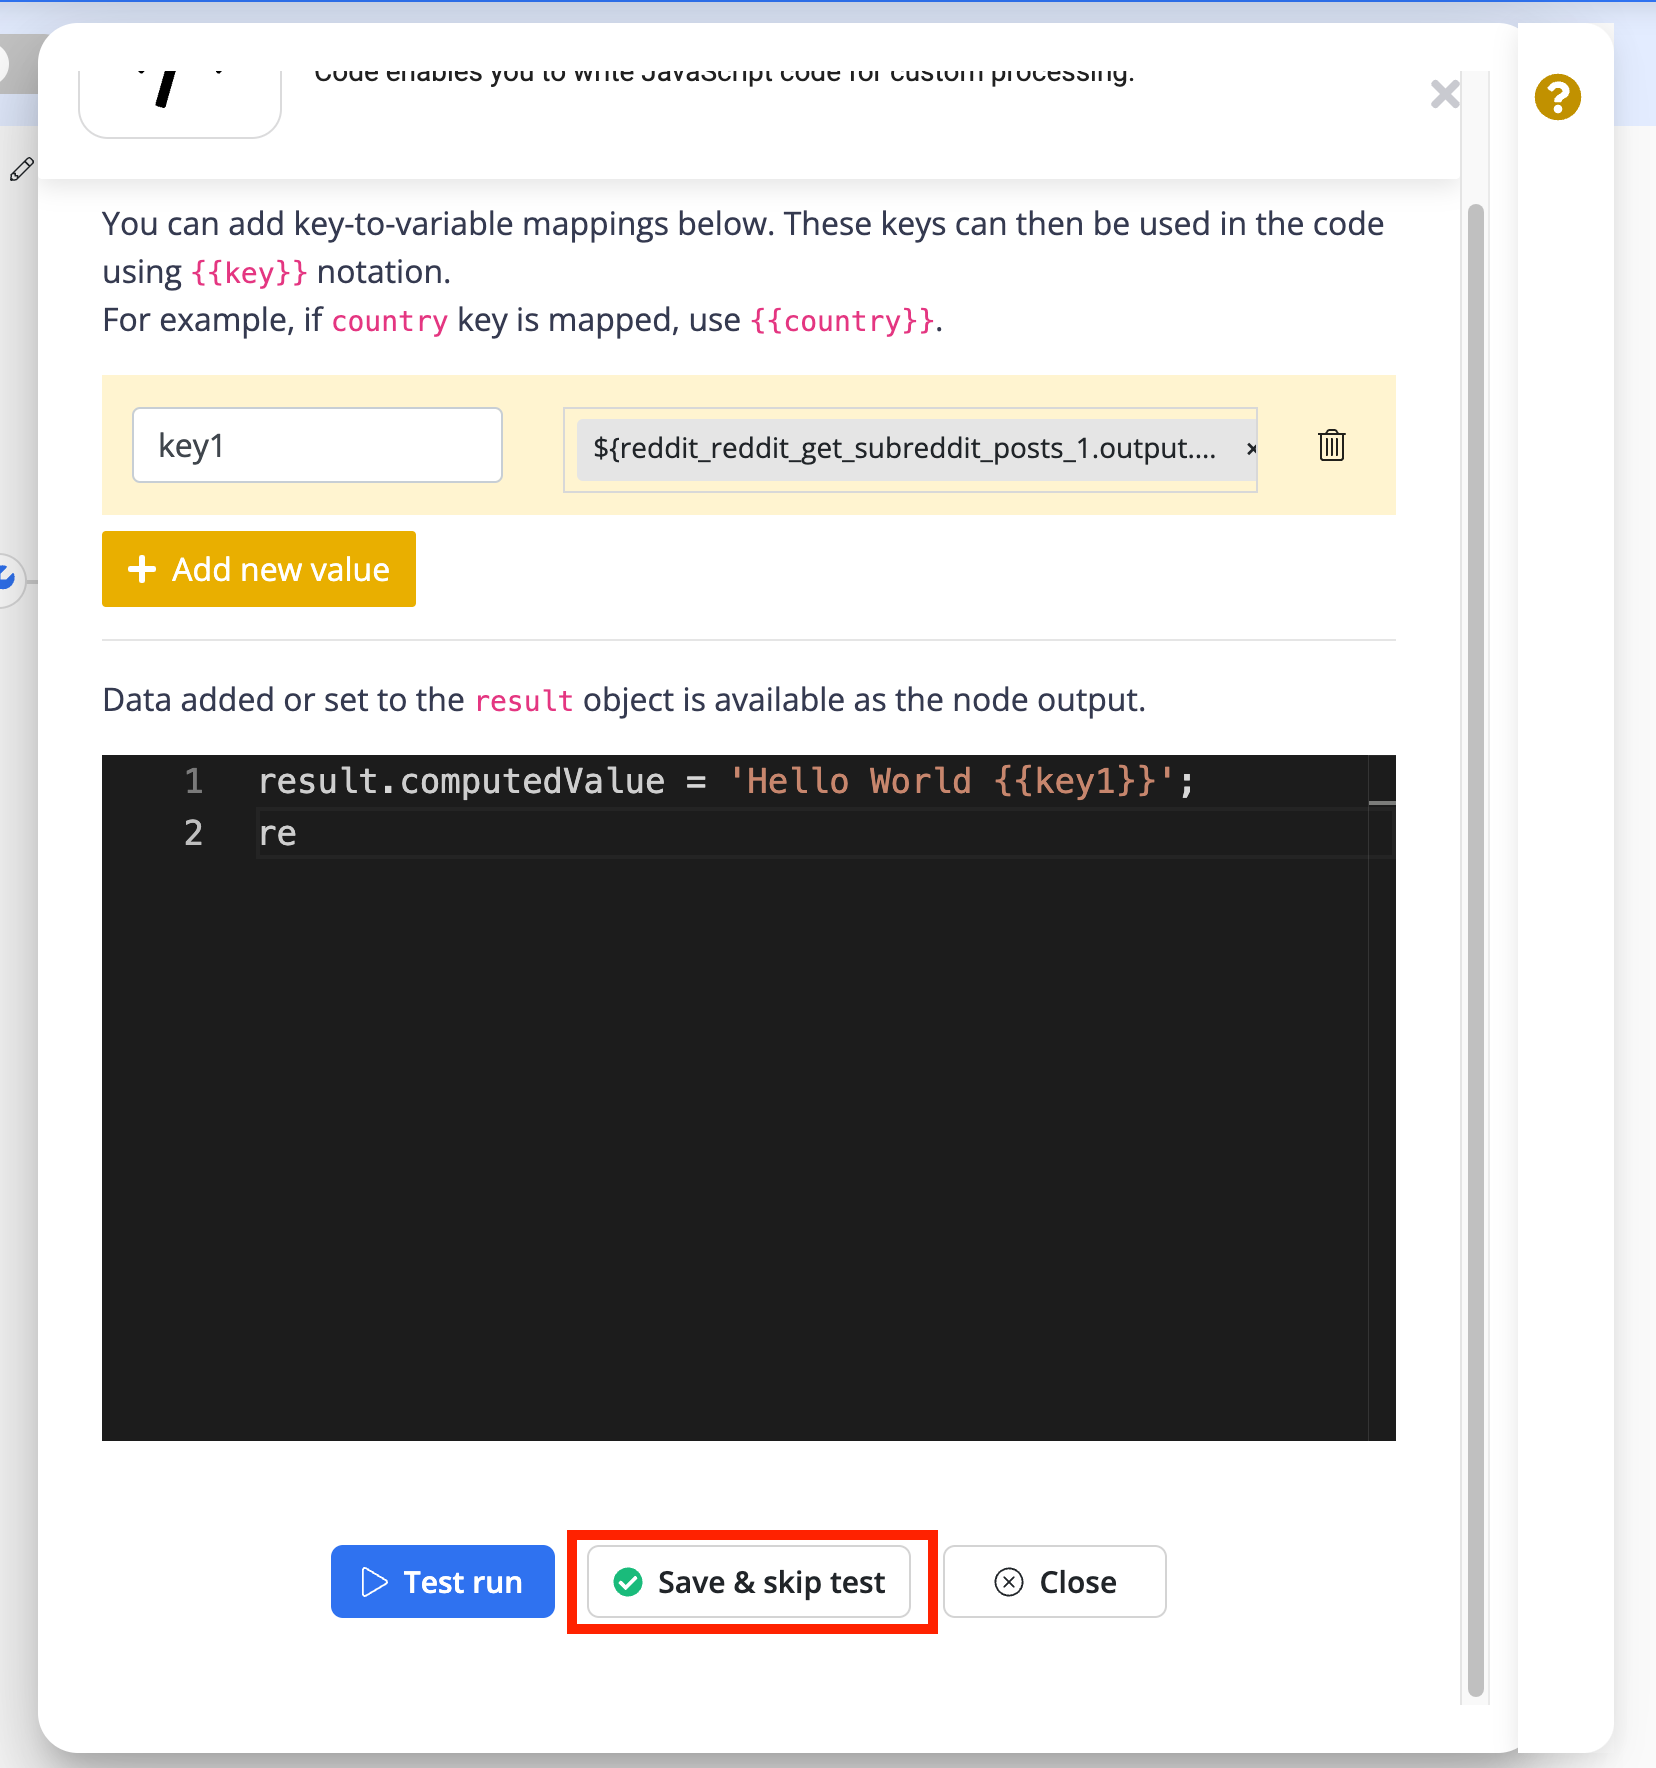
Step -3: Write down your JavaScript code in the editor window and it also supports the code auto-completion feature. Any data that you want to output from the Code task should be set to the result object, as shown in the below example.
Note: Only JavaScript is currently supported.
var fields = "${simple_http_1.output.record[0].fields}";
for(var o in fields){
    returnJson.name = o;
    returnJson.value = fields[0];
}
result.computedValue = returnJson;
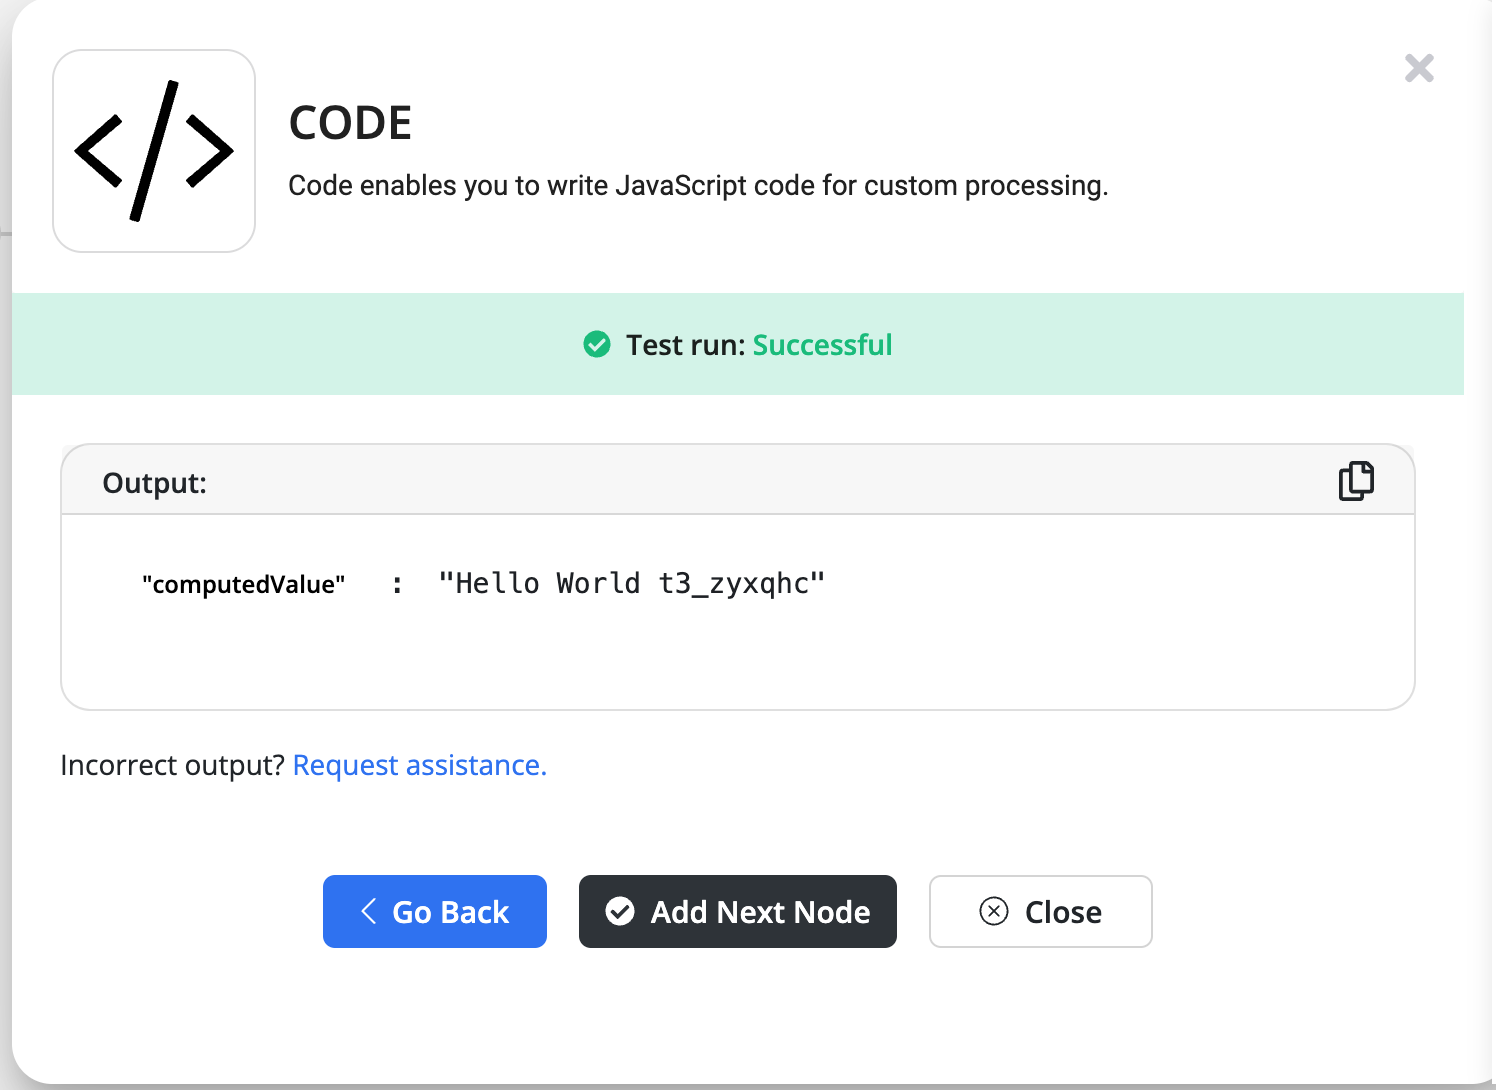
Step -4: Once you have completed your code, hit the Test Run or Save & Skip Test button.
Once you save the configuration, the indicator over the top-right corner of the code node will turn green.
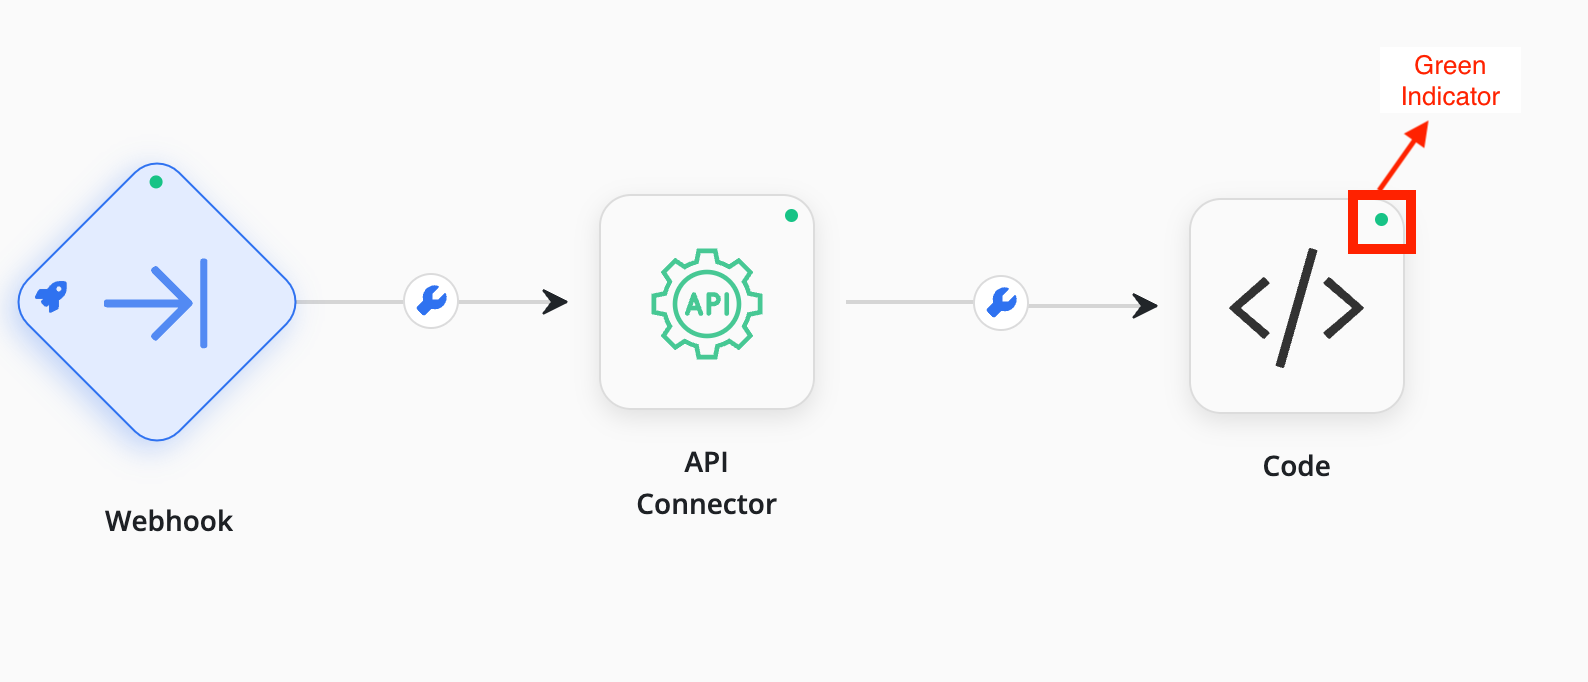
The green indicator shows that the simple HTTP node is successfully configured to your flow.
Your code node has been configured successfully. Feel free to connect us for any doubt.
Using Variables
You can use the key-to-variable mappings to refer to flow variables in the code. Multiple mappings are supported. These keys can then be used in the code using {{key}} notation.
When this task runs, the keys will be replaced by their values.

For example, the above code configuration produces the below result.