Pipedrive - New Lead Trigger

In this step-by-step guide, you will learn how to configure a Pipedrive - New Lead Trigger node for your website or application.
How to Configure?
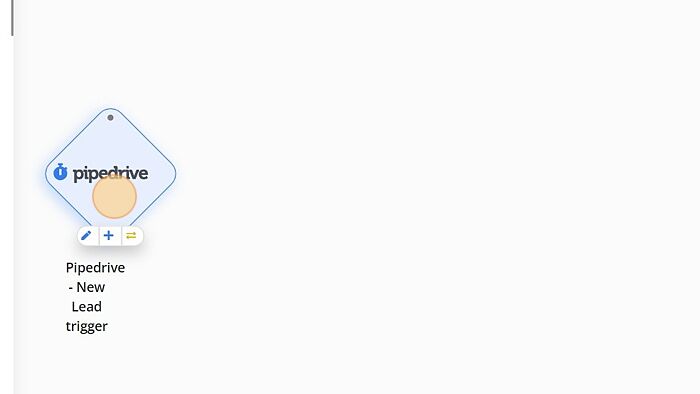
1. Click on 'Pipedrive- New Lead' trigger.
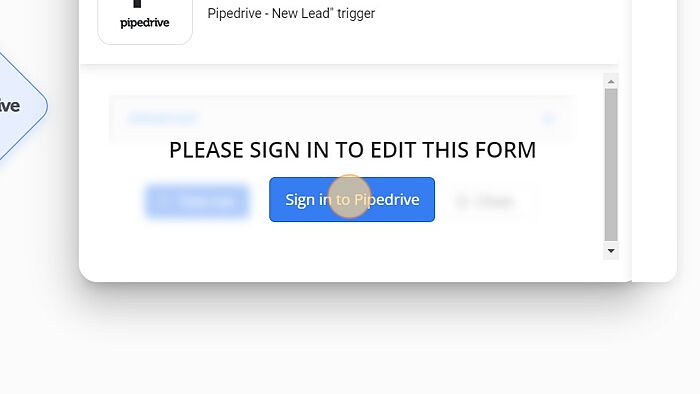
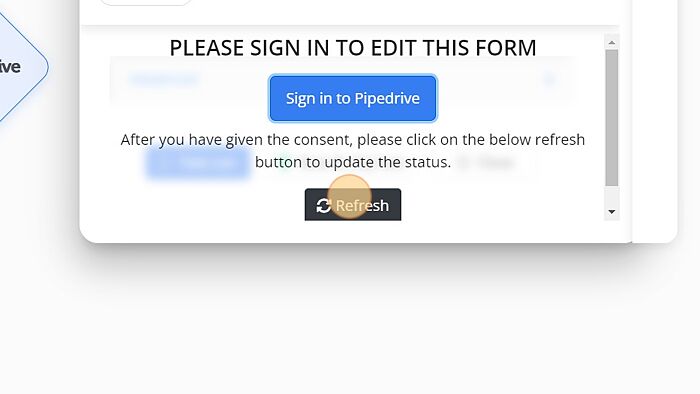
2. Click on 'Sign in to Pipedrive'.
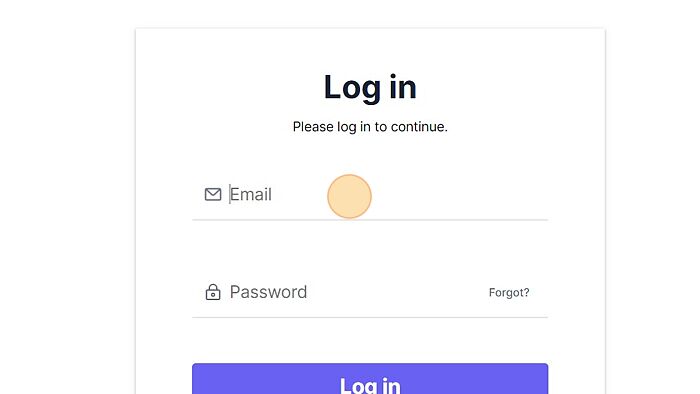
3. Login with valid credentials to Pipedrive.
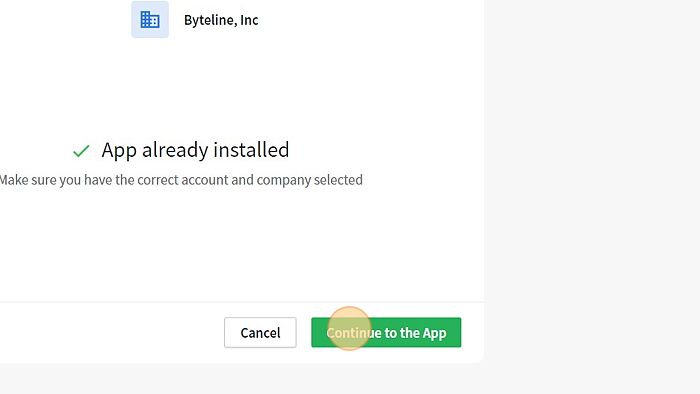
4. Click on 'Continue to the App'.
5. Click on 'Refresh'.
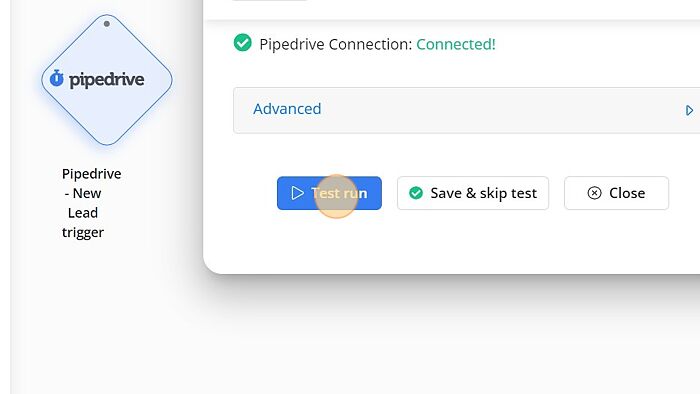
6. Click on 'Test run'.
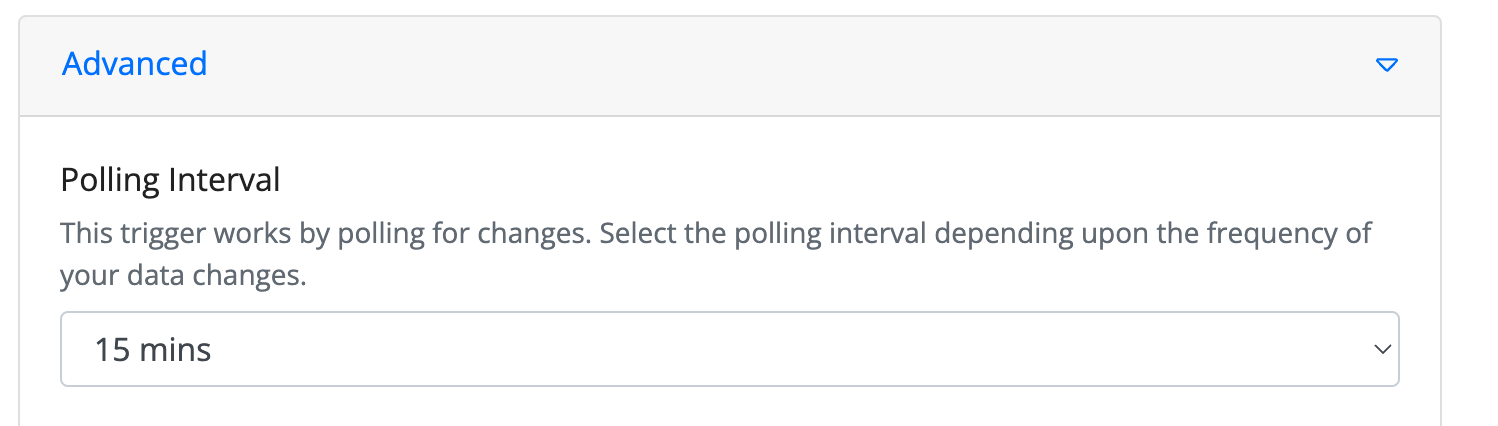
Advanced Settings
Polling Interval
Scheduled triggers work by polling for changes. You can modify this polling interval from the Advanced tab of any scheduled trigger.