Jira- Create Issue

Updated by Devinder Singh

In this step-by-step guide, you will learn how to configure a Jira- Create Issue node for your website or application.

How to Configure?

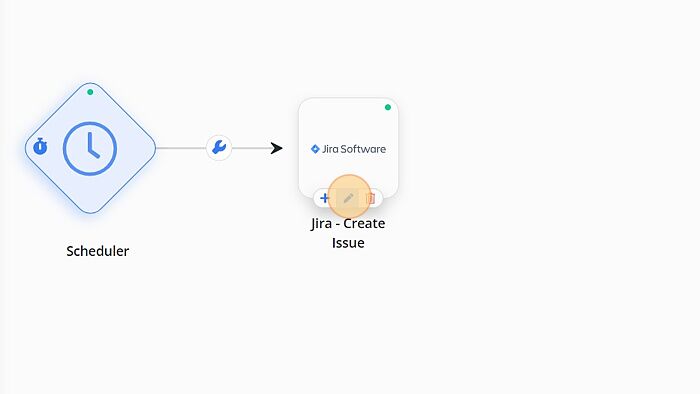
1. Click on 'Jira- Create Issue' node.

Screenshot of: Click on 'Jira- Create Issue' node.

2. Click on 'Sign in to Jira'.

Screenshot of: Click on 'Sign in to Jira'.

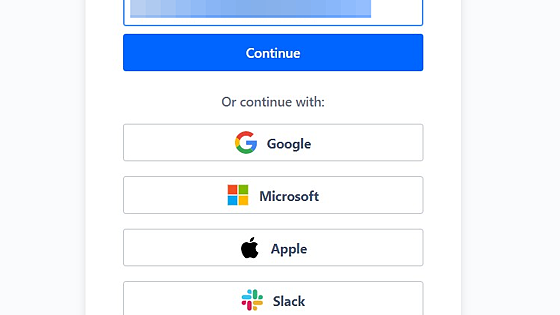
3. Enter a valid email address and click on Continue.

Screenshot of: Enter a valid email address and click on Continue.

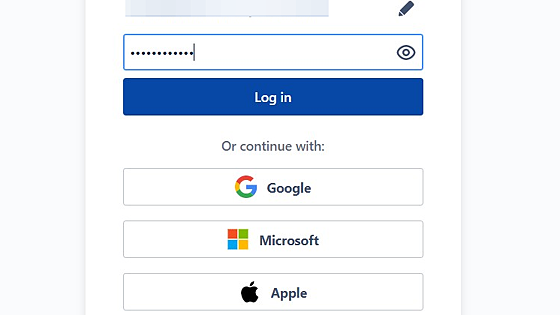
4. Enter a valid password and click on 'Log in' button.

Screenshot of: Enter a valid password and click on 'Log in' button.

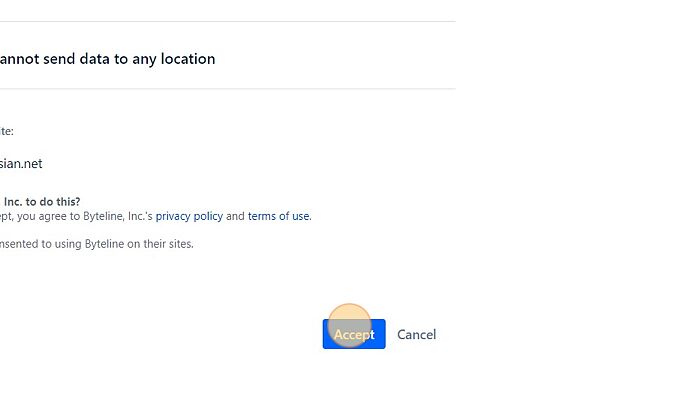
5. Click on 'Accept' button.

Screenshot of: Click on 'Accept' button.

6. Click on 'Refresh' option.

Screenshot of: Click on 'Refresh' option.

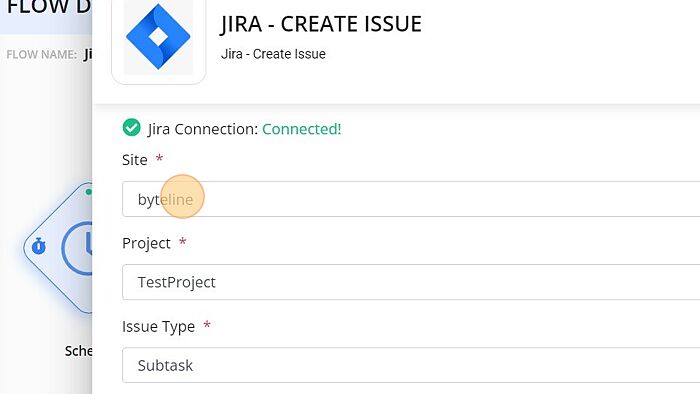
7. Select the 'site' from dropdown.

Screenshot of: Select the 'site' from dropdown.

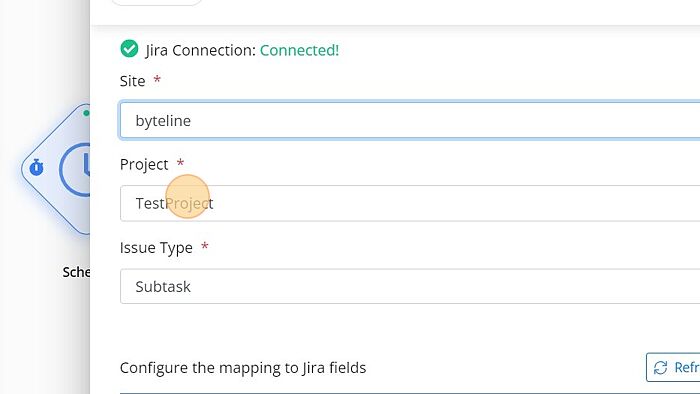
8. Select the 'Project' from the dropdown.

Screenshot of: Select the 'Project' from the dropdown.

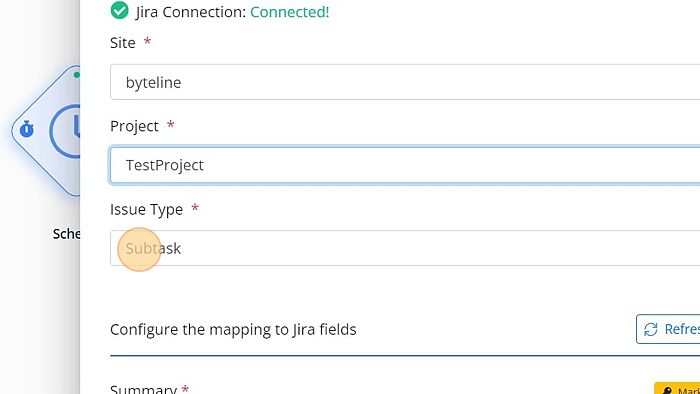
9. Select the 'Issue Type' from the dropdown.

Screenshot of: Select the 'Issue Type' from the dropdown.

10. Enter the 'summary' to the field.

Screenshot of: Enter the 'summary' to the field.

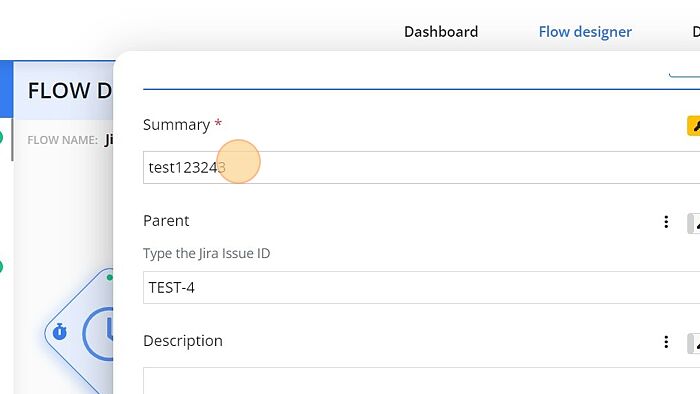
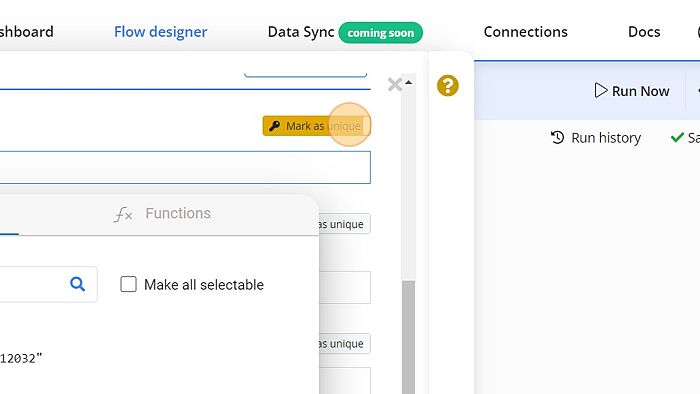
11. Mark the field as unique by toggle on 'Mark as unique' option.

Screenshot of: Mark the field as unique by toggle on 'Mark as unique' option.

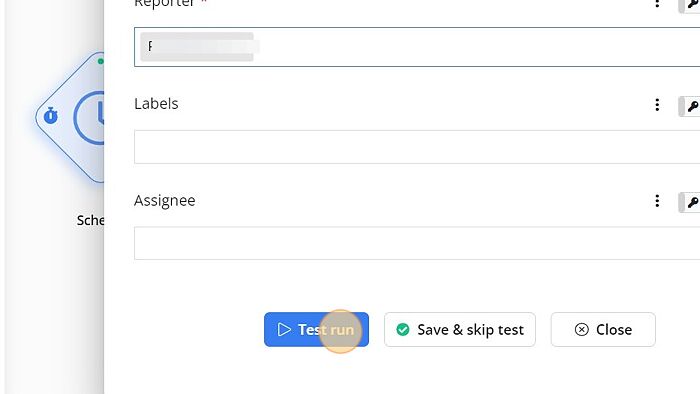
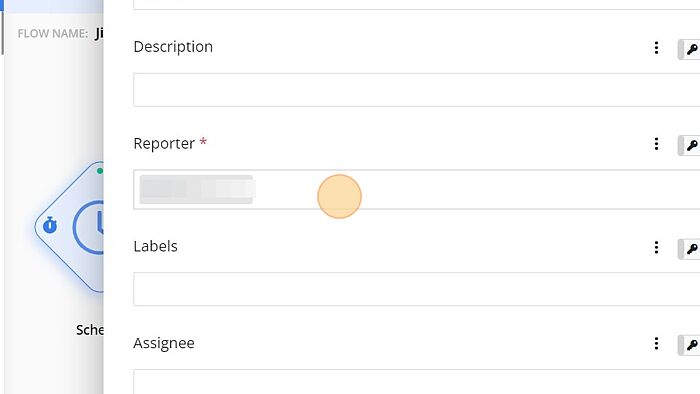
12. Select the 'Reporter' from the dropdown.

Screenshot of: Select the 'Reporter' from the dropdown.

13. Click on 'Test run'.

Screenshot of: Click on 'Test run'.


How did we do?