Adalo - Create & Update Records

Update Adalo Records
Byteline provides an easy-to-use Adalo - Update Records node to manage content. A simple and user-friendly interface enables you to create, design, and update Adalo records without touching a line of code.
Create
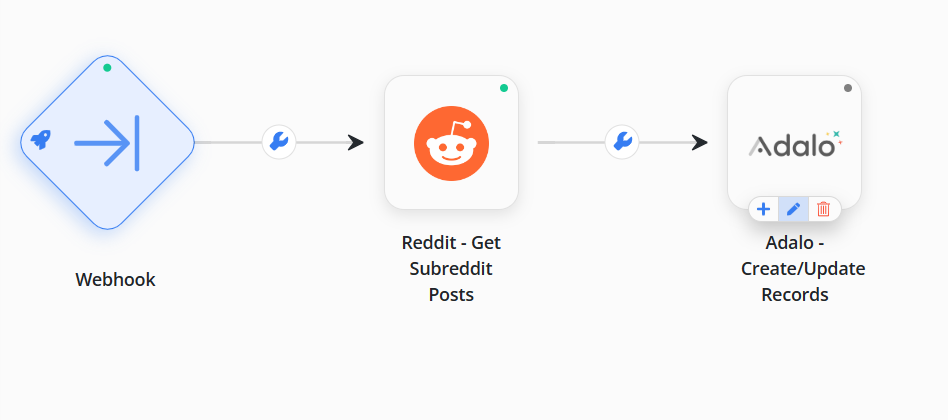
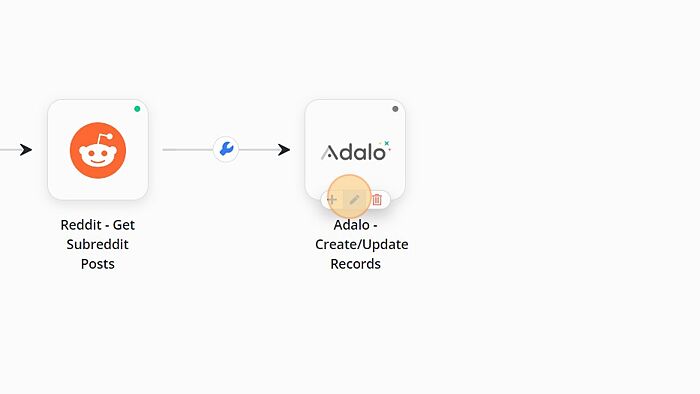
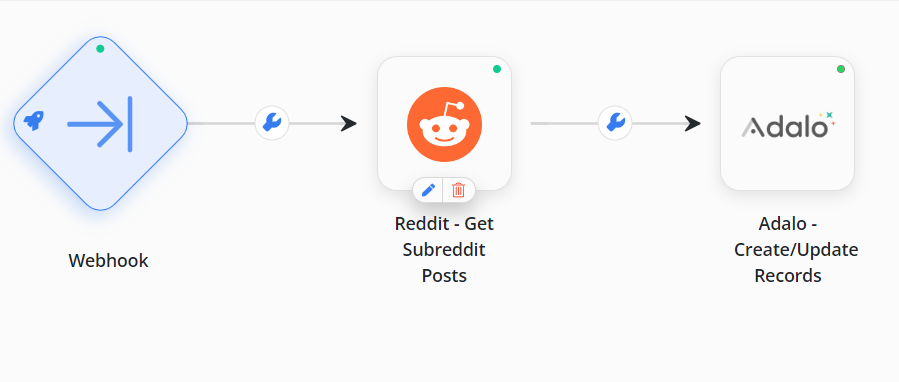
Create a flow design by including Web Scraper and Update Adalo Records items. For more details, you can check How to create your first flow design.
How Adalo Update Records node works
This node intelligently figures out whether to update content to the Adalo or not. It first retrieves content using an API call then compares the unique columns of the Adalo with the data being processed. If the content already matches, it will update the records. But if the content does not exist, then it will create new records in your Adalo object.

Get API key
Adalo API key is necessary to establish a connection with Byteline.
Step 1: Log in to your Adalo account using credentials and click on Settings.

Step 2: Click on the App Access.

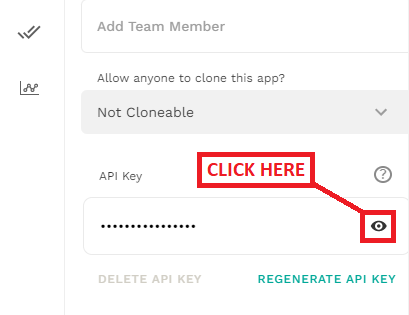
Step 3: Click on the eye icon to get the API key.
Configure Adalo API KEY
Before you start using the Adalo - Update Records, you need to configure the API key to access your Adalo account from Byteline.
Step 1: Click on the edit button of the Adalo node and hit on the Configure Adalo Connection button to configure your API key.
Step 2: Select the API Key and click on the Save button.

Configure the Node
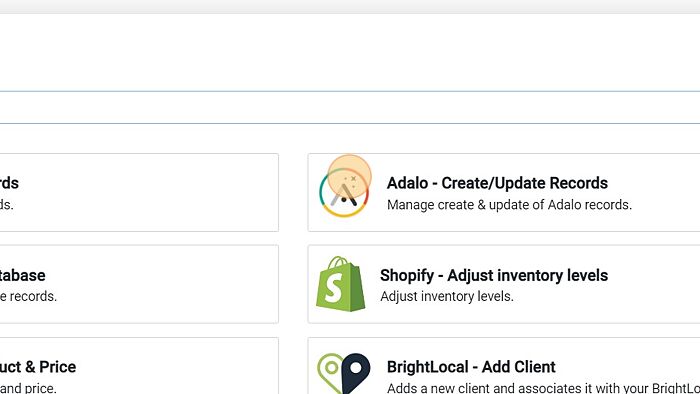
Step - 1. Select the Adalo node to add it.
Step - 2. Click on the edit button of the Adalo node and hit on Configure it now to configure your API key.
Step - 3. Once you click on the edit button, the dialog box will open.
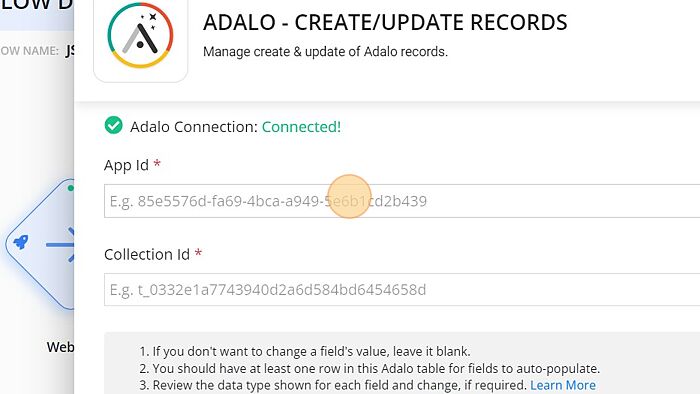
Step - 4. Go to your Adalo account, and on the table, click on the ellipsis followed by API documentation from the drop-down menu.

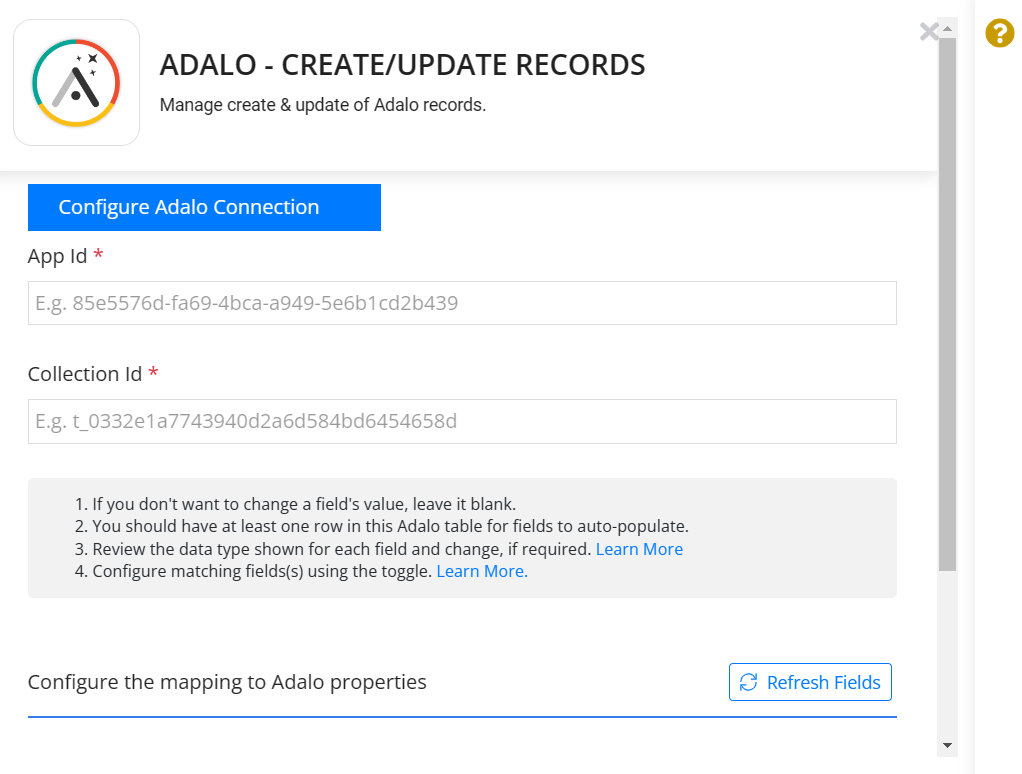
Fill in the App id by copy-pasting from the Endpoint.

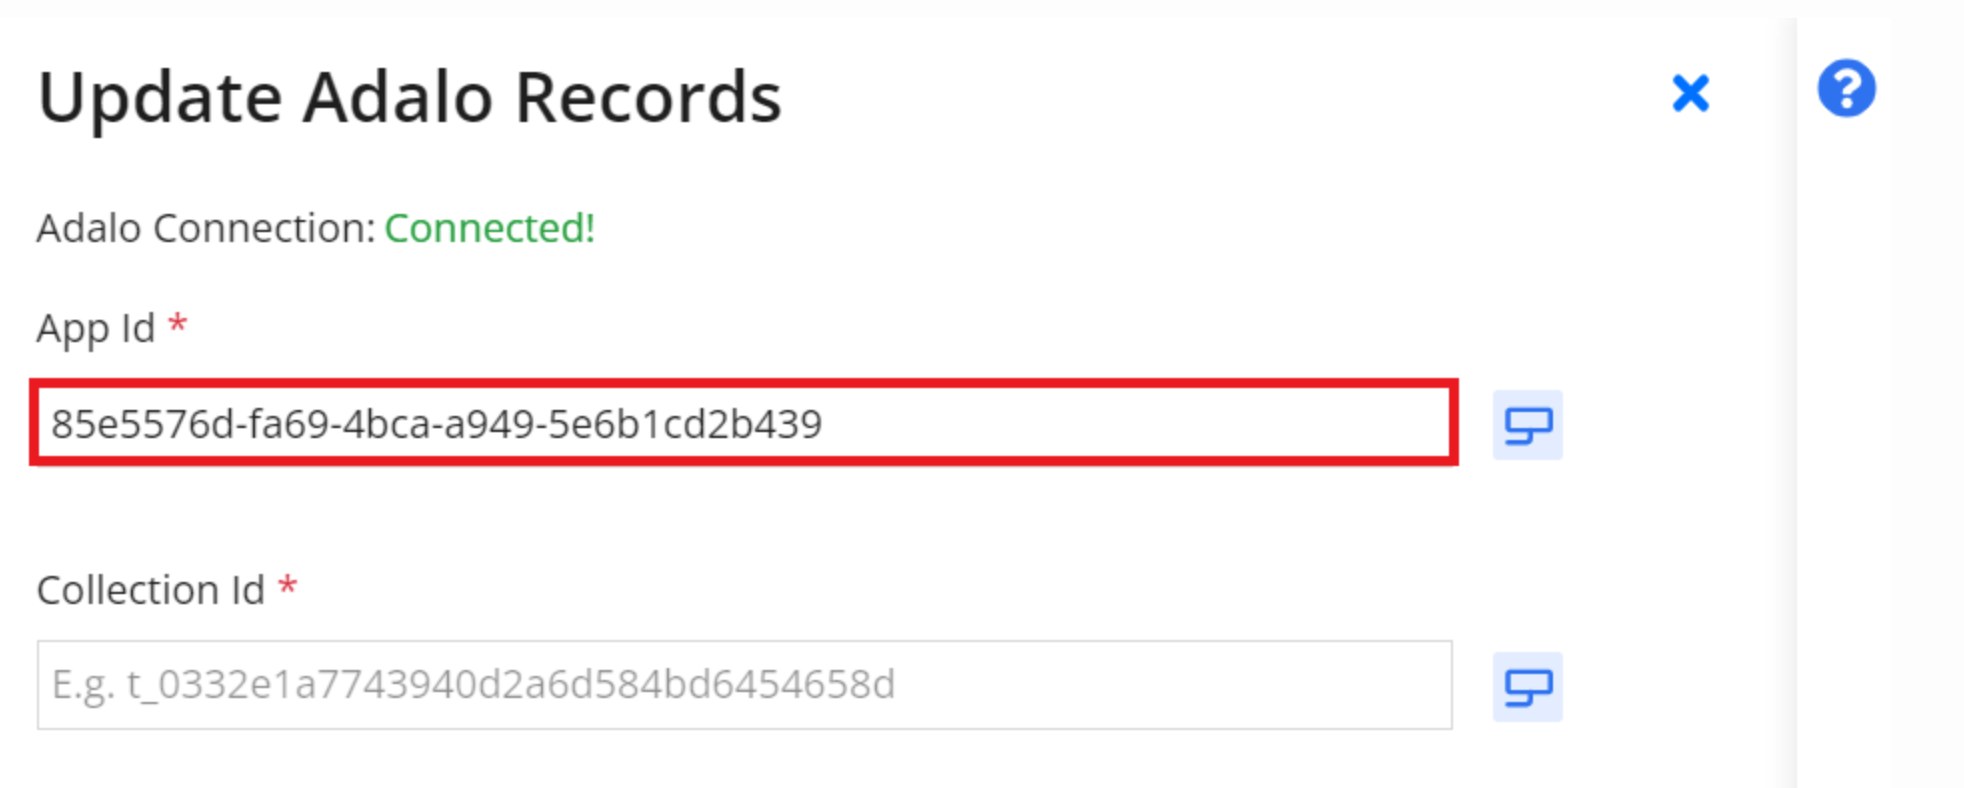
Step - 5. Fill in the Collection id by copy-pasting from the Endpoint.

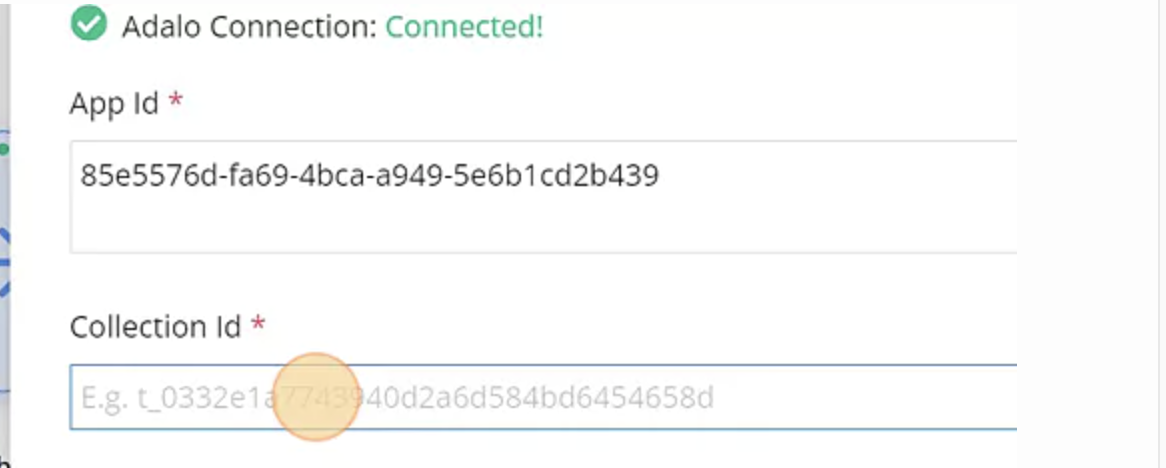
Step - 6. Configure the Adalo fields and then click Test Run to confirm a successful configuration of the node.
Detailed field mapper configuration
You can get detailed documentation on using field mapper from https://docs.byteline.io/article/upw7xnv6nv-field-mapper-configuration
The green indicator shows the successful configuration of the Adalo - Update Records node.
Your Adalo Update node configuration completes here. Feel free to connect us with any doubts.