Understanding Flow Variables

This guide will teach you how to use variables in a flow. The variable is a symbol that holds dynamic values. You'll mostly use the variable selector but this guide provides you with fundamental knowledge of the Byteline variables. With this knowledge, you can optionally write the variables instead of using the selector.
Let's get started.
Flow Variables
In a flow, we use the variables in each node that hold the input and output values. The values are transferred from one node to another node with the help of the variables.
Input Variables
Every flow starts with a trigger node. These trigger variables can be accessed in any node using the symbol ${input.variableName}. For example, if you pass tableName as the field in the Webhook trigger, it can be accessed in any node using ${input.tableName}
Node Output Variables
A flow consists of several nodes. Each node produces output after the execution. This output can be used in the downstream nodes using the notation: ${<nodeId>.output.<field>}.
You don't have to remember to use this notation because you can also use the selector tool.
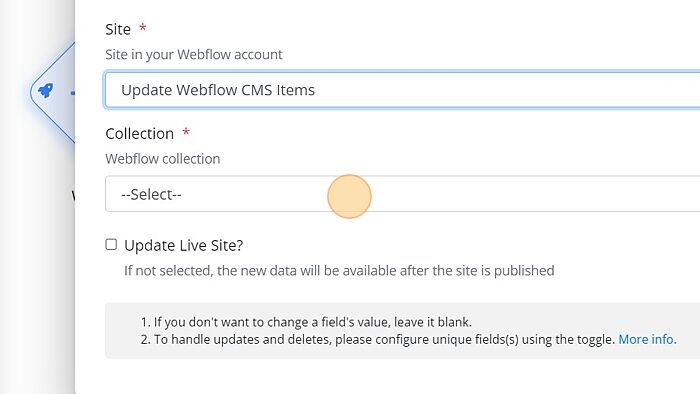
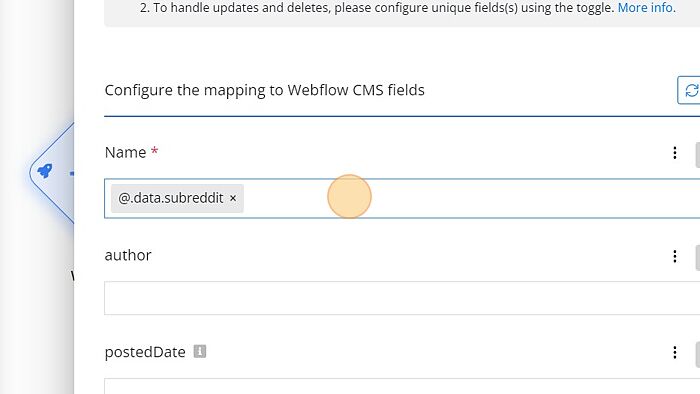
To help you understand how the Selector Tool works, we have configured the 'Webflow- Create/Update Items' node below.
Step - 1. Click on the downward arrow button next to the Webflow account site field to fill in the name.
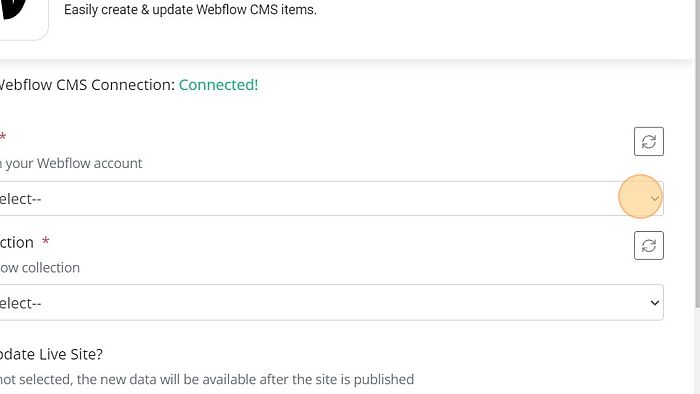
Step - 2. Click this dropdown.
Step - 3. A modal window will appear, as shown in the snippet below.
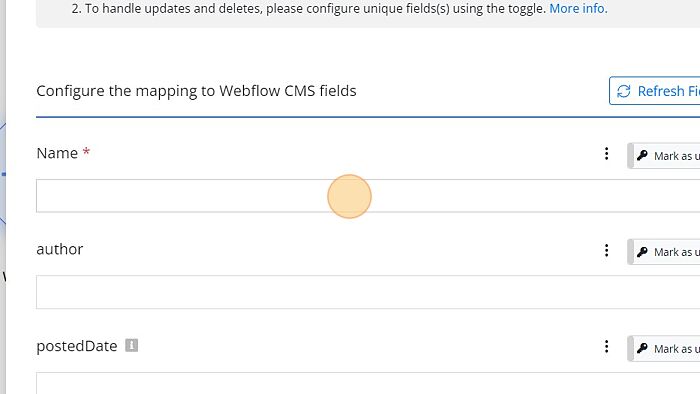
The Variables Field
Step - 4. You can select the variable field you want to pick the path of array/object. You can also click on the expand/collapse arrow button appearing beside the field to open/close the respective field. Click on the variable to pick a variable path.
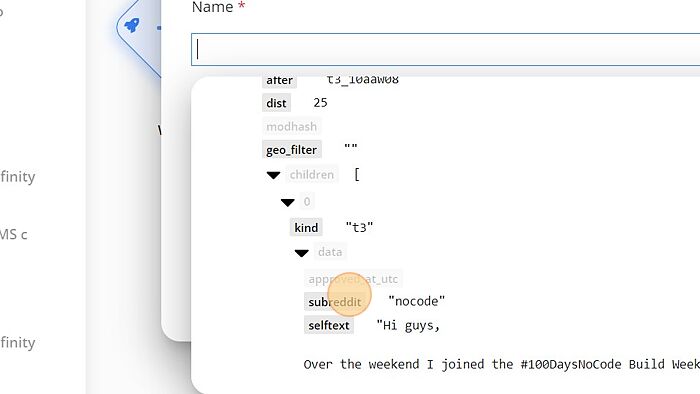
Step - 5. As a result, the variable value @.data. permalink is automatically fetched into the respective field.
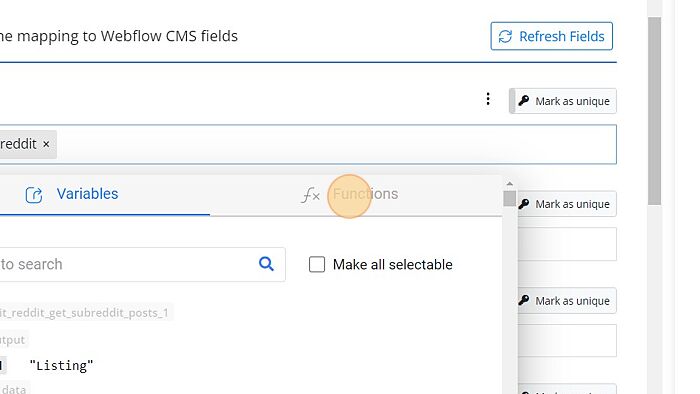
The Functions Field
Step - 1. The functions tab contains all the functions that a user can use. Follow the steps mentioned below to use a function. For more information regarding the functions, you can refer to the functions guide. Step 1: Click on the Function tab to view all the functions. to apply the required function.
Step - 2. Select the function you want to apply.
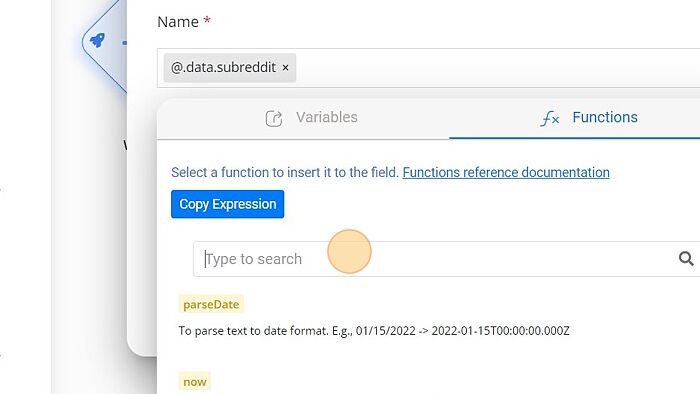
Step - 3. Here we are selecting the parseDate function.
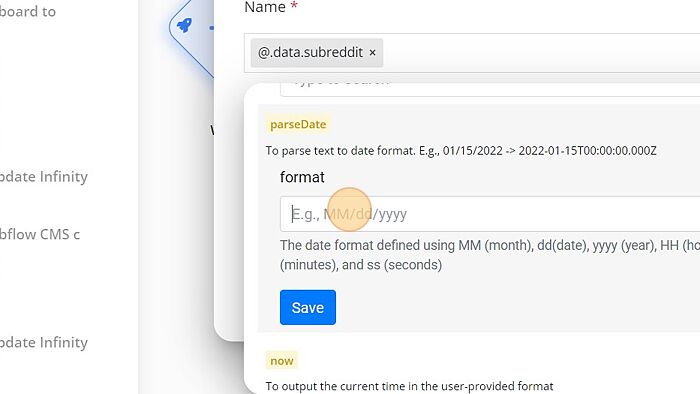
Step - 4. Click "Save"
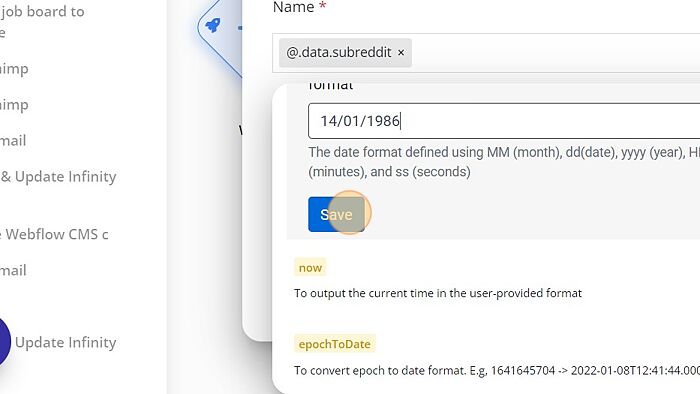
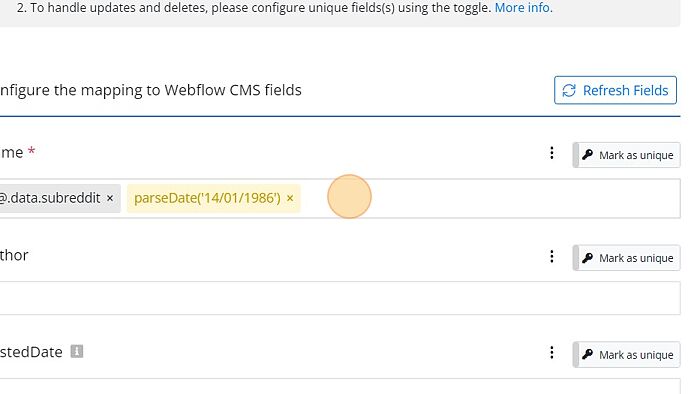
The parseDate function in the field shows that it will convert the variable into the selected date format. parseDate('14/01/1986')"
Example
Let’s understand the variables in a flow with an example.
The flow consists of the Webhook node ---> Simple HTTP node ---> Send email node.
In the Webhook trigger node, the values are stored in a variable as input. Assume that an id is specified by the form on the front end, and this form is submitted to the URL of the webhook trigger node.
Now, this id can be used in the Simple HTTP node URL like https://jsonplaceholder.typicode.com/posts/${input.id} that requests the server to retrieve or send the data.
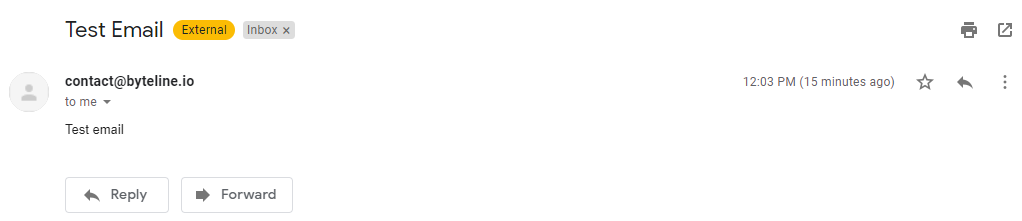
And in the Send Email node, the body is used to send the email to the end-user. To send the email, enter email like abc@gmail.com, enter the subject like id, and enter body like the id is ${simple_http.output.response}, where simple_http is the node ID of the Simple HTTP node. The variable selector tool can be used to get the node ID.
Finally, the user will get the desired output through the email. The output email will appear like this:
Thus, the variable store and transfers dynamic values across the nodes in the flow.