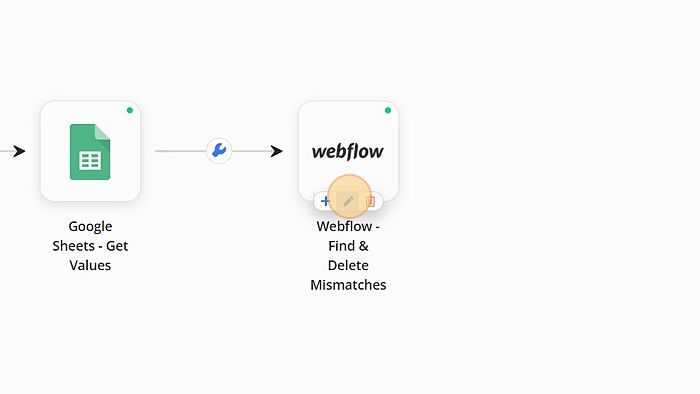
Webflow - Find & Delete Mismatches

This comprehensive document will walk you through the step-by-step configuration process for Webflow - Find & Delete Mismatches and address specific use cases tailored to Webflow.
Understanding Find & Delete Mismatches
Please refer to Understanding Find & delete mismatches for the standard find & delete mismatches functionality. The linked document covers usages of the features valid for all integrations.
How to Configure?
1. Click on 'Webflow - Find & Delete Mismatches'.
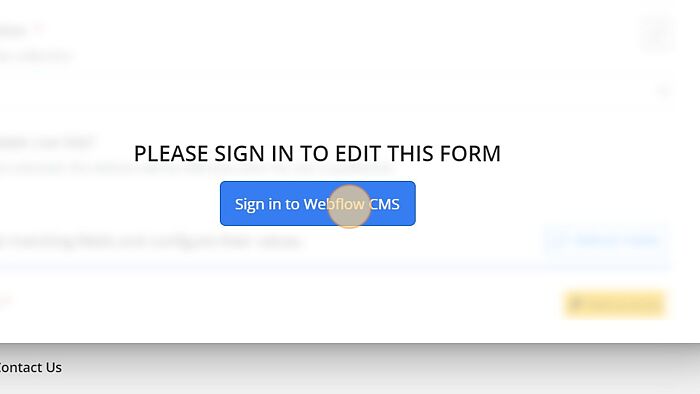
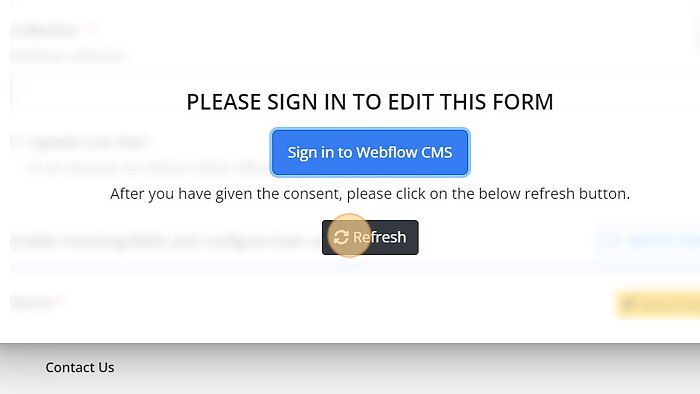
2. Click on 'Sign in to Webflow CMS'.
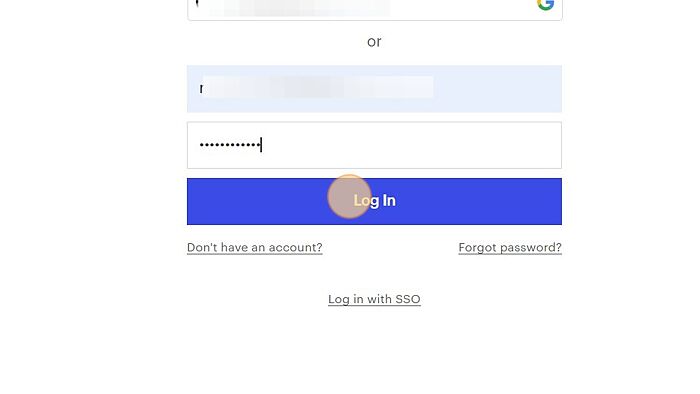
3. Enter a valid Email or Username.
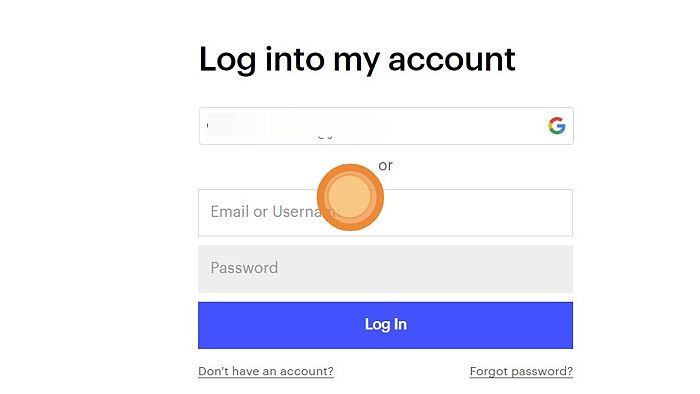
4. Enter valid password.
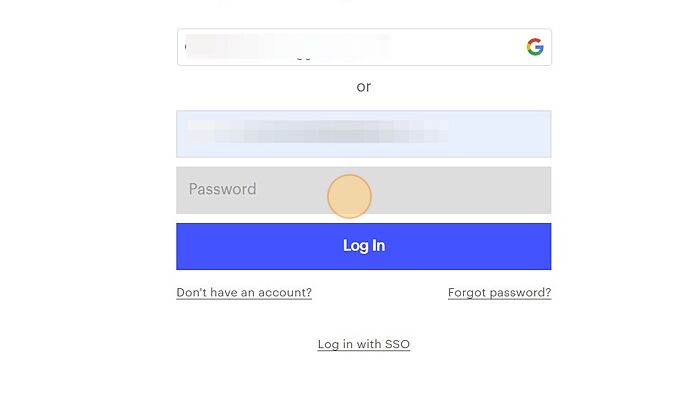
5. Click on 'Log In' button.
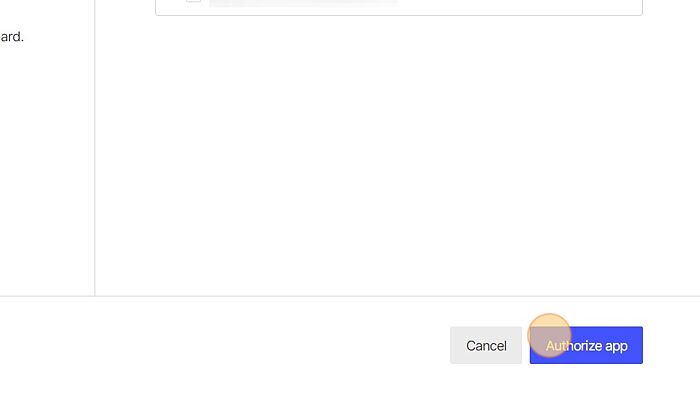
6. Click on 'Authorize app' option.
7. Click on the 'Refresh' button.
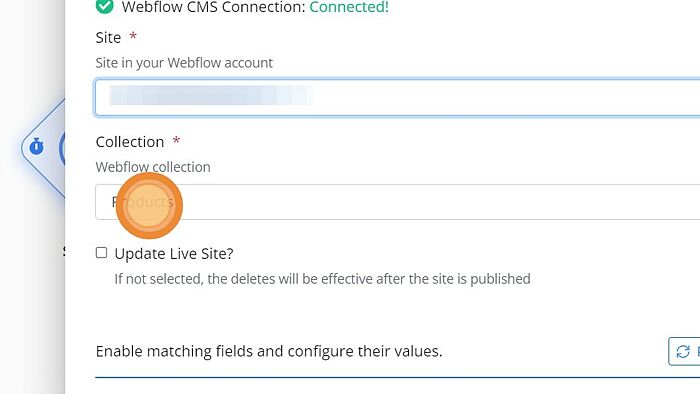
8. Select the site from the dropdown.
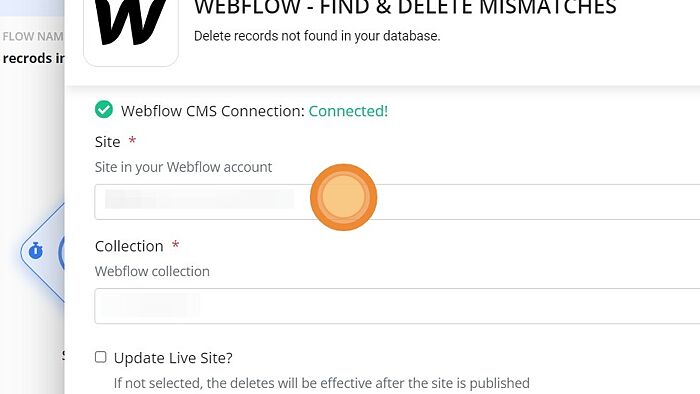
9. Select the Webflow collection from dropdown.
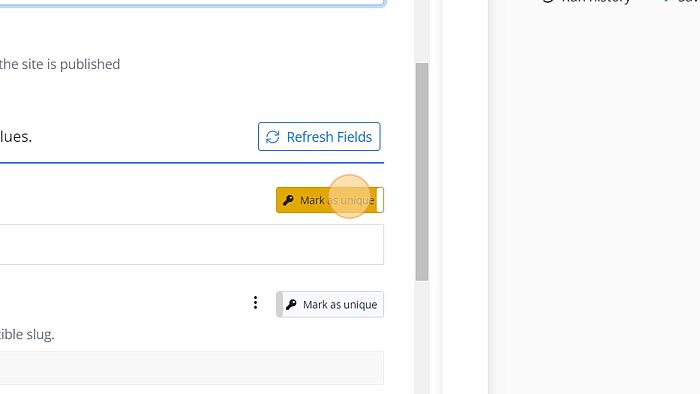
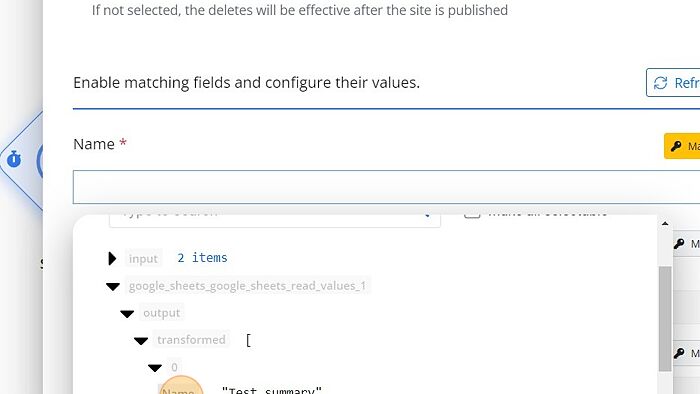
10. Mark the field unique by toggling on the 'Mark as unique' button.
11. Select/Enter the required field.
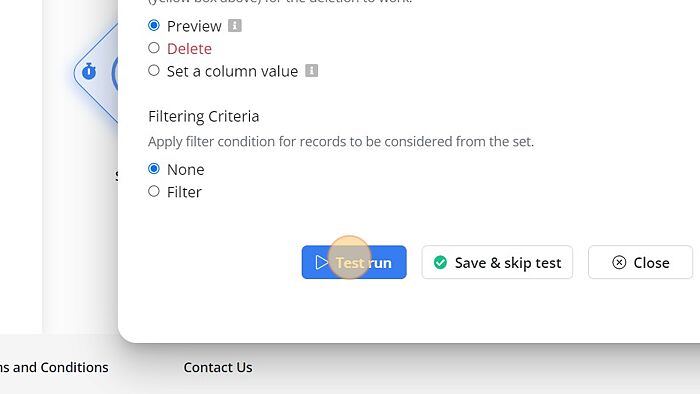
12. Click on 'Test run'.