CLOUDCONVERT - CONVERT A FILE Node

In this step-by-step guide, you will learn how to configure a CLOUDCONVERT - CONVERT A FILE node for your website or application.
How to Configure?
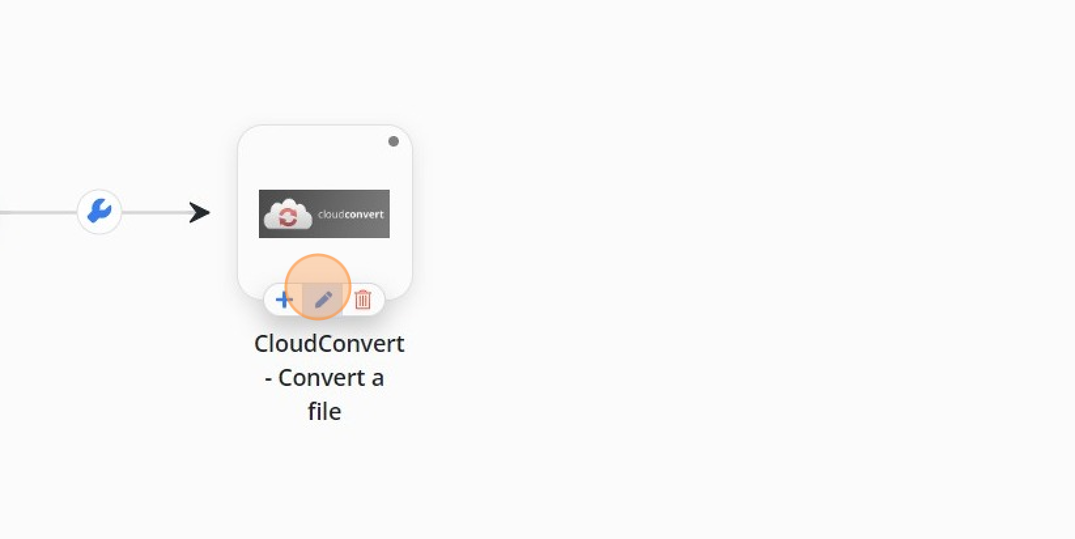
1. Click on the "CloudConvert - Convert a file" node.
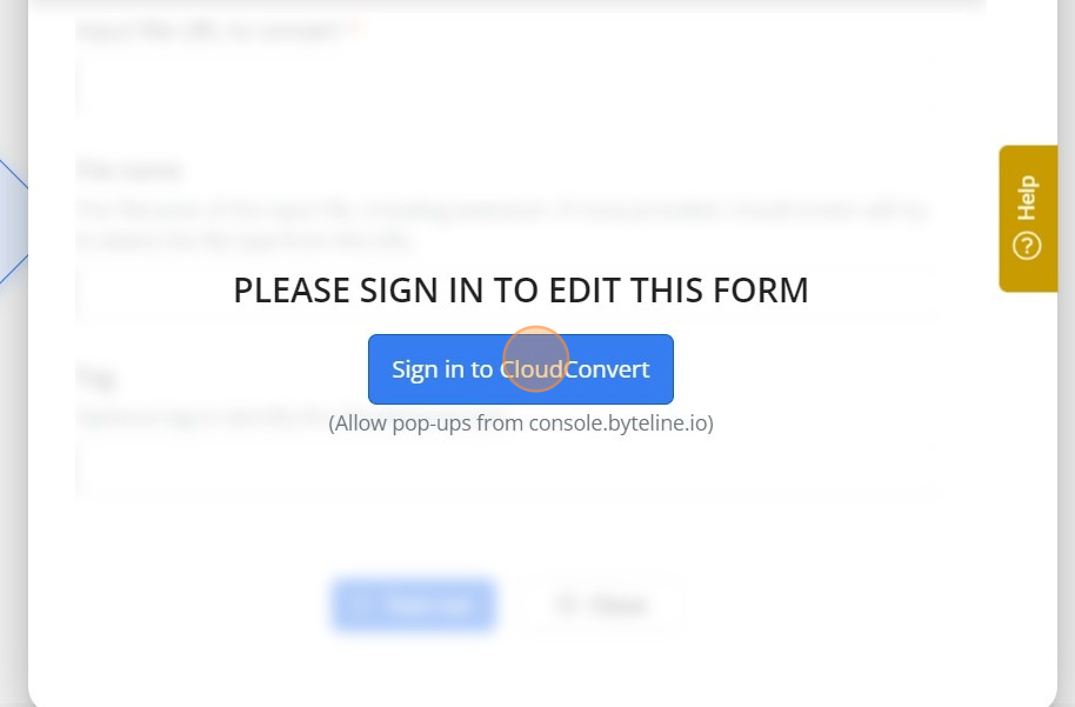
2. Click on the "Sign in to CloudConvert".
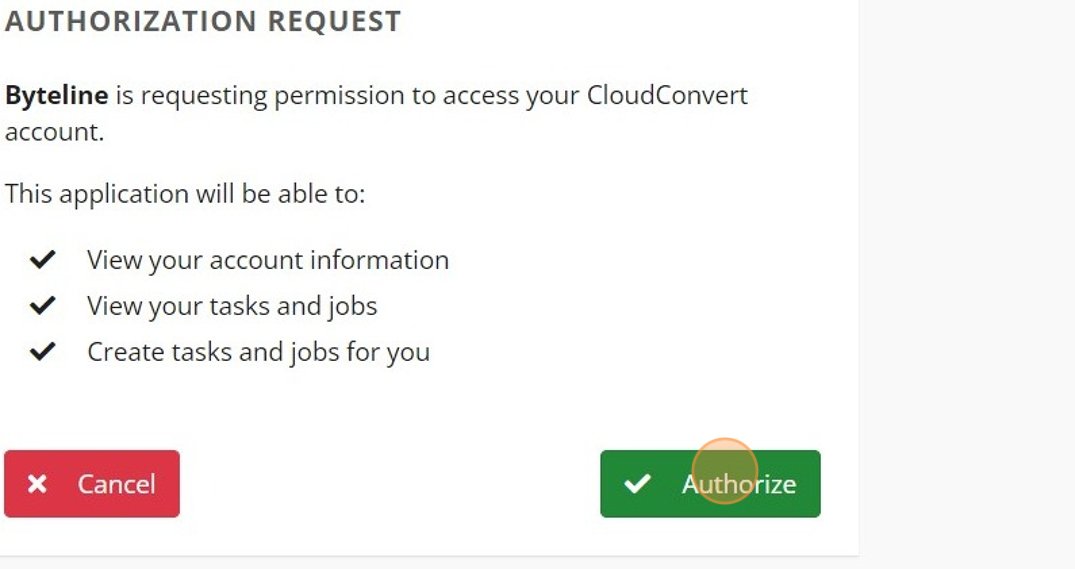
3. Click on the "Authorize" button to get Authorize.
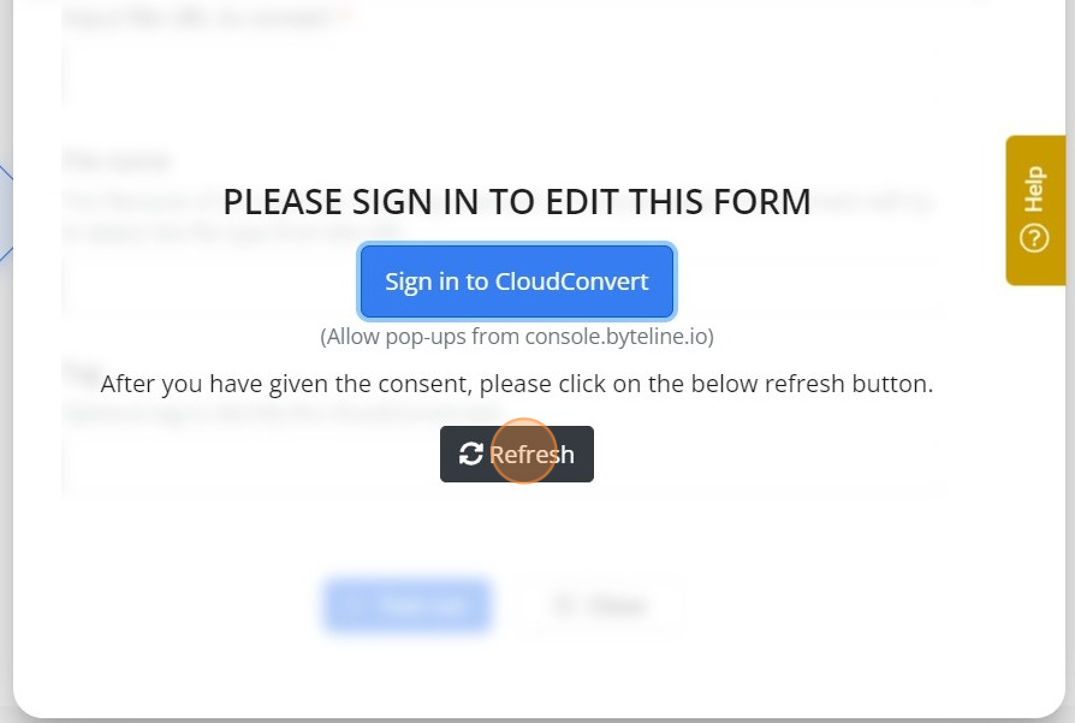
4. Click on the "Refresh" button.
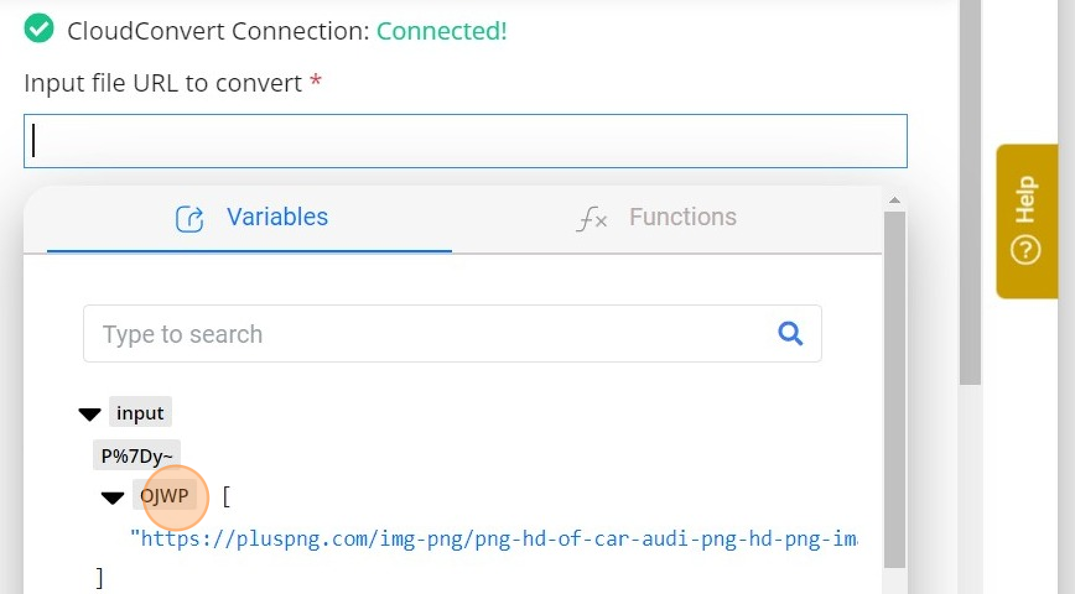
5. Provide URL in "Input file URL to convert" field.
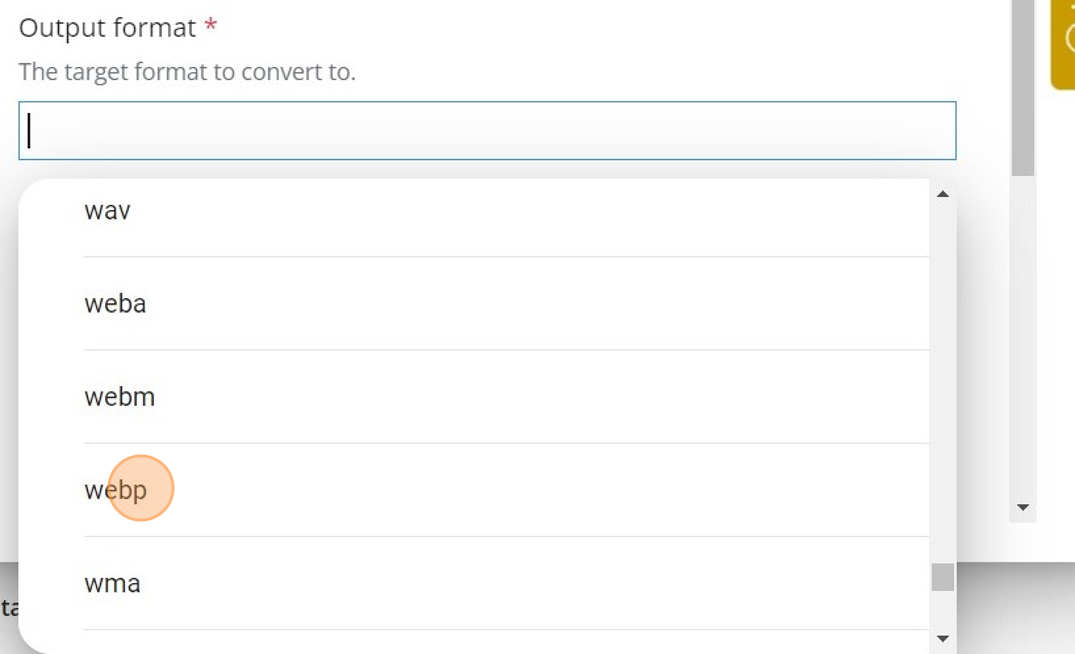
6. Select "Output format" from the dropdown field.
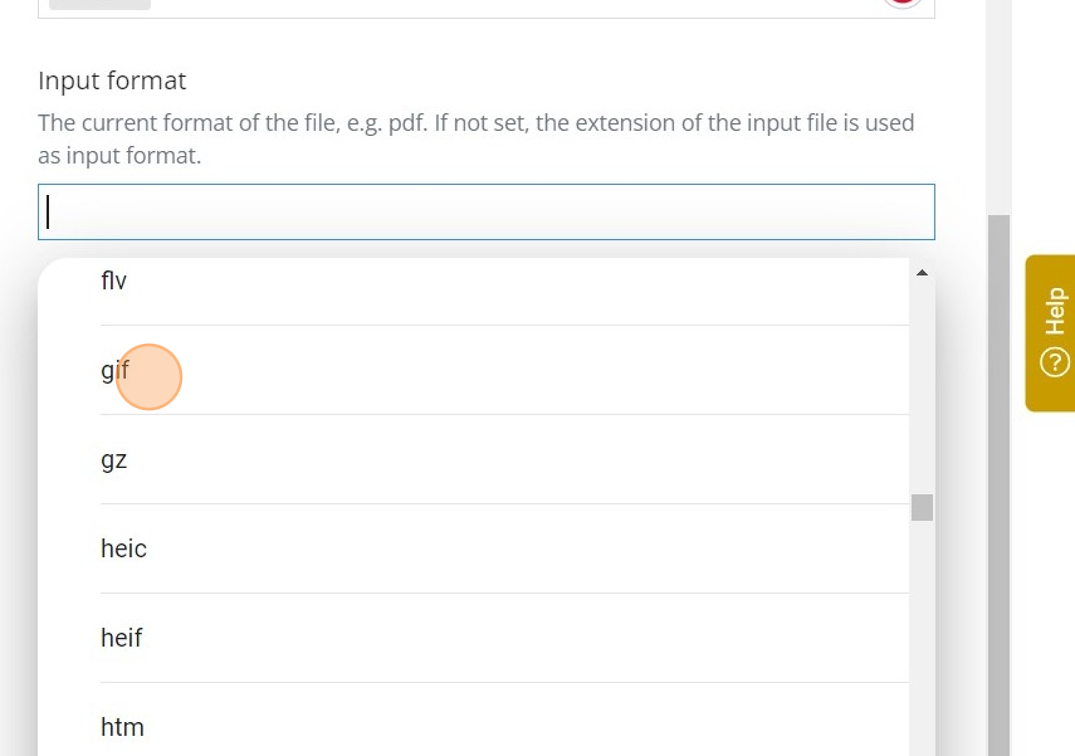
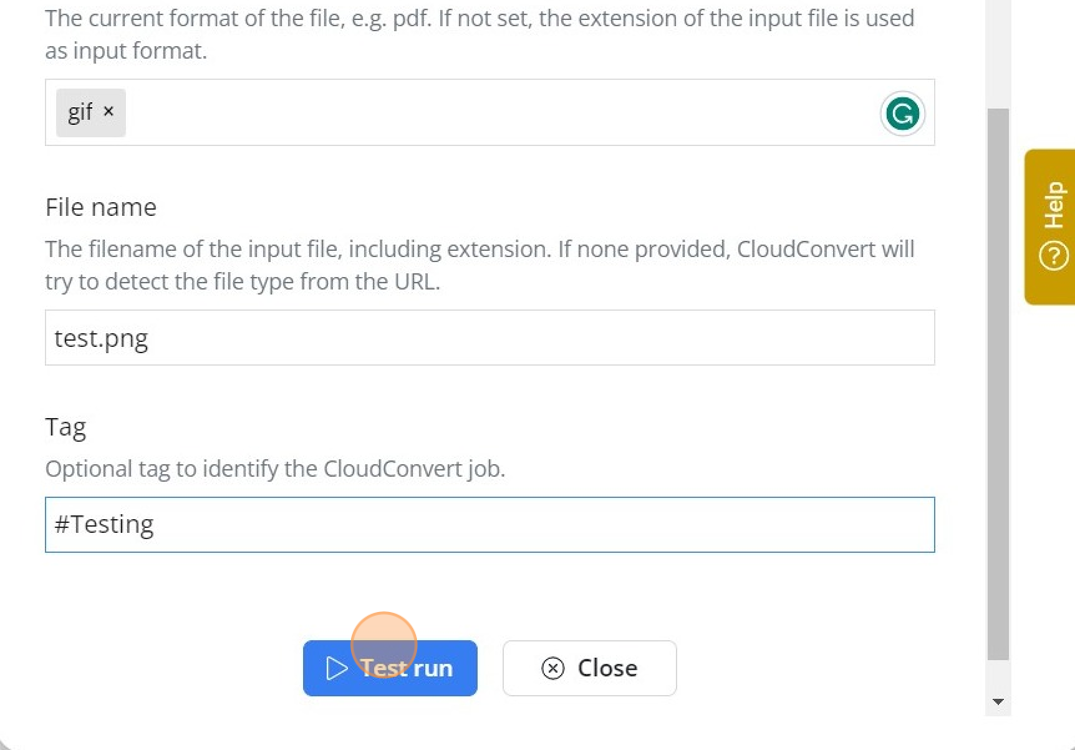
7. Select "Input format" from the dropdown field.
8. Provide file name in "File name" field.
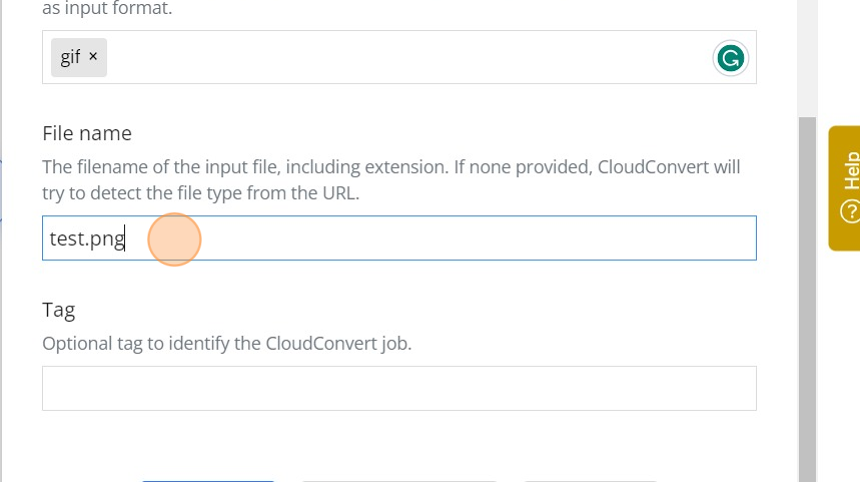
9. Provide tag name in "Tag" field.
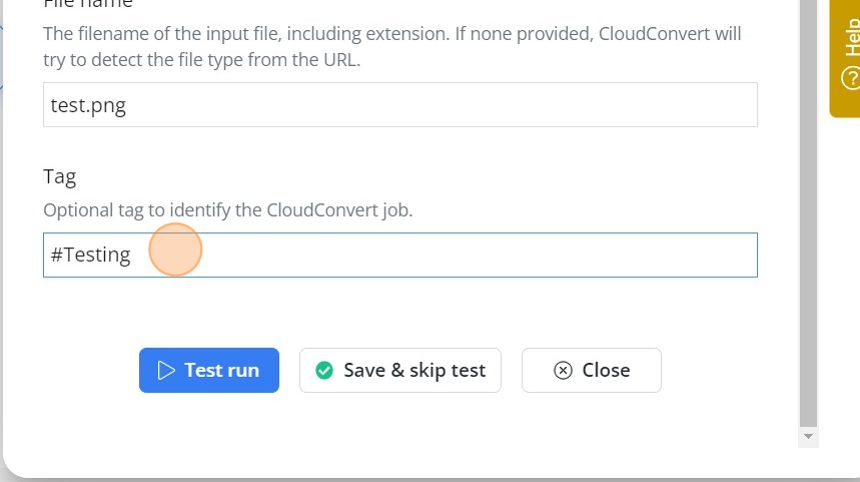
10. Click on the "Test run"
Input format
The input format field is optional. In most cases, you can leave this field empty. Below is the logic used to infer the input type.
- File extension from the input file URL is used. For example, https://s3.us-west-2.amazonaws.com/secure.notion-static.com/5b2baeff-e1e5-4286-8135-61189c43dd44/excel-screenshot.png?etc
- The file extension from the input File name field.
If both fields can't be used, you should set the Input format field.