Webflow Data Sync

This comprehensive document will walk you through the step-by-step configuration process for Webflow data sync and address specific use cases tailored to Webflow.
Standard Data Sync functionality
Please refer to Data Sync - Getting Started for the standard data sync functionality. The getting started document covers usages of data sync features valid for all integrations.
Configuring Webflow Data Sync
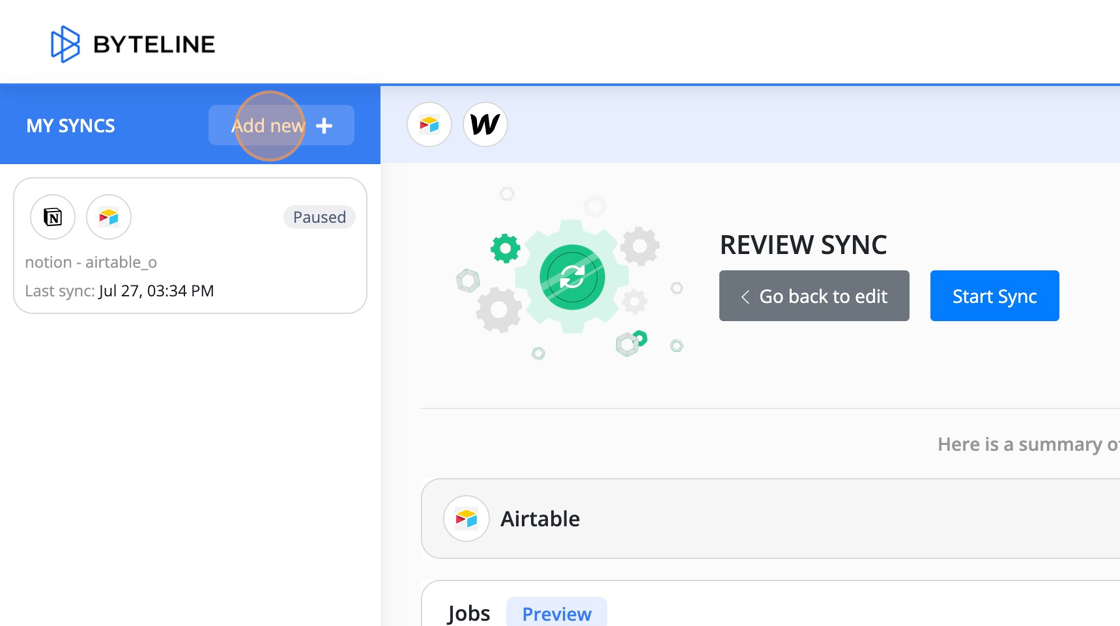
1. Click "Add new" to create a new sync.
2. Pick the app that you want to sync with Webflow.

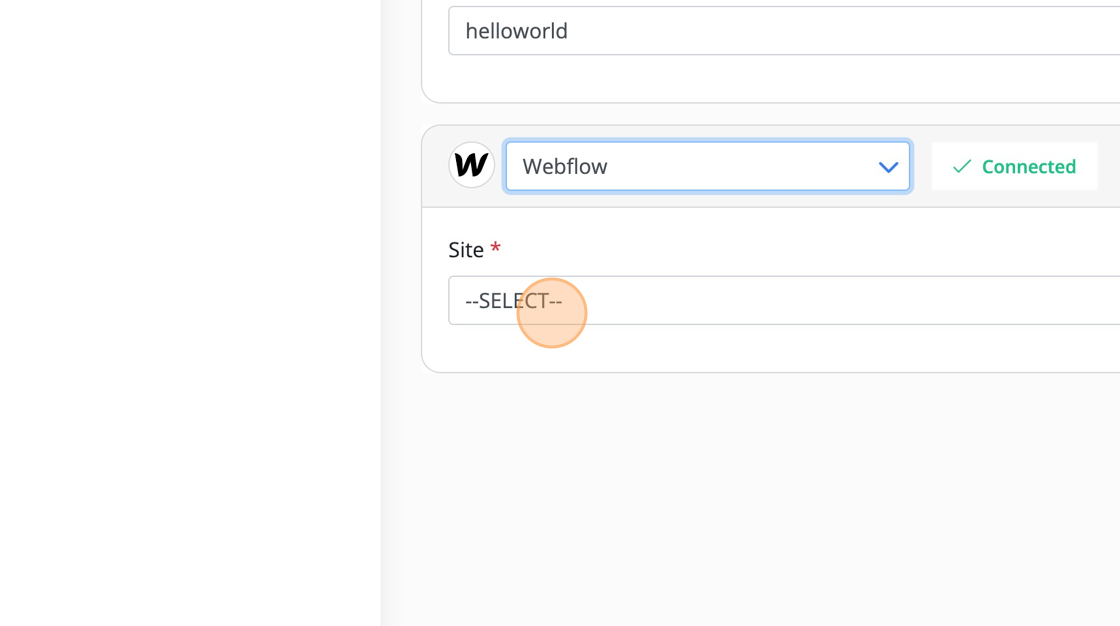
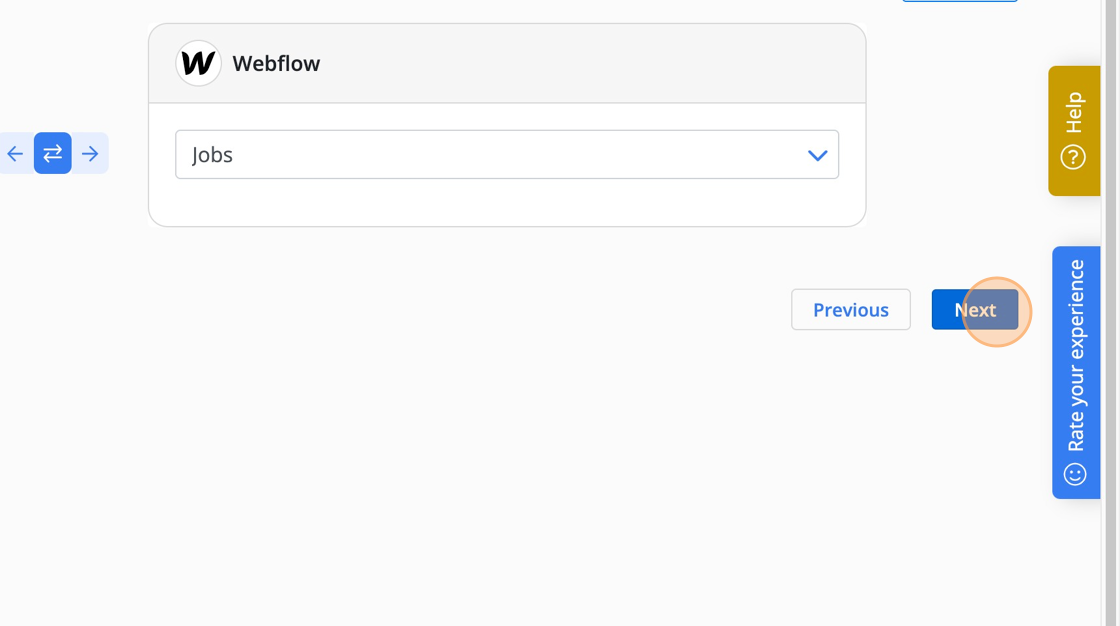
3. Pick Webflow and select the site to sync. Note: The order doesn't matter; you can choose Webflow as the first or second app.
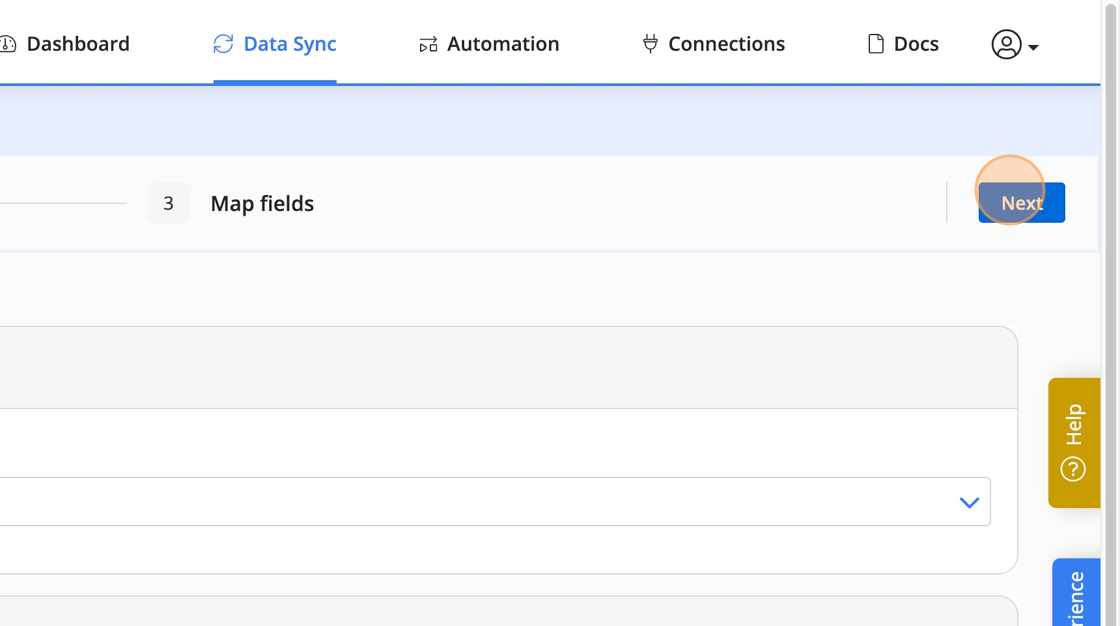
4. Click "Next"
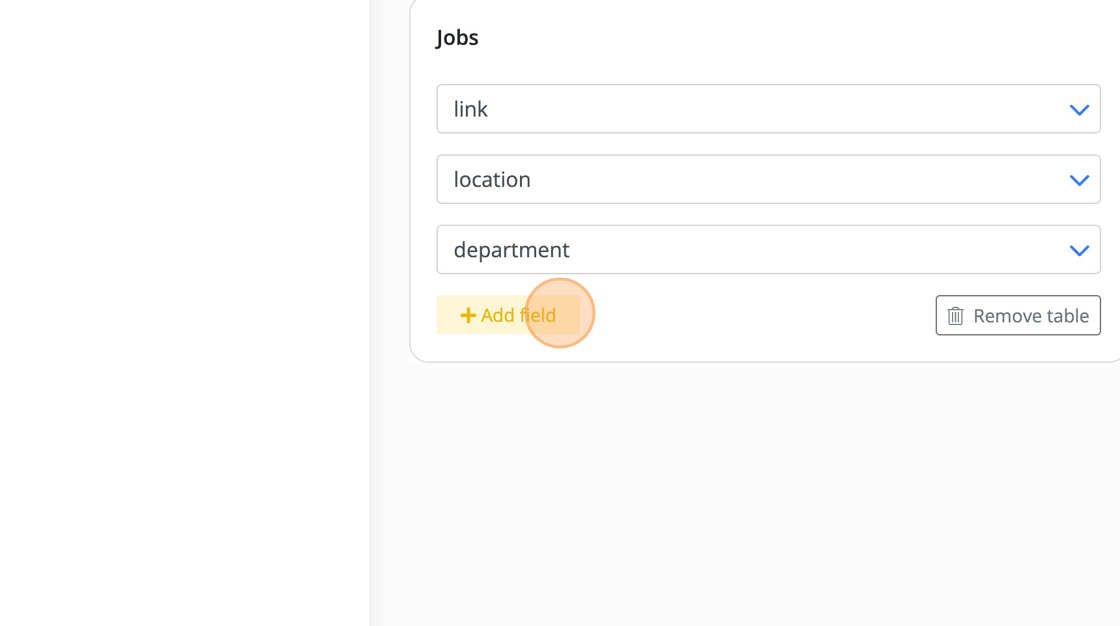
5. Delete any tables that you don't want to sync. If the table you want to sync is not displayed, add it using "Add table" button.
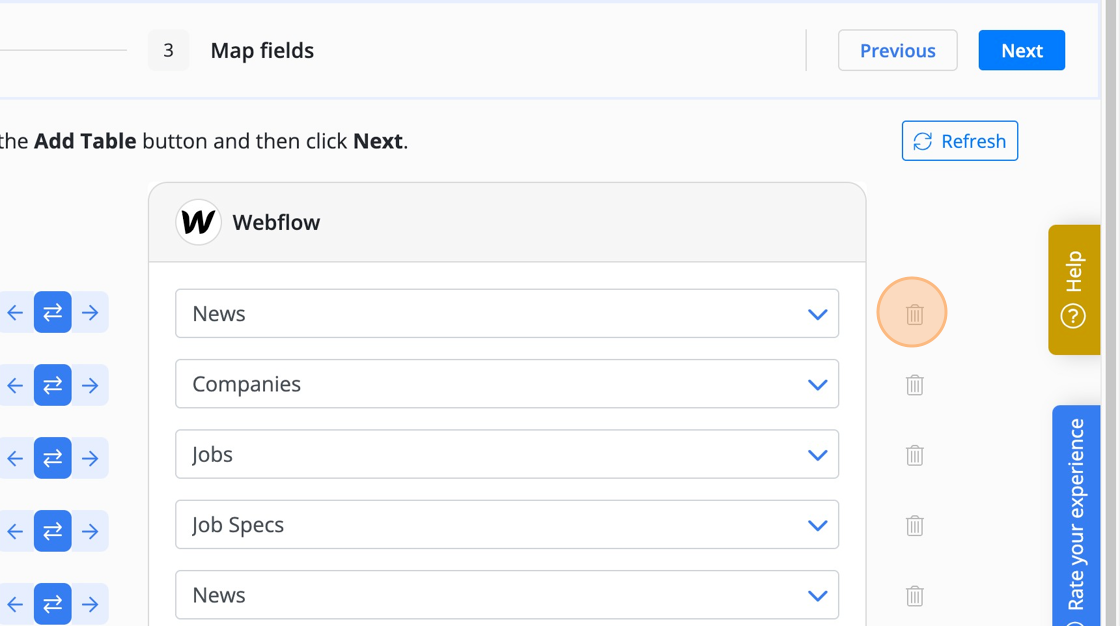
6. Click "Next"
7. Now configure your field mappings. Click "Add field" to add any fields that are not shown by default.
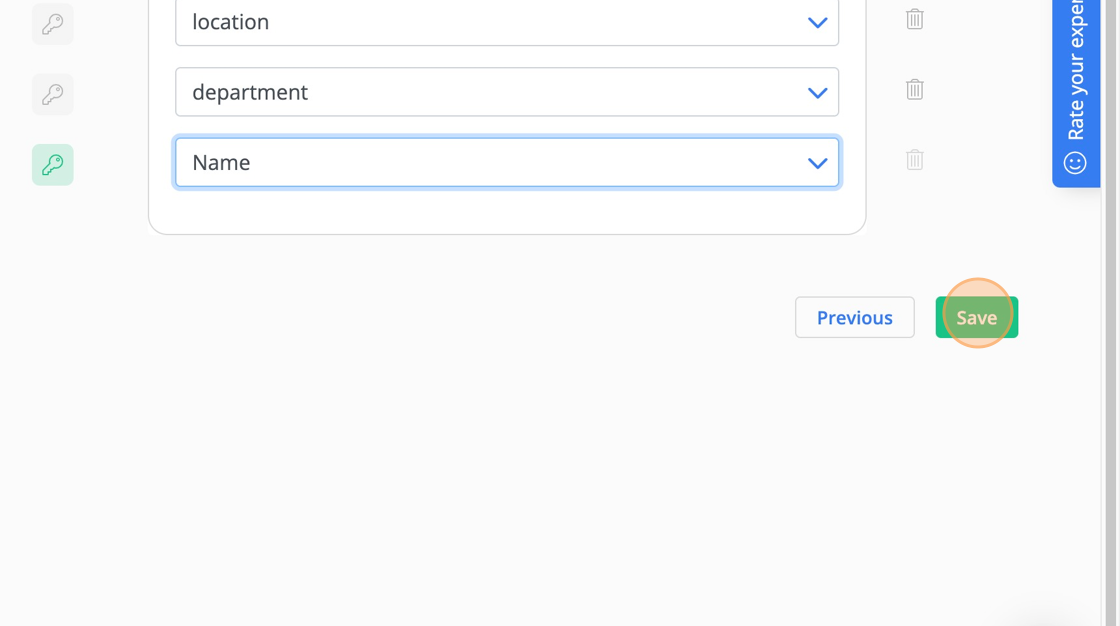
Tip! Historical syncs your existing data. This functionality works based on the unique keys. So pay close attention to the selected keys (in green) to ensure they are unique. You can select multiple keys.
8. Click "Save"
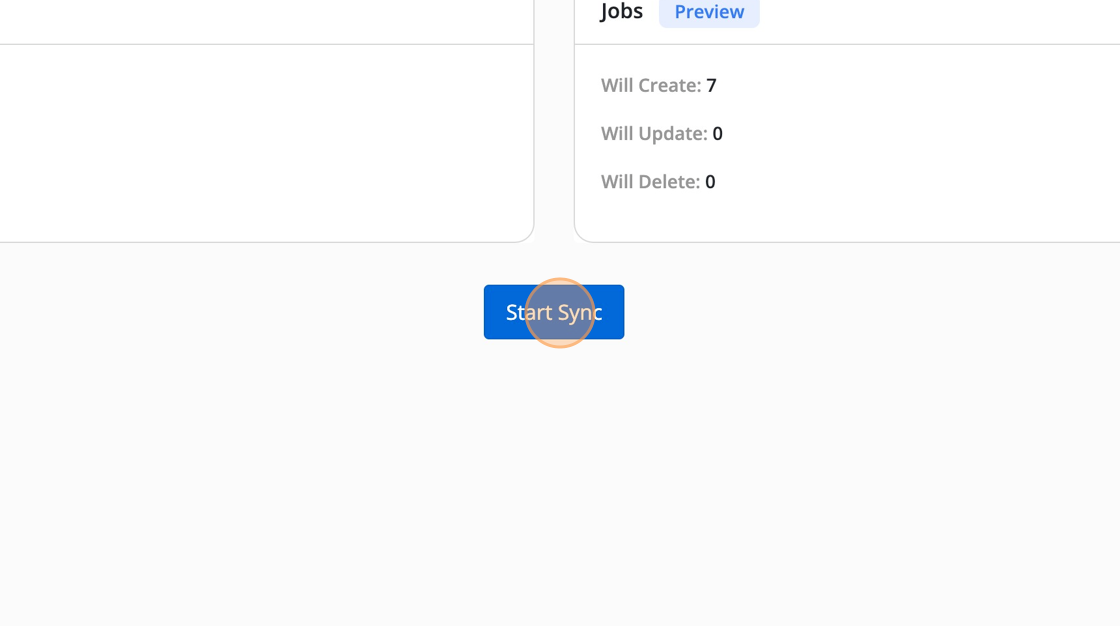
9. Carefully review the number of creates, updates, and deletes. Then click "Start Sync". If the numbers are not correct, it means your unique key selection needs to be changed.
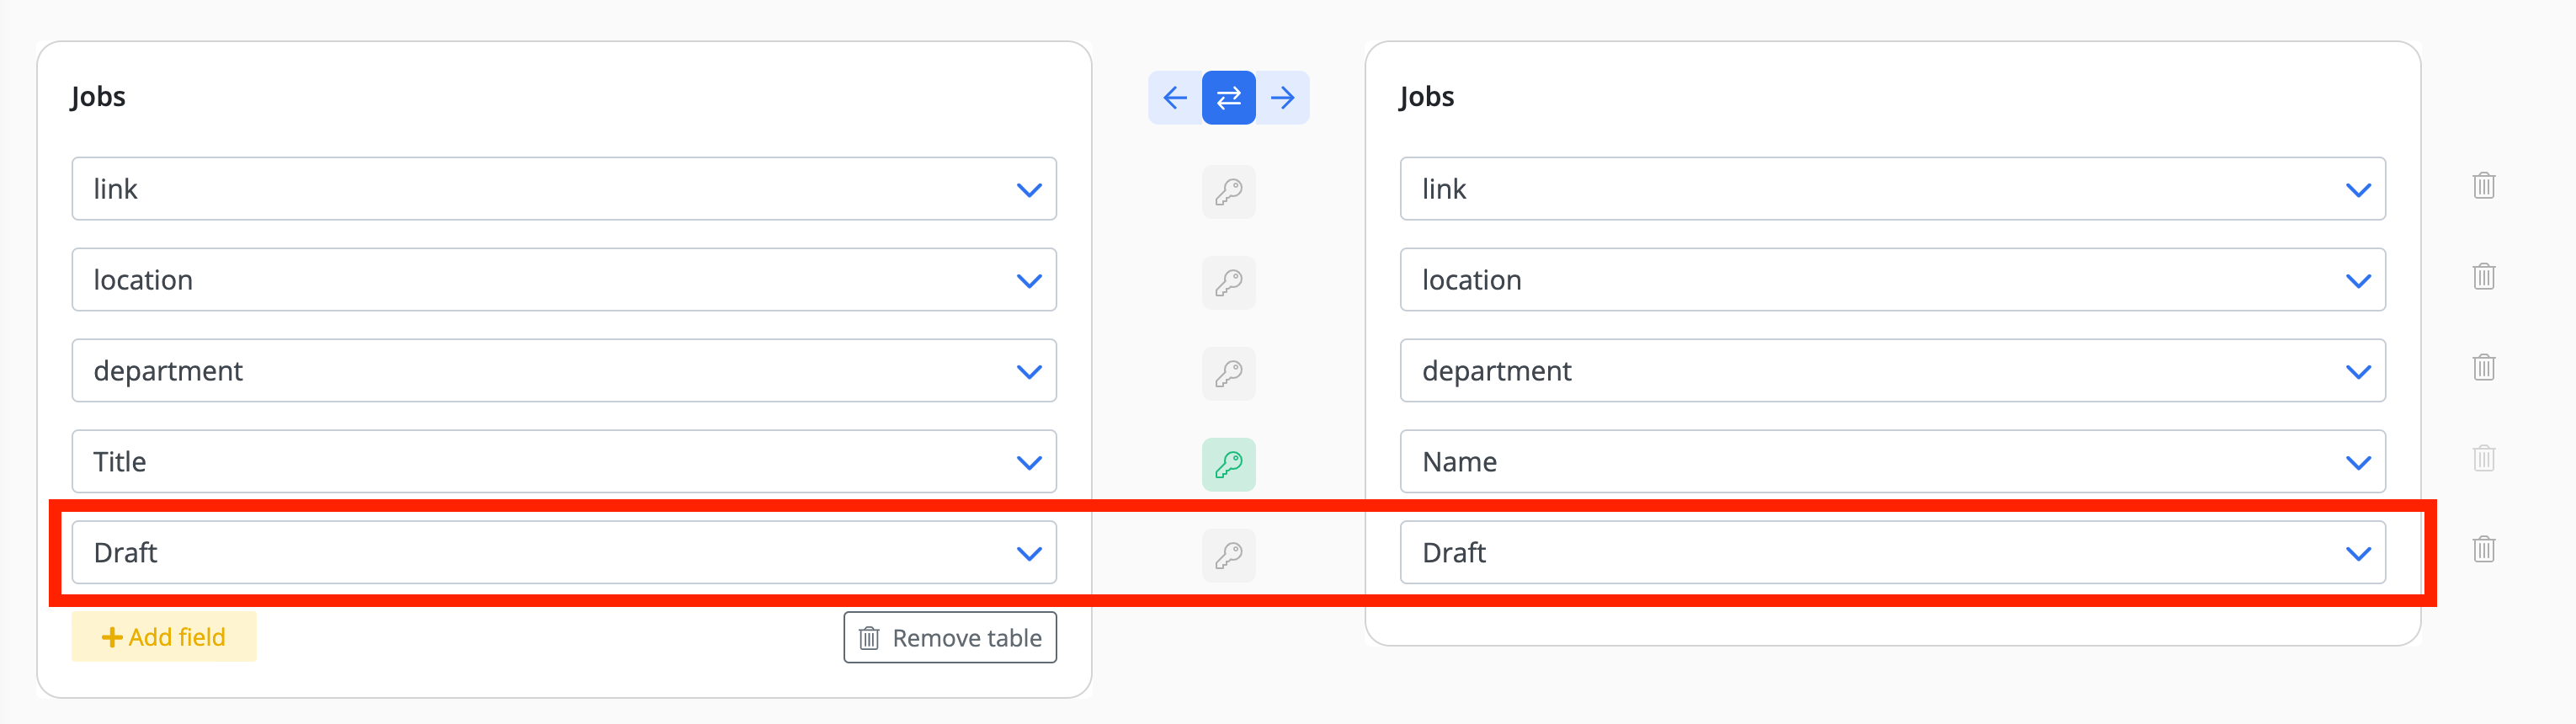
Syncing Webflow items as draft
Let's explore the process of saving synchronized Webflow items as drafts. This can be achieved by mapping the "Draft" Webflow column to a corresponding boolean or checkbox column in your other chosen application. Once the mapping is complete, set the value of this column in the other app to "true" or "checked" for all rows.
Restoring Webflow backup
Byteline's data sync stores Webflow item IDs for its sync logic. But when a Webflow backup is restored, the IDs of the Webflow items change, and as a result, the data sync will run into unexpected behavior. So please follow the below steps to restore a Webflow site when using Byteline's data sync for the site.
- Stop Byteline's data sync
- Restore the Webflow site from its backup
- Start Byteline's data sync.
Troubleshooting
Items Not Automatically Published
Using the Webflow designer or editor, check if any collection items have a status other than "Published." If you do find any such items, this could be the reason why certain records are not synchronizing in the Published state. In these cases, the live update from Byteline may fail.
To resolve this issue, ensure all items are set to the "Published" status within your Webflow site to resolve this issue. You can either publish your Webflow site or non-published items to update the status. Once you've done this, your items should automatically be published for ongoing sync changes.