Google Sheets Data Sync

This comprehensive document will walk you through the step-by-step configuration process for Google Sheet data sync and address specific use cases tailored to Google Sheet.
Standard Data Sync functionality
Please refer to Data Sync - Getting Started for the standard data sync functionality. The getting started document covers usages of data sync features valid for all integrations.
Prerequisites
- The spreadsheet must have a header row with a label for each column.
- Install the "Byteline - Data Sync & Automation" Google Sheets add-on on your spreadsheet by following the instructions outlined in the Step-by-Step Guide to Install "Byteline - Data Sync & Automation" Google Sheets Add-On.
- Before configuring the Google Sheets data sync, ensure your spreadsheet adheres to the format below. The first four columns provided are merely examples; naturally, you will have your own column names.

Configuring Google Sheet Data Sync
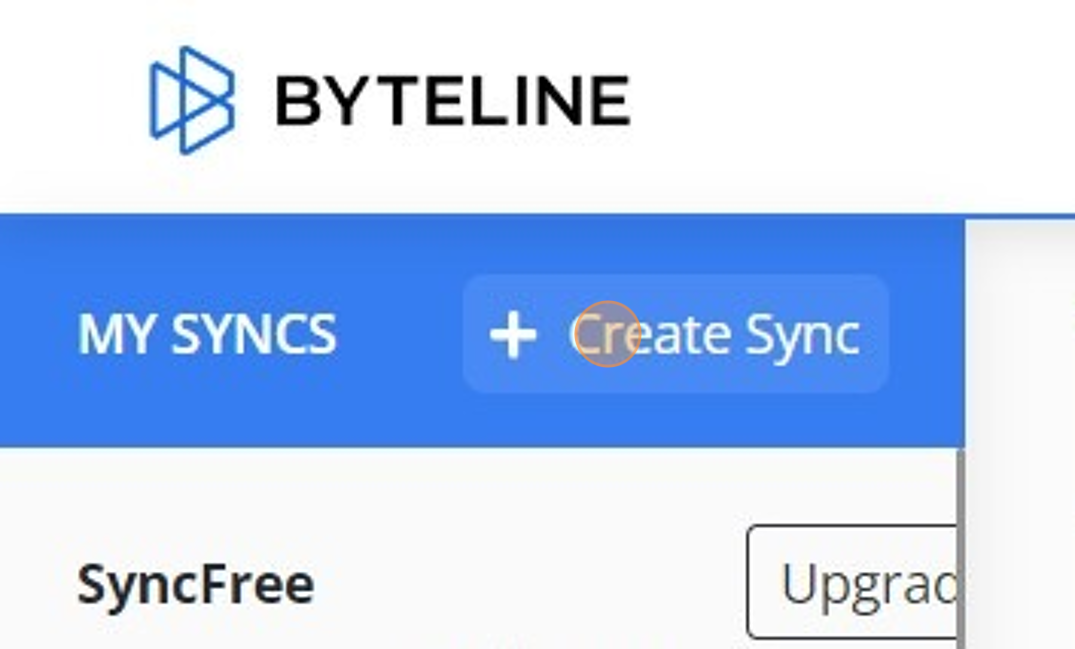
1. Click on 'Create Sync' button.
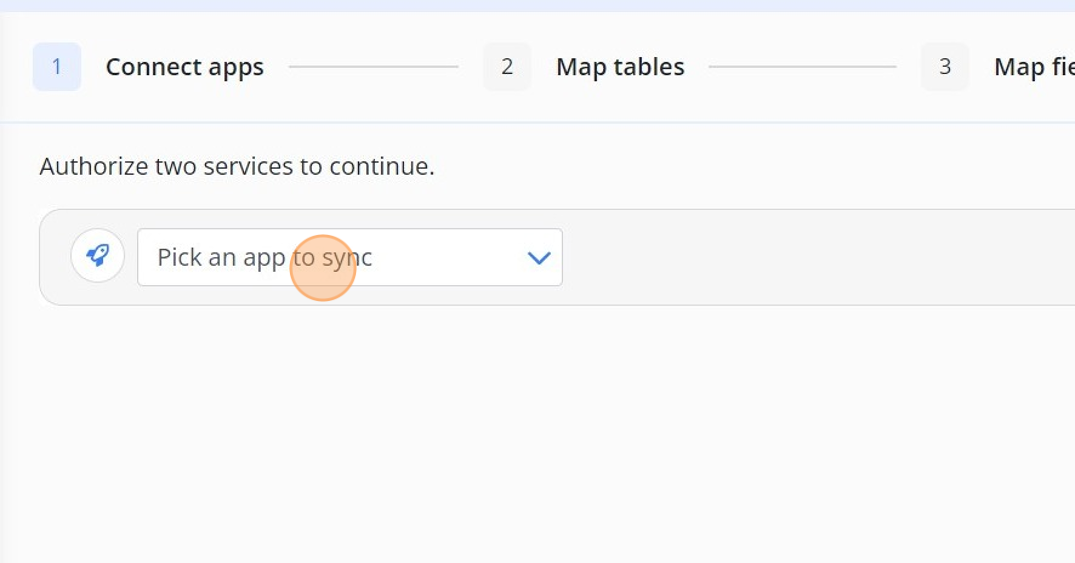
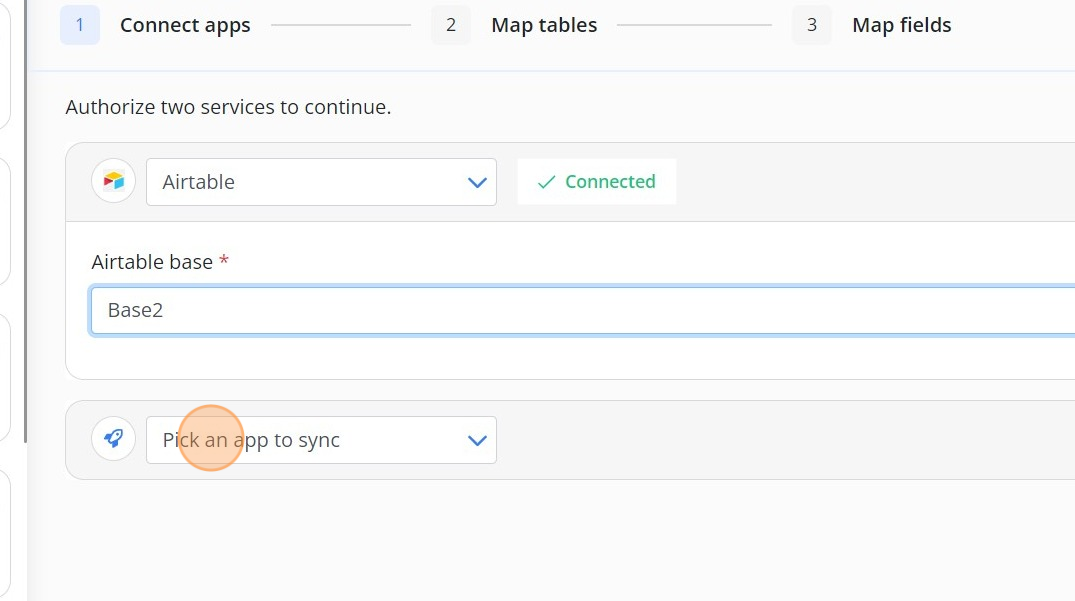
2. Pick the app that you want to sync with Google Sheet
3. Select the Google Sheet from the dropdown
4. Click on Next button
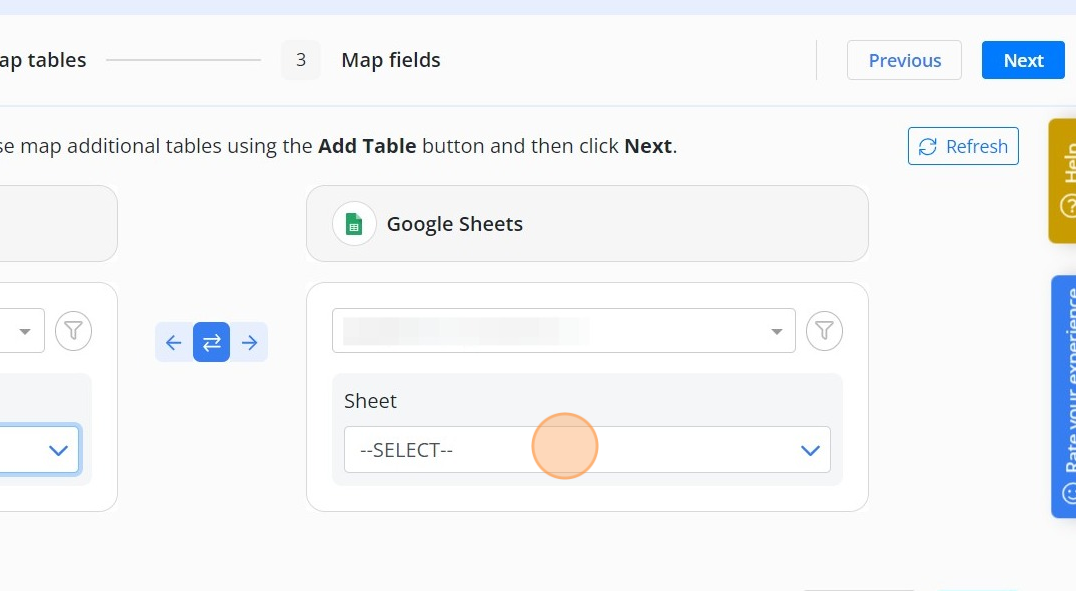
5. Delete any tables that you don't want to sync. If the table you want to sync is not displayed, add it using "Add table" button
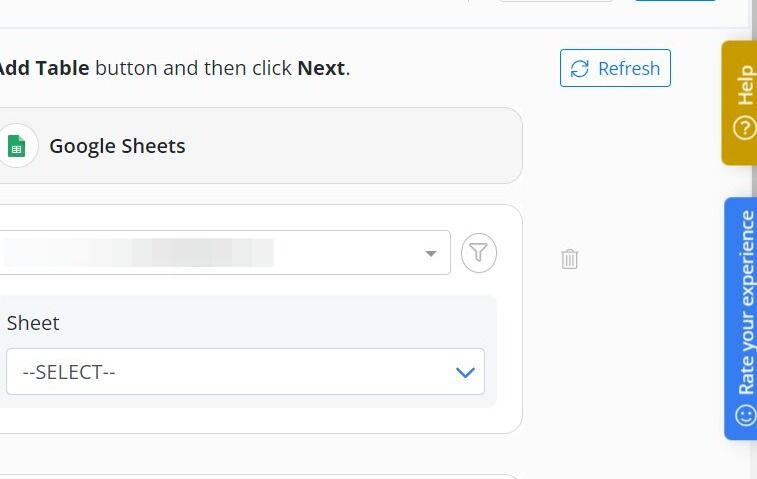
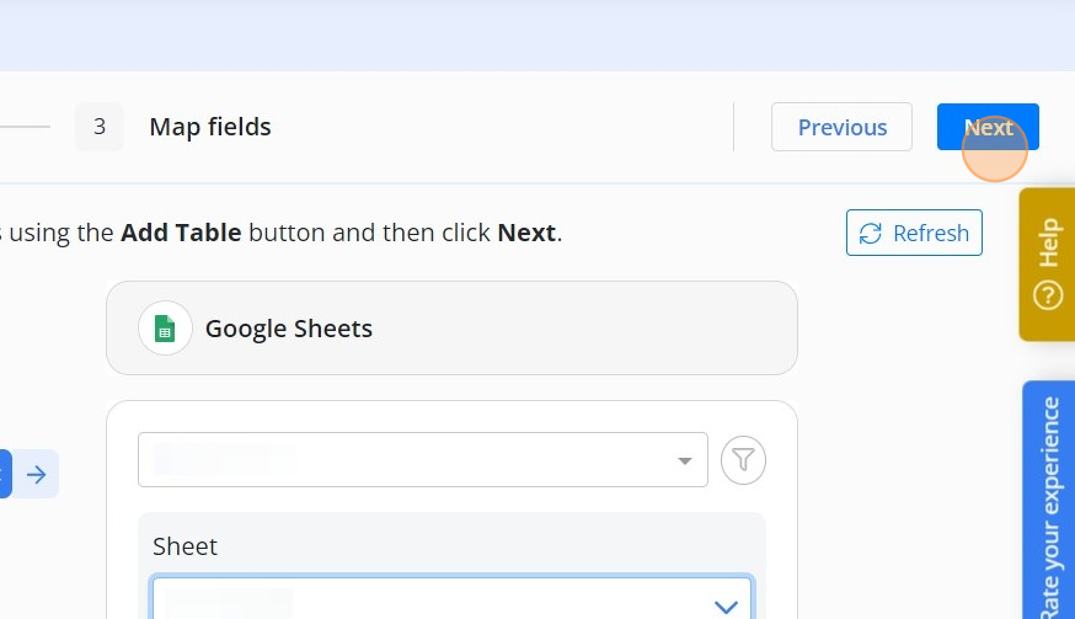
6. Select the sheet from the 'Sheet' dropdown
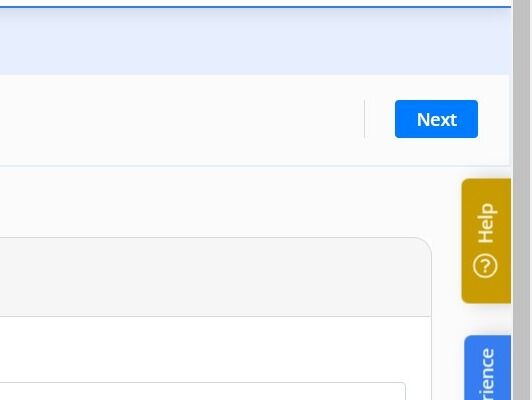
7. Click on 'Next' button
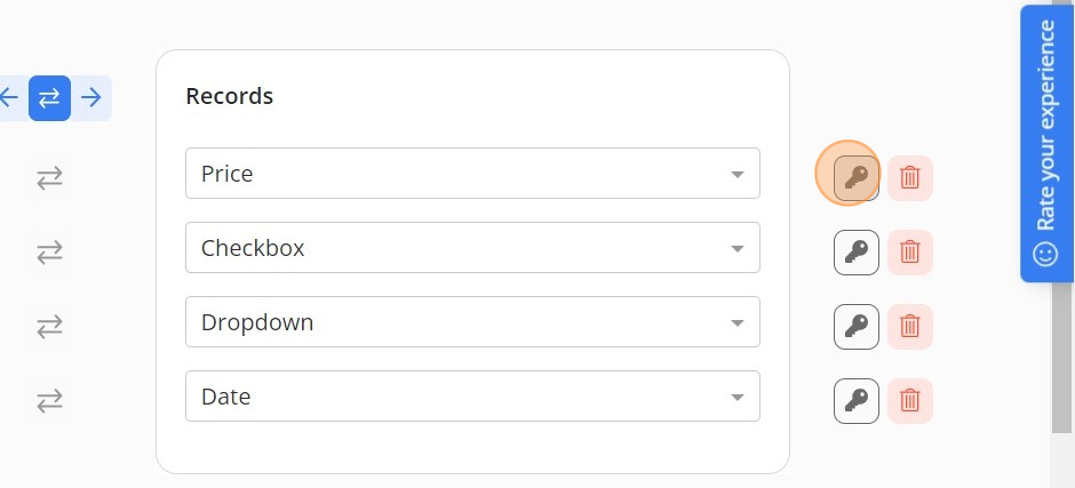
8. Mark any of the field as unique
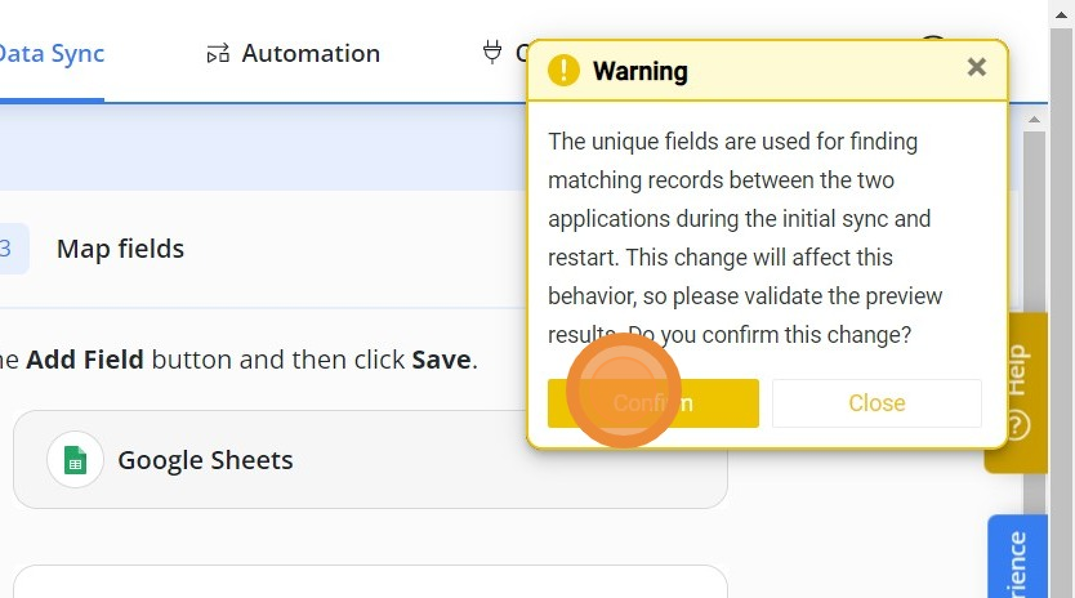
9. Click on 'Confirm' button
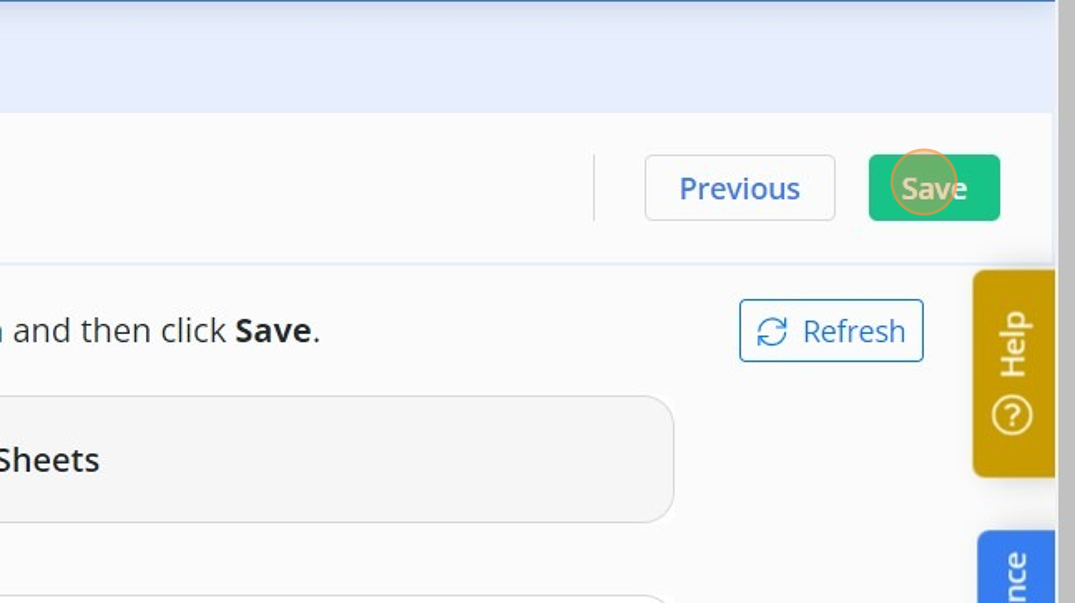
10. Click on 'Save' button
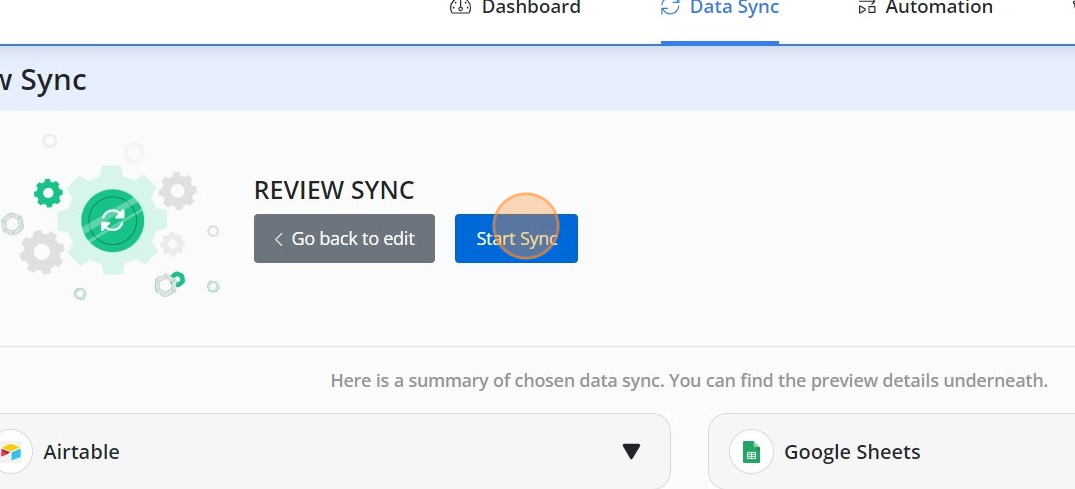
11. Click on 'Start Sync' button