Batch Scheduler

The batch scheduler serves as a powerful trigger for executing your workflow for every row in a Google Spreadsheet. You can utilize an expression in the following nodes to reference the data from the spreadsheet.
In this step-by-step guide, you will understand how to configure a Batch Scheduler trigger for your website or application.
How to Configure?
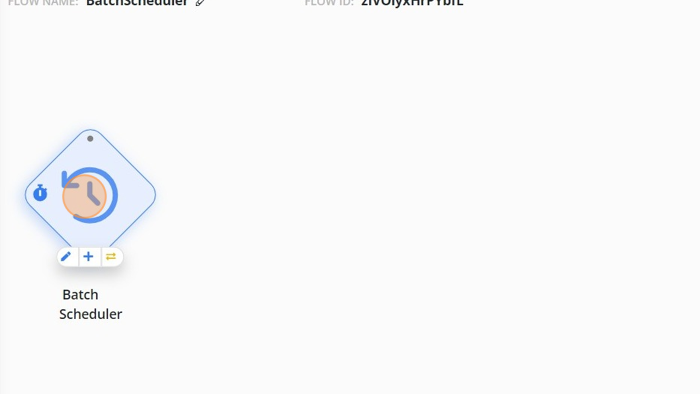
1. Click on 'Batch Scheduler'.
2. Select the 'Interval' from the dropdown.
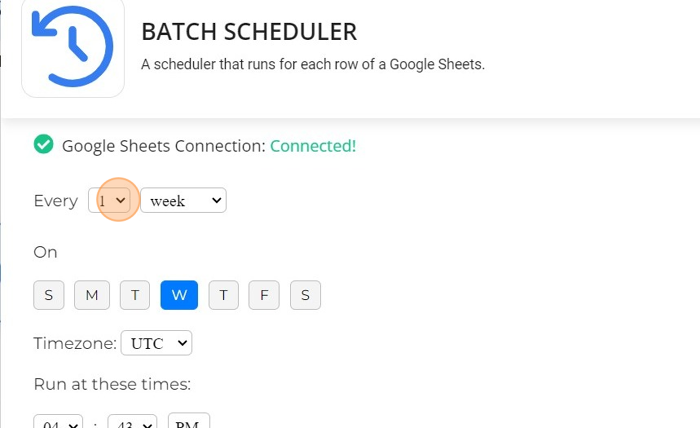
3. Select the days on which you want to run the flow. You can pick multiple days.
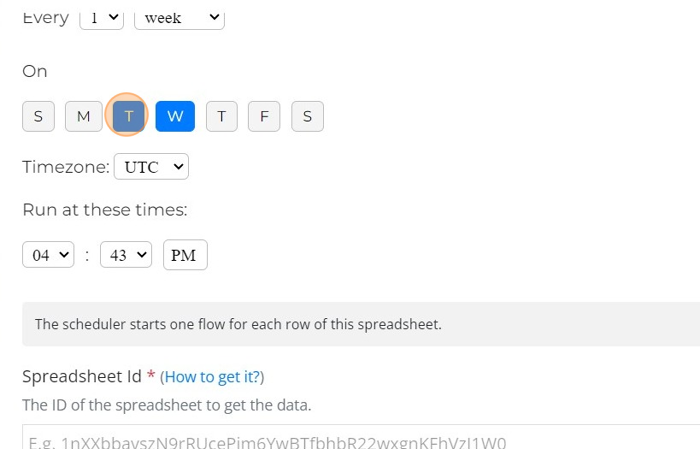
4. Select the 'Timezone' from the dropdown.
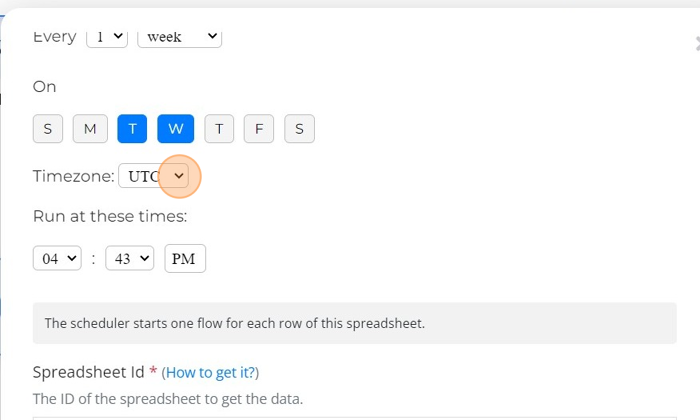
5. Set the time at which you want to run the flow.
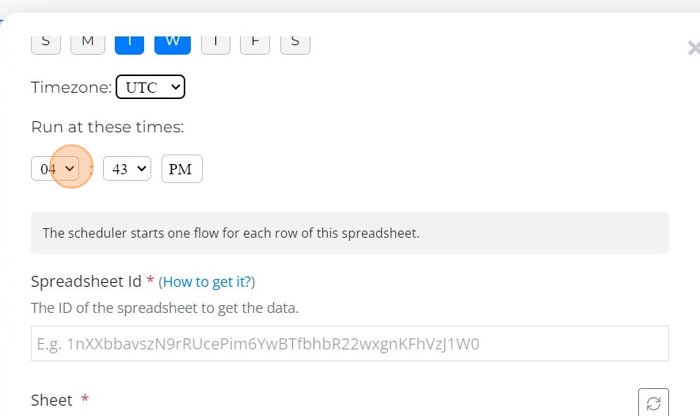
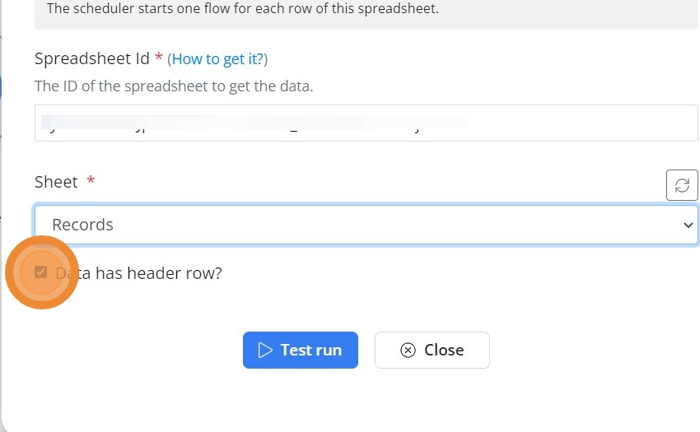
6. Provide the 'Spreadsheet Id' to the field.
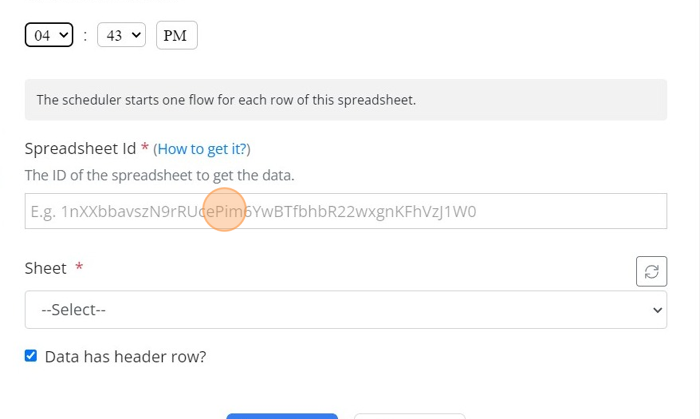
7. Select the 'Sheet' from which you want to get the data.
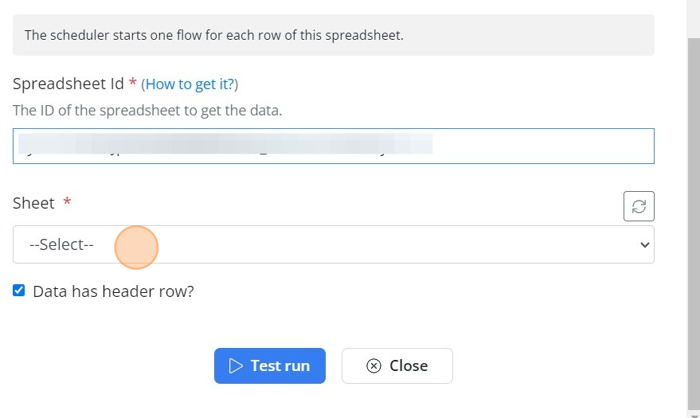
8. Check the 'Data has header row' checkbox if there is header in mentioned sheet.
Spreadsheet Format
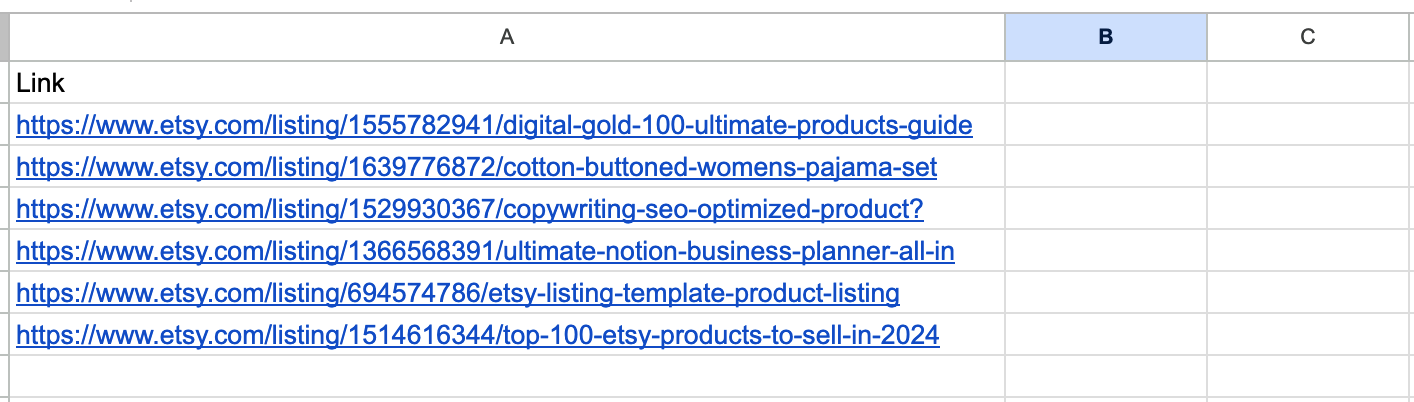
You should have a header row in your spreadsheet. The column name will be provided in the expression selector to help you pick the expressions. You can have multiple columns, and values from each column will be available.
Below is a simple spreadsheet that keeps a list of Etsy products.
Test Run
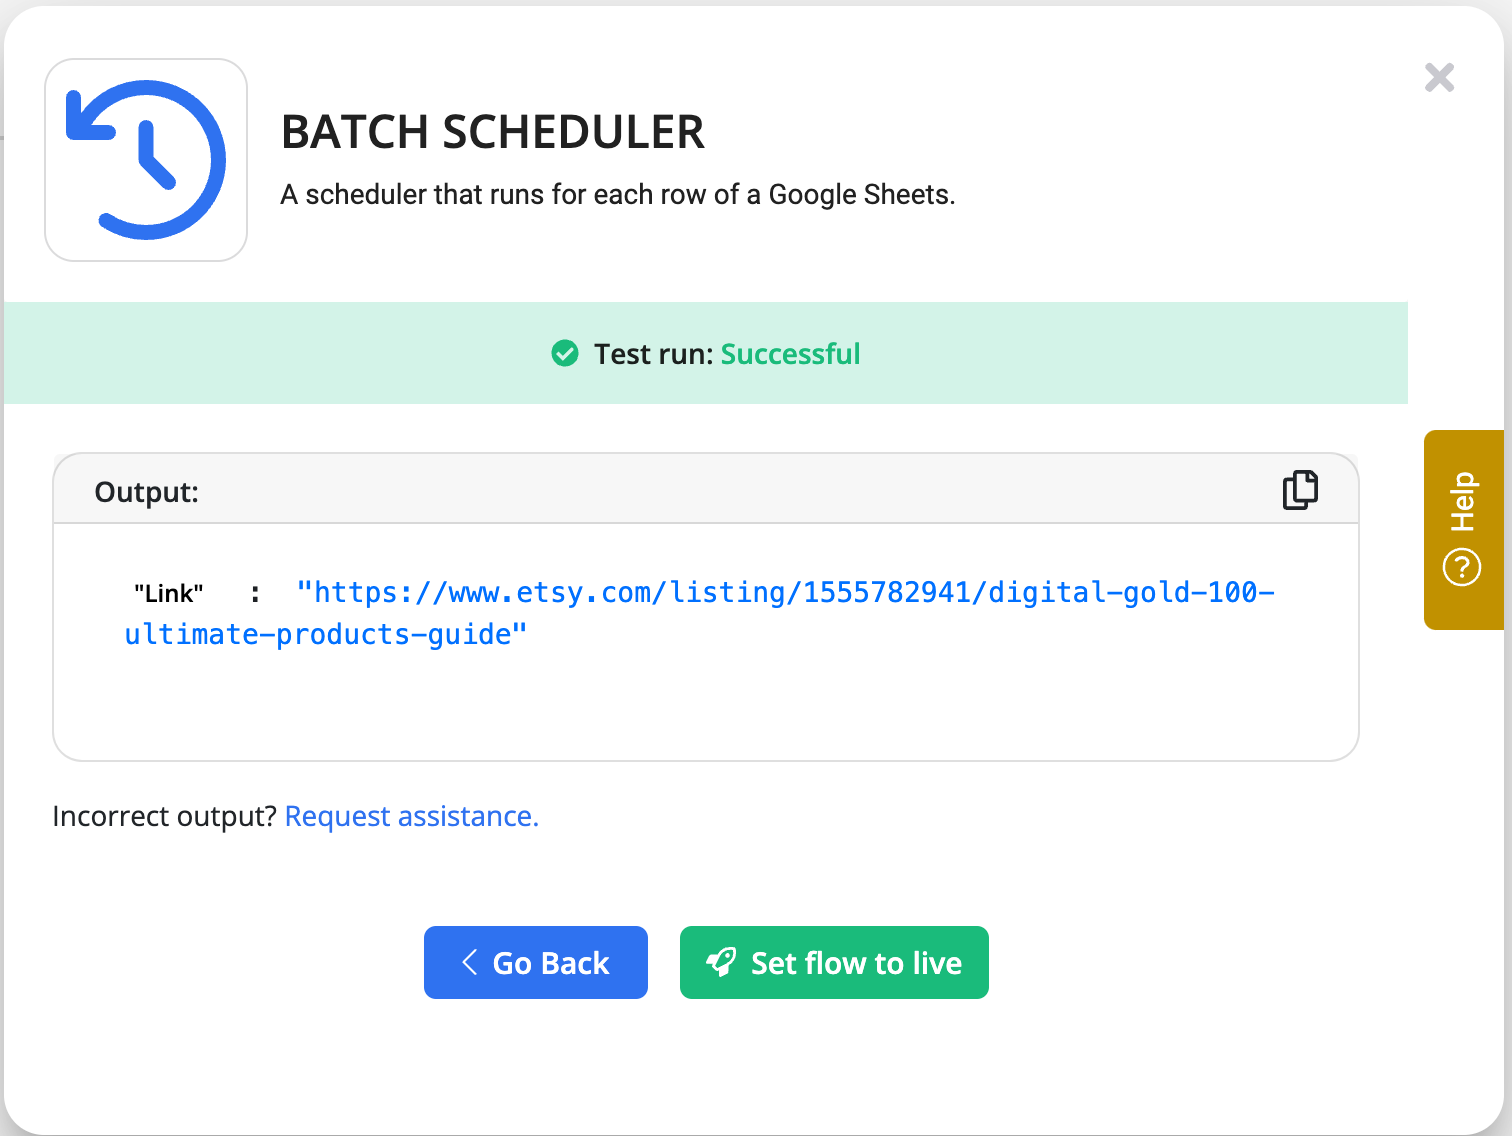
The "Test Run" is a crucial part of the node configuration. It provides the Spreadsheet data that can be referred to in the other flow nodes using expressions.
For the above sample spreadsheet, the data below is provided by the test run.
2. After a change to the header row, you need to re-run the "Test Run" to reflect the new format in the expression selector.
Referring to data from the spreadsheet
During a test run, a single row from the spreadsheet is outputted. Subsequently, you can employ an expression to reference this input data in any of the nodes.
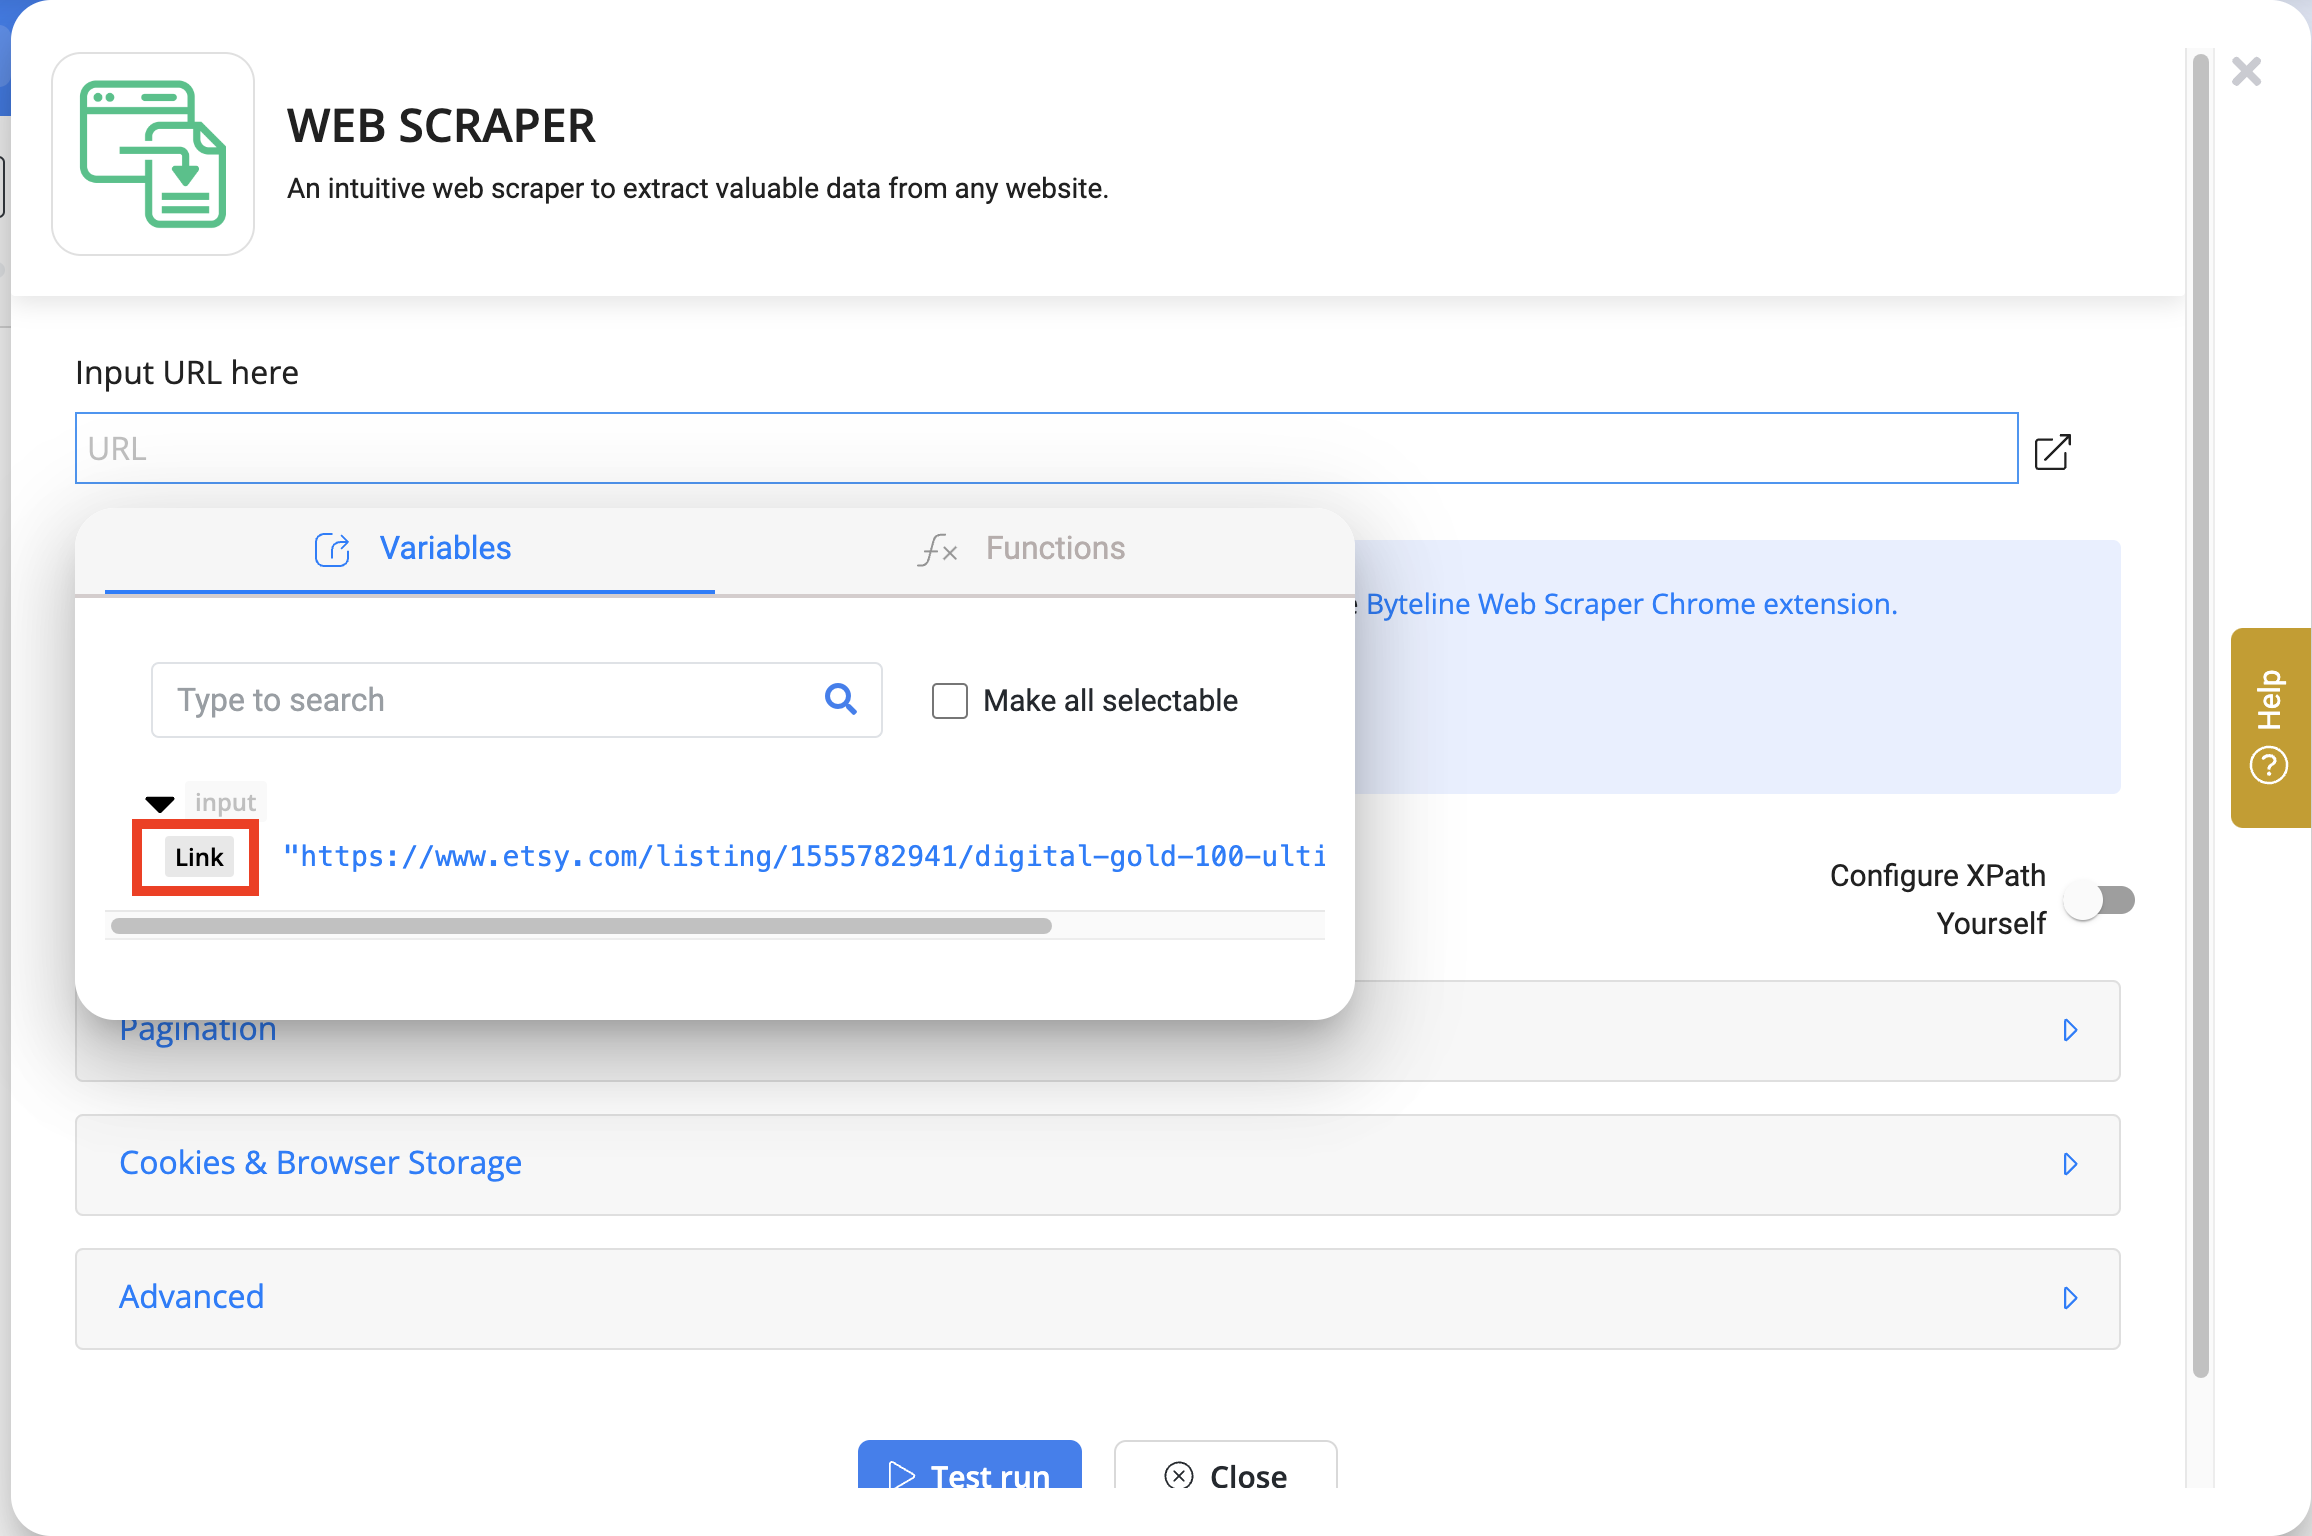
For instance, you can use the "Batch Scheduler" to initiate a flow that extracts data using Byteline's web scraper node.
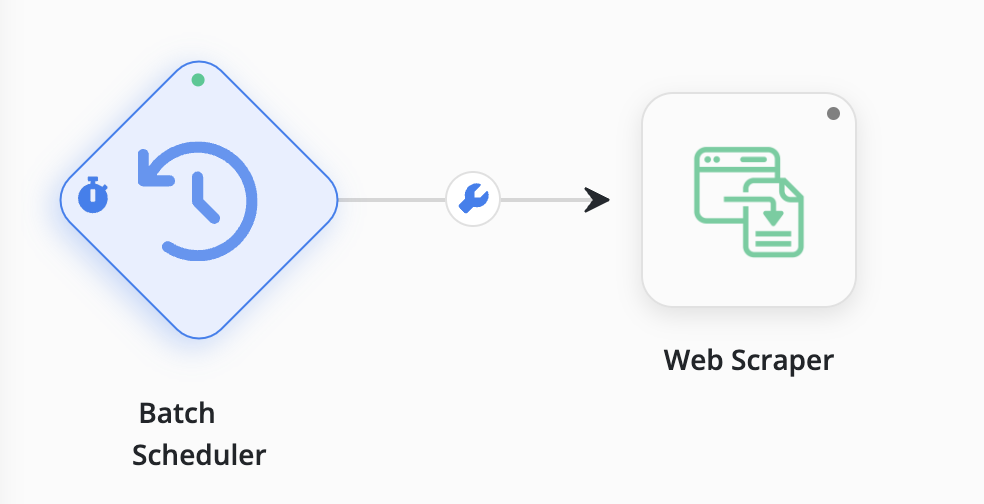
For this scenario, refer to the screenshots below illustrating the expression used to refer to the URL from the spreadsheet.