Stripe - Create Customer Portal Session

Byteline provides you with Stripe - Create Customer Portal Session node that lets you create a stripe customer portal session’s short-lived URL. This link can be used by your users or customers to easily manage their subscriptions (change payment, update, cancel, pause, etc.).
In this documentation, we have explained the configuration of the Stripe - Create Customer Portal Session.
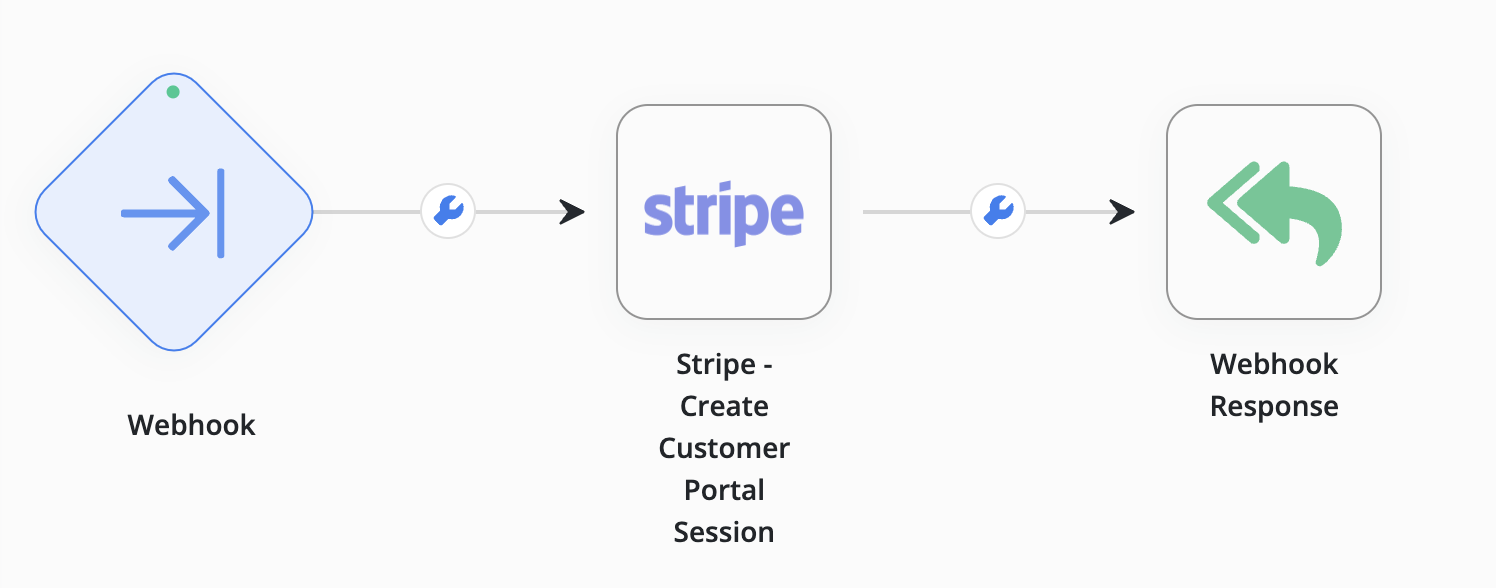
The typical flow for using this node is that your user initiates a Stripe subscription management on your site, and you forward that call to a Byteline flow with the Webhook trigger. The Stripe - Create Customer Portal Session node creates the Stripe portal session link, and then you redirect the user to that link using the Byteline Webhook Response node.
Let’s get started.
Step 1: Hover the cursor over the Stripe - Create Customer Portal Session node icon to display the options. Once displayed, click on the edit button to configure the node.

Step 2: Fill in the Stripe Secret Key to access the user’s Stripe account.

Step 3: Fill in the Stripe Customer ID.

Step 4: Fill in the Stripe Return URL so that the client can follow it to change the payment card and other such things.
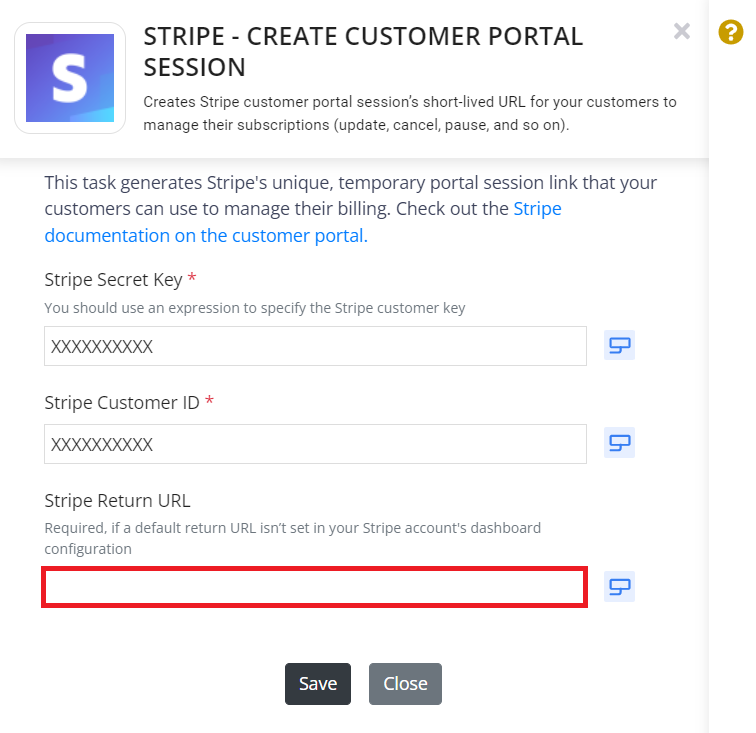
Step 5: Click on the Save button to save the changes.

You have successfully configured the Stripe - Create Customer Portal Session node.
Feel free to connect us for any queries.